In today’s world of sleek and modern design, there’s something undeniably charming about the rustic and weathered look of distressed wood. Whether it’s for a furniture piece, a home decor project, or even a DIY gift, learning how to distress wood can elevate your craftsmanship to a whole new level. So, if you’re ready to embark on a journey of creativity and bring an element of vintage allure to your projects, this guide has got you covered.
Distressing wood is an art form that allows you to create the illusion of age and character in your woodworking projects. It involves intentionally aging the wood by adding various techniques such as sanding, scraping, and staining to achieve that coveted distressed look. But fear not, this process is not as daunting as it may seem! With a little patience, practice, and the right tools in hand, you’ll soon be able to master the art of distressing wood, transforming ordinary pieces into stunning works of art. So, let’s dive into the world of distressing wood and unlock your inner craftsman.
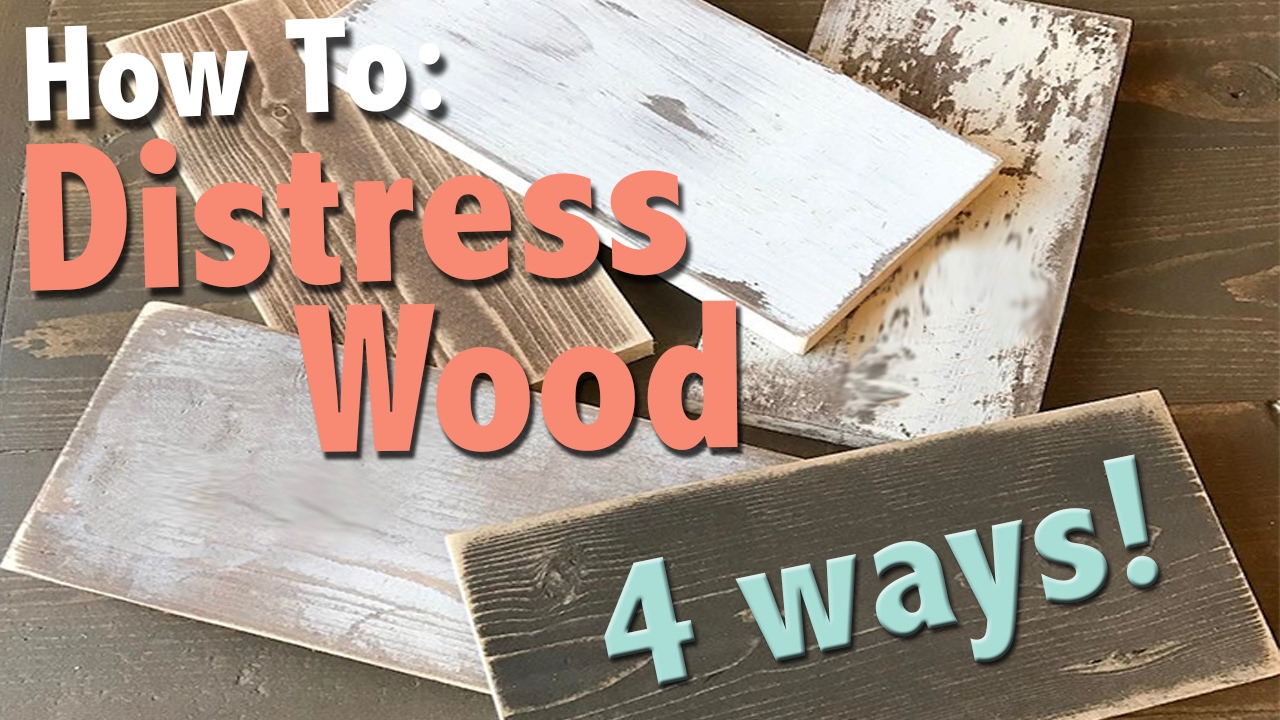
How to Distress Wood:
- Start by sanding the wood to create a smooth surface.
- Apply a wood stain or paint in your desired color and let it dry.
- Use sandpaper or a sanding block to distress the wood by rubbing it along the edges and random areas.
- If desired, you can also use a hammer, chains, or other tools to create dents and scratches.
- Finish off by applying a clear protective coat or wax to seal the distressed look.
How to Distress Wood: A Step-by-Step Guide
Welcome to our comprehensive guide on how to distress wood. Whether you’re a seasoned DIY enthusiast or just starting out, distressing wood can add a unique and rustic charm to your furniture, flooring, or decorative pieces. In this article, we will provide you with step-by-step instructions and tips on how to achieve the perfect distressed look. So, let’s get started!
Gather Your Materials and Prepare the Work Area
Before you begin distressing wood, it’s important to gather all the necessary materials and prepare a suitable work area. Here’s what you’ll need:
- Sandpaper (medium and fine grit)
- Hammer
- Wire brush
- Stain or paint (optional)
- Paintbrushes or foam brushes
- Soft cloth
- Protective gloves
- Drop cloth or newspaper
Once you have all your materials ready, it’s time to prepare the work area. Lay down a drop cloth or newspaper to protect the surface you’ll be working on. Ensure good ventilation in the area by opening windows or using a fan. Put on your protective gloves to keep your hands safe during the process. Now that you’re all set, let’s move on to the next step.
Step 1: Sand the Wood
The first step in distressing wood is to sand it. Start with medium-grit sandpaper and sand the entire surface of the wood. This will help remove any existing finish or varnish and create a rough texture for the distressed look. Sand in the direction of the wood grain, applying even pressure. Once you’re done with the medium-grit sandpaper, switch to a fine-grit sandpaper and go over the wood again for a smoother finish.

Remember to sand the edges and corners of the wood as well, as these areas tend to get more wear and tear over time. Be careful not to oversand, as you want to achieve a distressed look without damaging the wood too much. Once you’re satisfied with the sanded texture, use a soft cloth to wipe away any dust or debris.
Step 2: Create Indentations and Dents
To add character and depth to the distressed wood, you can create indentations and dents using a hammer. Lightly tap the surface of the wood with the hammer to create small dents and marks. You can also use the claw side of the hammer to create larger indentations. Be creative and vary the intensity of the marks to achieve a natural and aged appearance.
If you want to further enhance the distressed look, you can use a wire brush to scrape the surface of the wood. This will create additional texture and simulate the effects of weathering. Remember to brush in the direction of the wood grain for a more authentic result. Once you’re done creating the desired indentations and dents, remove any loose wood splinters or debris with a soft cloth.
Step 3: Apply Stain or Paint (optional)
At this stage, you have the option to apply stain or paint to further enhance the distressed look of the wood. If you choose to stain the wood, select a color that complements your overall design theme. Apply the stain using a paintbrush or foam brush, following the manufacturer’s instructions. Let the stain dry completely before moving on to the next step.
If you prefer to paint the wood, select a paint color that matches your desired distressed look. Apply the paint using a brush or foam brush, ensuring even coverage. You can also consider using a dry brushing technique to create a more textured and worn-out appearance. Allow the paint to dry thoroughly before proceeding to the final step.
Step 4: Finish and Seal the Wood
The final step in distressing wood is to finish and seal the surface to protect it and give it a polished look. You can use a clear polyurethane finish or a wax finish, depending on your preference. Apply the finish using a brush or cloth, following the manufacturer’s instructions. Allow the finish to dry completely before using or displaying your distressed wood piece.
Remember that distressing wood is a creative process, and there are no strict rules. Feel free to experiment with different techniques, colors, and finishes to achieve the desired result. With practice and patience, you’ll be able to create stunning distressed wood pieces that add character and charm to your home.
Frequently Asked Questions
In this section, you will find answers to common questions about distressing wood. Whether you are a beginner or have some experience with woodworking, these FAQs will provide you with valuable information to help you achieve the desired distressed wood look.
1. What is distressing wood?
Distressing wood is a technique used to give new or untreated wood an aged and weathered appearance. It involves intentionally damaging the wood surface to mimic the natural wear and tear that occurs over time. Distressing techniques can include sanding, scraping, and using various tools to create dents, scratches, and other imperfections.
To achieve an authentic distressed look, it is important to consider the type of wood, the desired level of distressing, and the overall aesthetic you want to achieve. The process can be applied to furniture, flooring, or any other wooden surface you wish to distress.
2. What tools and materials do I need to distress wood?
To distress wood, you will need a few essential tools and materials. These include sandpaper or a sanding block to smooth the wood surface, a hammer or mallet to create dents, a wire brush or steel wool to create texture, and a paint scraper or chisel for scraping off layers of paint or varnish.
In addition to the tools, you may also need a stain or paint to add color and depth to the distressed wood. Other optional materials include wax or glaze to enhance the distressed look, a protective sealant to preserve the finish, and a clean cloth or brush for applying these materials.
3. How do I prepare the wood before distressing?
Before distressing the wood, it is important to prepare the surface properly. Start by cleaning the wood to remove any dirt, dust, or grease. You can use a mild detergent and water solution or a wood cleaner specifically designed for this purpose. Allow the wood to dry completely before proceeding.
Next, sand the wood surface using a medium-grit sandpaper to create a smooth base. Pay attention to the edges and corners, as these areas tend to show more wear and tear. Once the surface is sanded, wipe away any dust using a clean, dry cloth.
4. What are some popular distressing techniques?
There are several popular distressing techniques you can use to achieve different looks. Some common techniques include using a chain or nails to create dents and divots, using a wire brush or sandpaper to create a weathered texture, and using a paint scraper or chisel to remove layers of paint or varnish.
You can also experiment with different finishes, such as dry brushing or applying a stain or paint and then sanding it off in certain areas to create a worn and aged effect. Each technique will produce a unique result, so it’s a good idea to test them on a small, inconspicuous area before applying them to the entire surface.
5. How do I protect the distressed wood?
Once you have achieved the desired distressed wood look, it is important to protect the surface to ensure its longevity. Apply a clear protective sealant, such as polyurethane or a wax finish, to protect the wood from moisture, stains, and daily wear and tear.
Before applying the sealant, make sure the distressed wood is clean and dry. Follow the manufacturer’s instructions for the specific sealant you are using, as application methods may vary. Apply the sealant evenly using a brush or cloth, and allow it to dry completely before using or placing any objects on the distressed wood surface.

Remember, practice makes perfect when it comes to distressing wood. Don’t be afraid to experiment with different techniques and tools to achieve the desired effect. With patience and perseverance, you can master the art of distressing wood and create one-of-a-kind pieces that will be admired by all who see them. So go ahead, unleash your creativity, and let the distressed wood bring a touch of history and nostalgia into your life.
- How to Make Wood Look Weathered - May 14, 2024
- How to Solve Wooden Egg Puzzle - May 14, 2024
- How to Decoupage on Wood With Pva Glue - May 14, 2024