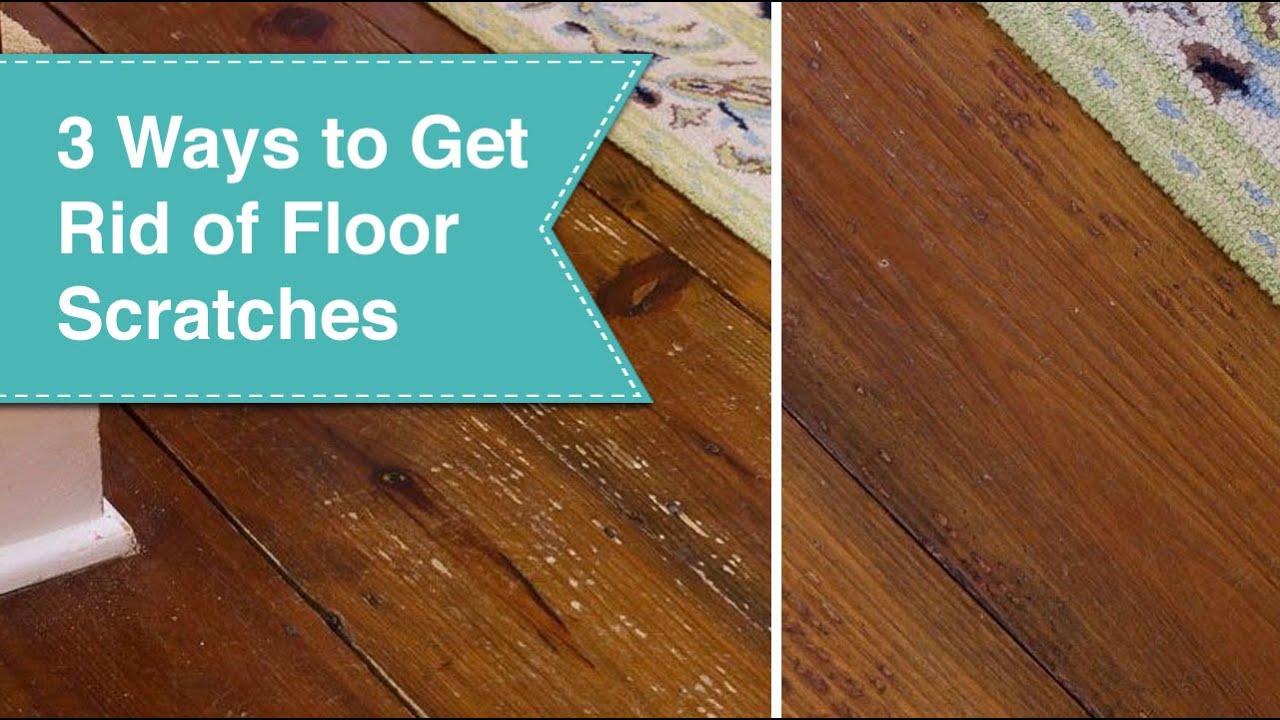
Are you tired of staring at those unsightly scratches on your beautiful wood floor? Whether it’s caused by furniture movement, pet claws, or accidental spills, scratches can be a real eyesore. But fear not! In this guide, we will walk you through the step-by-step process of fixing scratched wood floors, bringing back their former glory and restoring the elegance they once exuded.
Wood floors are a timeless and classic choice for any home, but they require proper care and maintenance to retain their lustrous appeal. From assessing the severity of the scratches to selecting the right repair method, we will cover all the essential aspects you need to know. So roll up your sleeves, grab your tools, and get ready to embark on a rewarding journey to repair your scratched wood floor. By the end of this guide, you’ll have the knowledge and confidence to tackle any scratch, big or small, and transform your floor into a smooth, flawless surface that will leave your guests in awe.
How to Fix Scratched Wood Floor:
If you have scratched wood floors, follow these steps to repair them:
- Assess the damage by inspecting the scratches closely.
- Clean the scratched area with a soft cloth and a mild wood cleaner.
- Apply a wood filler to the scratches, filling them in completely.
- Sand the filled areas lightly using sandpaper.
- Apply a wood stain or touch-up marker to match the color of your floor.
- Finish by applying a protective coating, such as polyurethane, to the repaired area.

How to Fix Scratched Wood Floors
Wood floors can add a touch of elegance and warmth to any home, but over time, they can become scratched and worn. Fortunately, you don’t have to live with unsightly scratches on your wood floors. With a few simple steps, you can restore the beauty of your floors and make them look as good as new. In this article, we will guide you through the process of fixing scratched wood floors, so you can enjoy the beauty of your wood floors for years to come.
Step 1: Assess the Damage
Before you begin fixing the scratches on your wood floor, it’s important to assess the extent of the damage. This will help you determine the best course of action and the products you will need. Start by examining the scratches and determining their depth. If the scratches are only superficial, you may be able to fix them with a simple touch-up product. However, if the scratches are deep and have penetrated the wood, you may need to sand and refinish the affected area.
Once you have assessed the damage, make a list of the products you will need. This may include touch-up pens or markers, fine-grit sandpaper, wood filler, stain, and polyurethane. Gathering all the necessary materials beforehand will ensure that you have everything you need to complete the repair job.
Step 2: Prepare the Surface
Before you begin fixing the scratches, you need to prepare the surface of the wood floor. Start by cleaning the floor thoroughly to remove any dirt and debris. Use a broom or vacuum cleaner to remove loose dirt and dust, and then mop the floor with a mild wood floor cleaner. Make sure to follow the manufacturer’s instructions for the cleaner and avoid using excessive amounts of water, as this can damage the wood.

Once the floor is clean, use a fine-grit sandpaper to lightly sand the scratched area. This will help smooth out the surface and prepare it for the touch-up product or wood filler. Be sure to sand in the direction of the grain to avoid further damage to the wood. After sanding, wipe away any dust with a damp cloth and allow the floor to dry completely before proceeding to the next step.
Step 3: Fix the Scratches
Now that you have prepared the surface, it’s time to fix the scratches on your wood floor. If the scratches are only superficial, you can use a touch-up pen or marker that matches the color of your wood floor. Simply apply the touch-up product to the scratches, following the manufacturer’s instructions. Allow the product to dry, and then gently buff the area with a soft cloth to blend it with the surrounding wood.
If the scratches are deeper, you will need to use wood filler. Apply a small amount of wood filler to the scratches, using a putty knife or a plastic scraper. Make sure to fill the scratches completely and smooth out the surface. Allow the wood filler to dry according to the manufacturer’s instructions, and then sand the area lightly to ensure a smooth finish. Wipe away any dust and apply a matching stain to the repaired area. Finally, apply a coat of polyurethane to protect the repaired area and give it a glossy finish.
Step 4: Maintain Your Wood Floors
Once you have fixed the scratches on your wood floor, it’s important to maintain them properly to prevent future damage. Avoid dragging heavy furniture across the floor, and use felt pads or furniture sliders to protect the surface. Clean spills immediately to prevent water damage, and use rugs or mats in high-traffic areas to minimize wear and tear. Additionally, regularly clean and polish your wood floors to keep them looking their best.
By following these steps and taking proper care of your wood floors, you can enjoy their beauty and durability for years to come. Remember to always consult the manufacturer’s instructions and test any products in a small, inconspicuous area before applying them to the entire floor.
Frequently Asked Questions
Here are some commonly asked questions about how to fix scratched wood floors:
Question 1: How can I fix minor scratches on my wood floor?
Minor scratches on wood floors can be fixed using simple methods. One option is to use a wood stain marker or crayon that matches the color of your floor. Gently color in the scratch with the marker, allowing the stain to fill in the damaged area. Afterward, use a clean cloth to wipe away any excess stain. If the scratch is deeper, you can also use a wood filler. Apply the filler to the scratch, making sure to level it with a putty knife. Once dried, sand down the excess filler until it is smooth with the rest of the floor.
Question 2: What should I do if my wood floor has deep scratches?
If your wood floor has deep scratches, it may require a more intensive repair process. Start by cleaning the scratched area with a wood floor cleaner to remove any dirt or debris. Next, sand the scratched area using fine-grit sandpaper until the scratch is no longer visible. After sanding, apply a wood filler that matches the color of your floor to the scratched area. Smooth out the filler with a putty knife and allow it to dry. Once dry, sand the filled area until it is level with the rest of the floor, and finish by applying a protective coat of polyurethane or a similar sealant.
Question 3: Can I use vinegar to remove scratches from my wood floor?
Vinegar can be used to remove light scratches from wood floors. Mix equal parts of vinegar and olive oil together, and then apply the mixture to the scratched area using a soft cloth. Gently rub the mixture into the scratch, following the direction of the wood grain. Allow the mixture to sit on the scratch for a few minutes before wiping away any excess. This method can help to minimize the appearance of light scratches on your wood floor.
Question 4: How can I prevent future scratches on my wood floor?
To prevent future scratches on your wood floor, consider placing area rugs or mats in high-traffic areas. These will help to absorb impact and protect the floor from potential damage. Additionally, use furniture pads or felt pads on the bottom of your furniture legs to prevent them from scratching the floor when moved. Regularly sweep or vacuum your wood floor to remove any dirt or debris that could cause scratching. Lastly, avoid wearing shoes with sharp or abrasive soles on your wood floor.
Question 5: When should I consider hiring a professional to repair my wood floor?
If your wood floor has extensive damage or if you are unsure about the best repair method, it may be wise to hire a professional. A professional can assess the condition of your floor and provide the most appropriate repair solution. They have the expertise and tools necessary to handle more complex repairs and can ensure that the repair work is done correctly, leaving your wood floor looking its best.
In addition to the practical steps, it is important to have patience and take your time when fixing scratched wood floors. Rushing through the process can lead to subpar results and further damage. Remember that each scratch is a unique case, and some may require more extensive repair work than others. By approaching this task with care and precision, you can achieve remarkable results and enjoy the beauty of your wood floors for years to come. So, roll up your sleeves, gather your tools, and get ready to give your scratched wood floors the attention they deserve.
- How to Clean Pottery Barn Wood Furniture - April 25, 2024
- How to Clean Amish Wood Furniture - April 25, 2024
- How to Treat Eucalyptus Wood - April 25, 2024