Are you tired of the outdated look of your wood paneling with grooves? Do you dream of transforming your space into a modern, sleek, and vibrant environment? Look no further! In this comprehensive guide, we will take you through the step-by-step process of painting wood paneling with grooves, giving it a fresh new look that will breathe life into any room.
Painting wood paneling with grooves may seem like a daunting task, but with the right techniques and materials, you can achieve stunning results. Whether you want to brighten up a dark and dreary basement, update a vintage cabin, or simply freshen up the walls in your home, this guide will provide you with all the information you need. From preparing the surface and choosing the perfect paint color to applying the paint with precision and achieving a flawless finish, we will guide you through each stage of the process. So, grab your paintbrush and get ready to transform your space into a stylish haven with our expert tips and tricks!
How to Paint Wood Paneling with Grooves:
- Clean the paneling thoroughly with a mild detergent and water.
- Fill any grooves with wood filler and sand it smooth.
- Apply a coat of primer to the paneling, using a brush or roller.
- Once the primer is dry, apply a coat of paint in your desired color.
- Allow the paint to dry completely before applying a second coat if needed.
How to Paint Wood Paneling with Grooves
Wood paneling with grooves can add a unique and rustic charm to any room. However, if you’re looking to update the look or simply want a change, painting the paneling is a great option. With the right tools and techniques, you can transform your wood paneling into a fresh and modern feature. In this article, we will guide you step by step on how to paint wood paneling with grooves, giving your space a whole new look.
Step 1: Prepare the Surface
Before you begin painting, it’s crucial to properly prepare the wood paneling surface. Start by cleaning the paneling thoroughly with a mild soap and water solution. Use a sponge or rag to remove any dirt, dust, or grease. Once clean, allow the paneling to dry completely. Next, fill any grooves or imperfections in the wood with a wood filler. Use a putty knife to apply the filler and smooth it out. Allow the filler to dry according to the manufacturer’s instructions and then sand it lightly to create a smooth surface.
After filling and sanding, it’s important to prime the paneling. Apply a coat of primer using a brush or roller, making sure to cover the entire surface evenly. Primer helps the paint adhere better and provides a base for a more even finish. Allow the primer to dry according to the manufacturer’s instructions before moving on to the next step.
Step 2: Choose the Right Paint
Choosing the right paint for your wood paneling is essential for a successful outcome. Opt for a high-quality latex paint that is specifically formulated for trim and wood surfaces. Satin or semi-gloss finishes tend to work well for wood paneling, as they provide durability and are easy to clean. Consider the color scheme of your room and choose a paint color that complements the overall design.

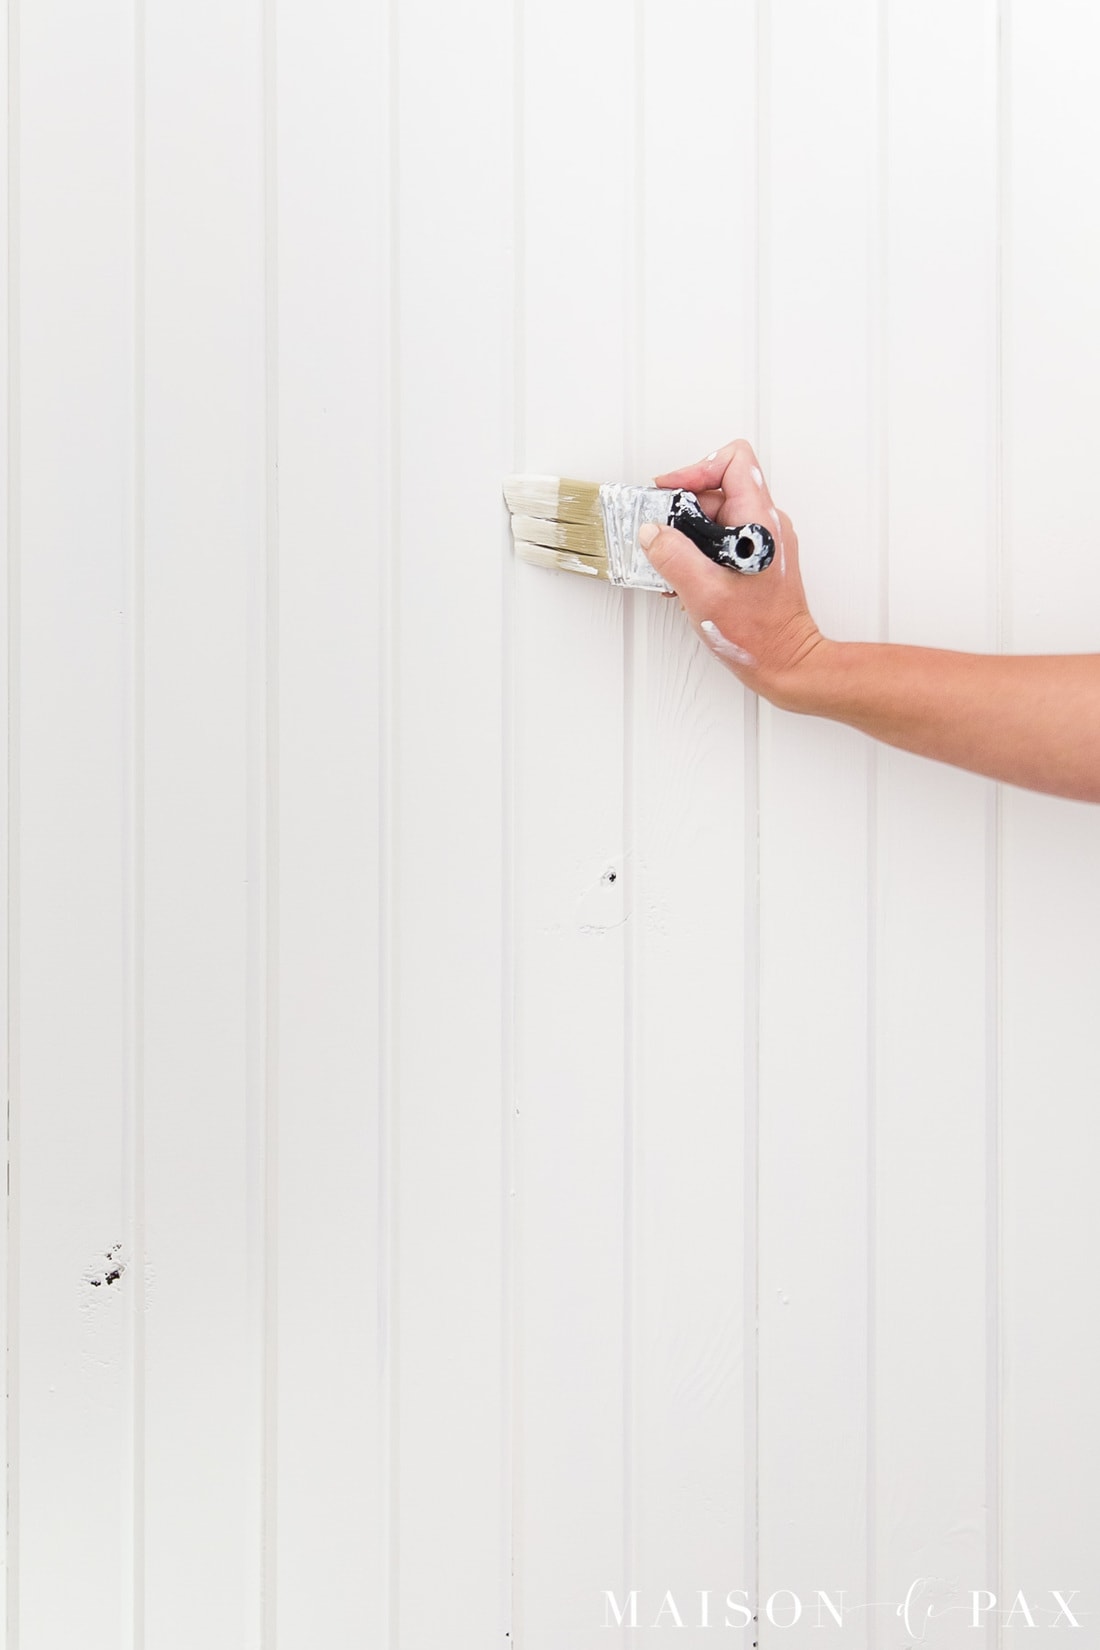
Before applying the paint, stir it thoroughly to ensure an even consistency. Pour a small amount into a paint tray and use a brush or roller designed for smooth surfaces. Begin painting in the grooves first, using a brush to get into all the crevices. Then, paint the flat surfaces of the paneling, working in small sections at a time. Apply thin, even coats and allow each coat to dry completely before applying the next one. Depending on the color and coverage, you may need to apply multiple coats for a solid finish.
Step 3: Finishing Touches
Once you have finished painting the wood paneling, allow it to dry completely before reattaching any hardware or furniture. Take the time to inspect the painted surface for any drips or uneven areas. If necessary, lightly sand these imperfections and touch up with additional paint. Afterward, clean your brushes and rollers with soap and water or according to the paint manufacturer’s instructions.
To maintain the newly painted wood paneling, avoid using harsh chemicals or abrasive cleaners. Instead, use a mild soap and water solution to clean the surface as needed. Regular maintenance will help prolong the life of the paint and keep your wood paneling looking fresh and vibrant for years to come.
Step 4: Enjoy Your Transformed Space
Congratulations! You have successfully painted your wood paneling with grooves, giving your space a whole new look. Step back and admire the transformation, appreciating the hard work and effort you put into the project. With proper care and maintenance, your painted wood paneling will continue to enhance the aesthetic appeal of your room for years to come.
Frequently Asked Questions
Here are some frequently asked questions about how to paint wood paneling with grooves:
Q: What is the best way to prepare wood paneling with grooves for painting?
Before painting wood paneling with grooves, it is important to properly prepare the surface. Start by cleaning the paneling with a mild soap and water solution to remove any dirt or grime. Next, sand the paneling lightly with fine-grit sandpaper to create a smooth surface for the paint to adhere to. Be sure to wipe away any dust or debris that may be left behind after sanding. Lastly, apply a primer specifically designed for wood surfaces to ensure proper adhesion of the paint.
By following these steps, you will be able to create a clean and smooth surface on the wood paneling, allowing for better paint coverage and a more professional-looking finish.
Q: What type of paint should I use for wood paneling with grooves?
When painting wood paneling with grooves, it is recommended to use a high-quality latex paint with a semi-gloss or satin finish. These types of paints are durable and easy to clean, making them ideal for surfaces that may require regular maintenance. Additionally, the semi-gloss or satin finish will help to highlight the texture and details of the grooves, giving the paneling a more visually appealing look.
Before purchasing the paint, make sure to check the label or consult with a paint specialist to ensure that it is suitable for use on wood surfaces. It is also a good idea to choose a paint color that complements the overall design and style of the room.
Q: How do I paint the grooves on wood paneling?
Painting the grooves on wood paneling requires some attention to detail. Start by using a small angled brush to carefully paint along the edges of the grooves. Take your time and use steady strokes to ensure even coverage. Once the edges are painted, use a roller brush or a paint sprayer to fill in the larger areas of the paneling.
When painting the grooves, it is important to avoid applying too much paint, as it can accumulate and create an uneven surface. Instead, aim for a thin and even coat of paint that will enhance the texture of the grooves without overwhelming them.
Q: How many coats of paint should I apply to wood paneling with grooves?
The number of coats of paint needed for wood paneling with grooves may vary depending on the desired finish and the color of the paint. In most cases, applying two coats of paint should be sufficient to achieve a solid and even color. However, if you are using a lighter color or if the paneling has a dark or uneven surface, you might need to apply an additional coat for better coverage.
Before applying a second coat, make sure to allow the first coat to dry completely according to the paint manufacturer’s instructions. This will ensure proper adhesion and prevent the paint from peeling or cracking.
Q: How can I maintain the painted wood paneling with grooves?
To maintain the painted wood paneling with grooves, it is important to regularly clean the surface using a mild soap and water solution. Avoid using abrasive cleaners or scrub brushes, as they can damage the paint finish. Instead, use a soft cloth or sponge to gently wipe away any dirt or stains.
In addition to regular cleaning, it is also recommended to periodically inspect the painted paneling for any signs of wear or damage. If any areas have chipped or peeled, touch them up with a small brush and matching paint. This will help to maintain the integrity and appearance of the paneling over time.

How To Paint Wood Paneling – Ace Hardware
In conclusion, transforming wood paneling with grooves into a fresh and modern look is a rewarding DIY project that can breathe new life into any space. By following the step-by-step guide provided, you can confidently take on the challenge of painting wood paneling with grooves. Remember to carefully prep the surface, choose the right paint and tools, and apply multiple coats for a professional finish. Don’t be afraid to experiment with different colors and finishes to achieve the desired aesthetic in your home.
Not only does painting wood paneling with grooves offer a cost-effective alternative to completely replacing it, but it also allows for endless creativity and customization. Whether you are aiming for a sleek and contemporary style or a rustic and cozy atmosphere, this technique offers versatility and flexibility. So, roll up your sleeves, gather your materials, and embark on this exciting journey of transforming your wood paneling with grooves into a stunning focal point that will impress all who enter your space. Happy painting!
- How to Repair Split Wood Door - April 16, 2024
- How to Fix Gouges in Hardwood Floors - April 16, 2024
- How to Remove Wood Gorilla Glue - April 16, 2024