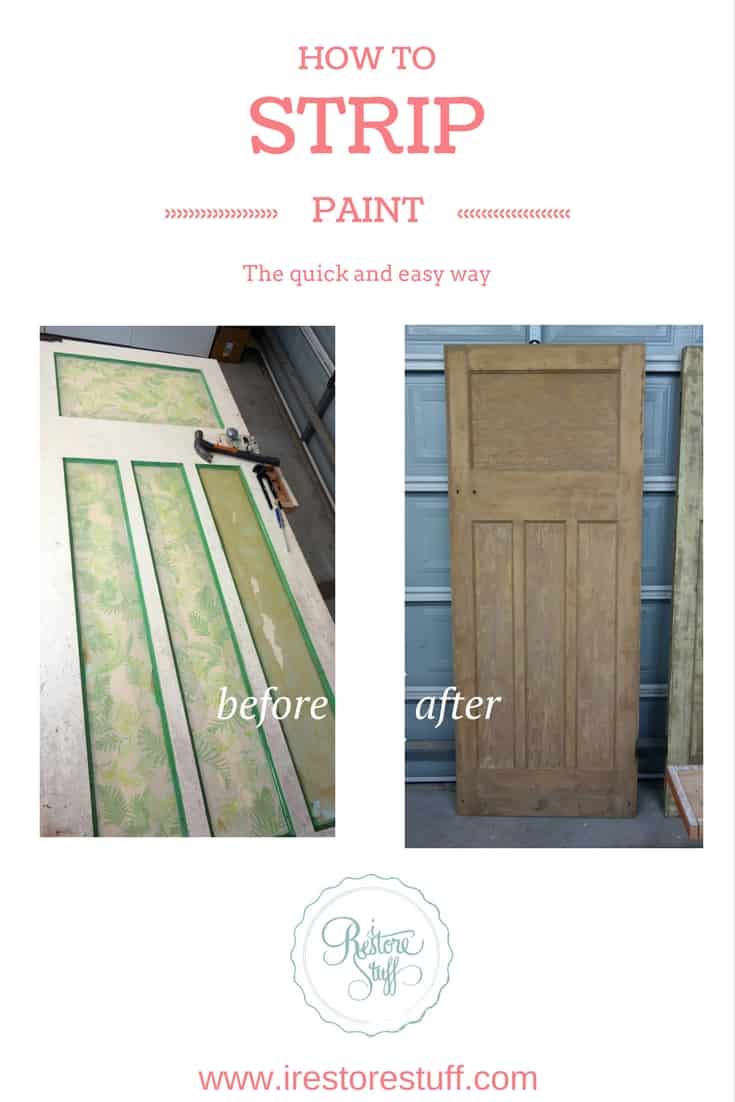
Are you tired of staring at that old, outdated paint on your wooden door? Does the thought of tackling a home improvement project intimidate you? Well, fear no more! In this guide, we will walk you through the step-by-step process of removing paint from a wooden door, and help you transform it into a beautiful, natural masterpiece.
Whether you are a seasoned DIY enthusiast or a novice homeowner, removing paint from a wooden door can seem like a daunting task. But with the right tools, techniques, and a little bit of patience, you can achieve professional-looking results without breaking a sweat. In this comprehensive guide, we will cover everything you need to know – from preparing the door surface to choosing the right paint removal method, and even tips for restoring the wood’s natural beauty. So, roll up your sleeves and get ready to uncover the hidden potential of your wooden door!
How to Remove Paint from a Wooden Door:
- First, gather the necessary materials: paint stripper, scraper, sandpaper, and safety goggles.
- Put on the safety goggles to protect your eyes.
- Apply the paint stripper onto the painted areas of the wooden door.
- Leave the paint stripper on the door for the recommended amount of time.
- Scrape off the softened paint using a scraper.
- If there are any remaining paint spots, use sandpaper to gently remove them.
- Once all the paint is removed, wipe the door clean with a damp cloth.
- Allow the door to dry completely before applying any new finish or paint.
How to Remove Paint from a Wooden Door
Removing paint from a wooden door can be a challenging task, but with the right tools and techniques, it is possible to achieve a clean and smooth surface. Whether you are looking to refinish your wooden door or simply want to remove old, chipped paint, this step-by-step guide will help you get the job done effectively.
Step 1: Gather the necessary materials
Before you begin, make sure you have all the materials you will need for the paint removal process. This includes:
- Paint scraper or putty knife
- Heat gun or chemical paint stripper
- Sandpaper (medium and fine grit)
- Protective gloves and eyewear
- Dust mask
- Drop cloth or plastic sheeting
- Clean cloth
Having these materials readily available will ensure a smooth and efficient paint removal process.
Step 2: Prepare the work area
Before you start removing the paint, it is important to prepare the work area to prevent any damage or mess. Lay down a drop cloth or plastic sheeting to protect the floor or surrounding surfaces from paint chips and dust. Additionally, make sure to open windows or doors to ensure proper ventilation.

It is also advisable to wear protective gloves, eyewear, and a dust mask to protect yourself from any potential hazards or fumes during the paint removal process.
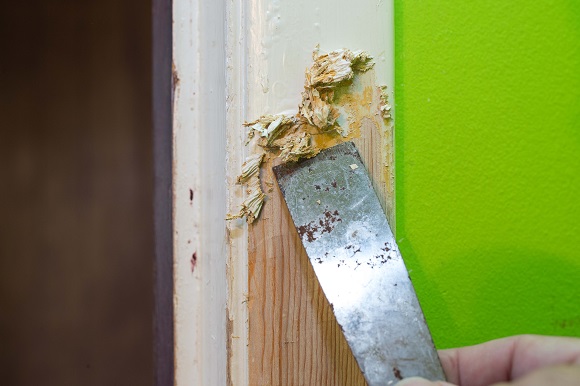
Step 3: Remove the loose paint
Using a paint scraper or putty knife, gently scrape off any loose or chipped paint from the surface of the wooden door. Be careful not to apply too much pressure and avoid damaging the wood underneath. If there are stubborn areas, you can use a heat gun or chemical paint stripper to soften the paint for easier removal.
For a heat gun, hold it a few inches away from the painted surface and move it back and forth until the paint starts to bubble. Then, scrape off the softened paint with a scraper or putty knife. If using a chemical paint stripper, follow the manufacturer’s instructions for application and removal.
Step 4: Sand the door
After removing the loose paint, it is essential to sand the wooden door to achieve a smooth and even surface. Start with medium-grit sandpaper to remove any remaining paint and rough areas. Sand in the direction of the wood grain to avoid scratches or damage. Once the majority of the paint is removed, switch to a fine-grit sandpaper for a finer finish.
Make sure to wipe away any dust or debris with a clean cloth before proceeding to the next step.
Step 5: Clean the door
Once the paint removal and sanding process is complete, it is crucial to clean the wooden door thoroughly. Use a clean cloth or sponge dampened with water or a mild detergent to remove any remaining residue, dust, or debris from the surface. Rinse with clean water and allow the door to dry completely before proceeding with any further treatments or finishes.
Step 6: Apply a new finish (optional)
If you wish to refinish your wooden door after removing the paint, you can now proceed with applying a new finish, such as paint, stain, or varnish. Follow the manufacturer’s instructions for the chosen finish and allow it to dry completely before using or reinstalling the door.
Step 7: Reinstall the door
Once the new finish is dry and the door is ready, carefully reinstall it in its original position. Make sure all hinges and hardware are securely tightened, and the door operates smoothly. Take your time and make any necessary adjustments to ensure a proper fit and functionality.
Congratulations! You have successfully removed paint from your wooden door and achieved a clean and refreshed look.
Frequently Asked Questions
Here are some common questions about how to remove paint from a wooden door:
1. How can I remove paint from a wooden door?
Removing paint from a wooden door can be done using a few different methods. One option is to use a chemical paint stripper. Apply the stripper to the door according to the manufacturer’s instructions, and then use a scraper to remove the softened paint. Another method is to use sandpaper to sand off the paint. Start with a coarse grit sandpaper and gradually move to a finer grit until the paint is removed. It’s important to wear protective gear and work in a well-ventilated area when using chemical strippers.
If you prefer a more natural approach, you can try using heat to remove the paint. A heat gun or a hairdryer can be used to soften the paint, making it easier to scrape off. Again, be sure to take safety precautions and work in a well-ventilated space.
2. What tools do I need to remove paint from a wooden door?
There are several tools that can be useful for removing paint from a wooden door. These include a paint scraper or putty knife, sandpaper in various grits, a heat gun or hairdryer, chemical paint stripper, and protective gear such as gloves and goggles. Having a drop cloth or plastic sheeting to protect surrounding areas from paint chips and dust is also recommended.
Additionally, having a bucket of soapy water and a sponge or rag for cleaning the door after paint removal can be helpful. Depending on the method you choose, you may also need a brush or roller to apply the paint stripper.
3. Can I remove paint from a wooden door without damaging the wood?
Yes, it is possible to remove paint from a wooden door without causing damage to the wood. However, it’s important to be cautious and follow proper techniques. When using a scraper or sandpaper, be gentle and avoid applying too much pressure. This will help prevent scratches or gouges in the wood surface.
If using a heat gun, be careful not to hold it too close to the wood for too long, as this can scorch or burn the surface. It’s a good idea to test the heat gun on a small, inconspicuous area of the door first to ensure that it doesn’t cause any damage.
4. How long does it take to remove paint from a wooden door?
The time it takes to remove paint from a wooden door can vary depending on factors such as the type and thickness of the paint, the method used, and the size of the door. Generally, it can take several hours to a full day to remove paint from a wooden door. Chemical paint strippers usually require some time to work, so be sure to follow the instructions on the product packaging. Sanding or using a heat gun may take longer, especially if there are multiple layers of paint to remove.
It’s important to be patient and take breaks as needed to avoid fatigue. Rushing the process can lead to mistakes or damage to the door.
5. What should I do after removing the paint from a wooden door?
After removing the paint from a wooden door, it’s important to clean the surface thoroughly to remove any residue or dust. Use a damp cloth or sponge and mild soap to wipe down the door, ensuring that all traces of paint and any chemicals used are removed.
Once the door is clean and dry, you can then proceed with any desired finishing steps. This may include sanding the wood to smooth out any imperfections, applying a wood stain or varnish for protection and aesthetics, or simply leaving the wood bare if desired. Be sure to follow the instructions of the chosen finishing product for best results.
In addition to the methods discussed, it is essential to note that prevention is key in maintaining a paint-free wooden door. Regularly inspect the door for signs of peeling or cracking paint, and address any issues promptly. Consider applying a protective sealant or varnish to the door’s surface to enhance its durability and resistance to future paint problems. Furthermore, be mindful of the quality of paint used on the door, as low-quality or incompatible paint can lead to premature peeling or chipping. By practicing proper maintenance and upkeep, your wooden door can remain a beautiful and welcoming feature of your home for years to come.
- Can Air Conditioner Cause Joint Pain - May 19, 2024
- Can Air Conditioner Cause Chest Pain - May 19, 2024
- Will Lysol Kill Mold in Air Conditioner? - May 19, 2024