Wood flooring is a timeless and elegant addition to any home, but over time, scratches and blemishes can mar its beauty. Luckily, there are simple and effective methods to remove those unsightly scratches and restore your wood flooring to its former glory. Whether you are dealing with minor surface scratches or deeper gouges, this guide will provide you with the knowledge and techniques to tackle the problem head-on.
In this comprehensive article, we will explore a range of tried and tested methods for removing scratches from wood flooring. From quick-fix remedies using household items to professional-grade techniques, we will cover it all. You will learn how to assess the severity of the scratches, select the appropriate method for your specific situation, and execute the process with precision and care. So, if you’re ready to bid farewell to those pesky scratches and reclaim the natural beauty of your wood flooring, let’s dive in and discover the secrets to achieving flawless results.
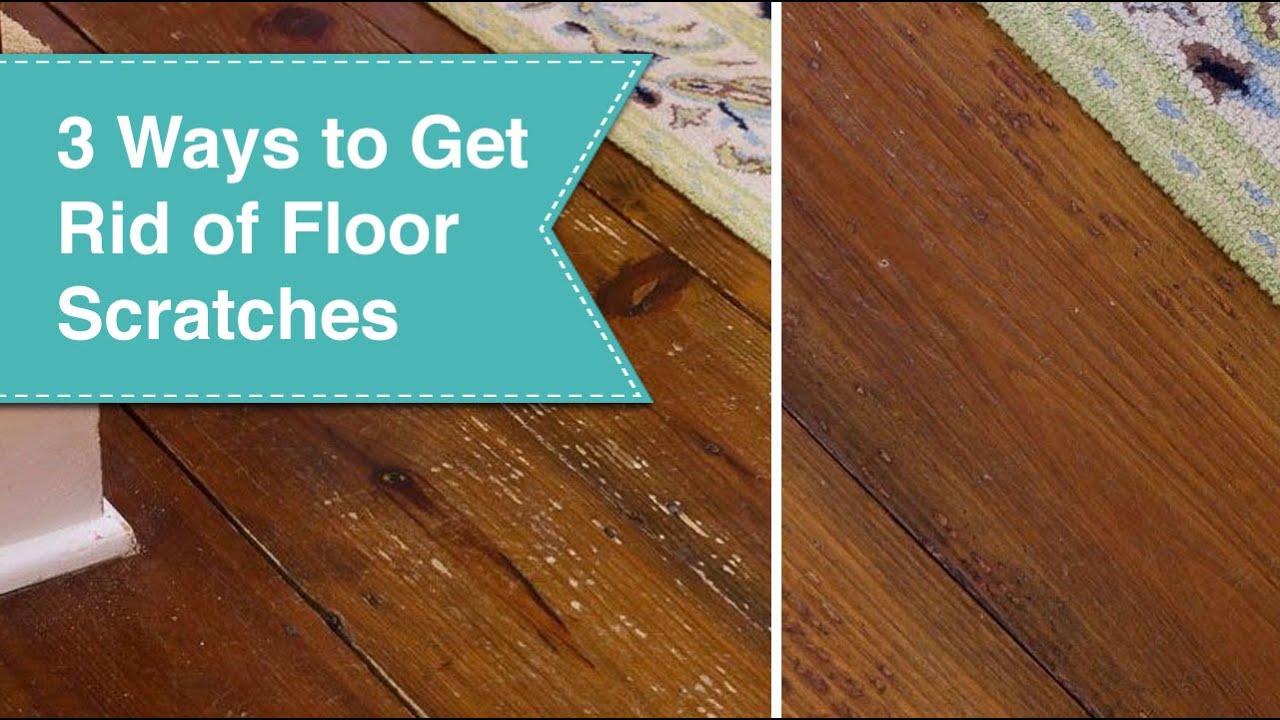
How to Remove Scratches from Wood Flooring:
- Assess the depth of the scratch.
- For shallow scratches, use a mixture of vinegar and olive oil to gently rub the scratch.
- For deeper scratches, use wood filler that matches the floor color and fill in the scratch.
- Gently sand the filled area and blend it with the surrounding floor.
- Apply a wood stain marker or wax to further conceal the scratch.
- Finish by applying a protective coat of polyurethane to the repaired area.
How to Remove Scratches from Wood Flooring
Wood flooring can add warmth and beauty to any home, but over time, scratches and scuffs may appear, detracting from its appearance. Fortunately, removing scratches from wood flooring is a manageable task that can be done with a few simple steps. In this guide, we will walk you through the process of removing scratches from wood flooring, ensuring that your floors regain their original luster.
Step 1: Assess the Severity of the Scratch
Before you begin the scratch removal process, it’s essential to assess the severity of the scratch. Superficial scratches that only affect the surface finish can be easily repaired, while deeper scratches that penetrate the wood may require more extensive treatment. By determining the severity of the scratch, you can choose the appropriate method for repair.
If the scratch is minor, you can start by using a soft, damp cloth to gently rub the scratch in the direction of the wood grain. This may help to minimize the appearance of the scratch and blend it with the surrounding area. For deeper scratches, you may need to utilize additional techniques, such as using wood filler or sanding the affected area.
Step 2: Utilize Wood Filler for Deeper Scratches
If the scratch on your wood flooring is deeper and cannot be resolved with a simple rubdown, you can use wood filler to repair the damaged area. Begin by cleaning the area around the scratch to ensure there is no dirt or debris present. Then, apply the wood filler to the scratch, using a putty knife or a plastic scraper. Be sure to follow the manufacturer’s instructions for the wood filler product you are using.

Once the wood filler has been applied, allow it to dry completely. This may take several hours, so be patient. Once dry, you can sand the area lightly to ensure a smooth finish. Start with a fine-grit sandpaper and gradually progress to a finer grit to achieve the desired result. Finally, wipe away any dust or residue and apply a protective finish to the repaired area, matching it with the rest of the floor.
Step 3: Preventing Future Scratches
After removing scratches from your wood flooring, it’s essential to take steps to prevent future damage. Place protective pads or felt under furniture legs to avoid scratches caused by movement. Use rugs or mats in high-traffic areas to minimize wear and tear. Regularly sweep or vacuum your wood floors to remove dirt and debris that could cause scratches.
Additionally, consider using area rugs in areas prone to scratches, such as near entryways or in front of sinks. These simple preventative measures can go a long way in preserving the beauty and longevity of your wood flooring.
By following these steps and taking preventative measures, you can effectively remove scratches from wood flooring and maintain its pristine appearance for years to come. Remember to always test any cleaning or repair method on a small, inconspicuous area of your flooring before applying it to the entire scratch to ensure compatibility and desired results.
Now that you have the knowledge and tools to address scratches on your wood flooring, you can restore its natural beauty with confidence.
Frequently Asked Questions
Here are some common questions about how to remove scratches from wood flooring:
How do I remove scratches from wood flooring?
Removing scratches from wood flooring can be achieved using a few different methods. One option is to use a wood stain marker that matches the color of your flooring. Simply fill in the scratch with the marker and wipe away any excess. Another option is to use a wood filler product. Apply the filler to the scratch, allowing it to dry completely before sanding it down to be level with the surrounding floor. Finally, if the scratches are shallow, you can try using a mixture of equal parts vinegar and olive oil. Apply this mixture to the scratches and let it sit for a few hours before wiping it away.
It’s important to note that the method you choose may depend on the severity of the scratches and the type of wood flooring you have. It’s always a good idea to test any products or methods in a small, inconspicuous area before applying them to the entire floor.
Can I use sandpaper to remove scratches from wood flooring?
Yes, sandpaper can be used to remove scratches from wood flooring, but it should be used with caution. Start by cleaning the scratched area thoroughly to remove any dirt or debris. Then, using a fine-grit sandpaper, gently sand the scratch in the direction of the wood grain. Be careful not to sand too aggressively, as this can damage the surrounding area and create an uneven surface. After sanding, wipe away any dust and apply a wood finish or sealant to protect the newly sanded area.
Keep in mind that sanding should only be used for deeper scratches that cannot be easily filled or concealed with other methods. If you’re unsure about using sandpaper or if the scratches are extensive, it’s best to consult with a professional for advice or assistance.
What household items can I use to remove scratches from wood flooring?
There are a few household items that can be used to remove scratches from wood flooring. One option is to use a mixture of equal parts vinegar and olive oil. Apply this mixture to the scratches, let it sit for a few hours, and then wipe it away. Another option is to use a walnut or pecan. Rub the nut gently over the scratch, allowing the natural oils to fill in the damaged area. You can also try using a mixture of baking soda and water. Create a paste with these two ingredients and apply it to the scratch, gently rubbing it in with a soft cloth.
While these household remedies can be effective for minor scratches, it’s important to note that they may not work for deeper or more severe damage. It’s always a good idea to test any household items on a small, inconspicuous area before applying them to the entire floor.
Can I use wood filler to remove scratches from engineered wood flooring?
Yes, wood filler can be used to remove scratches from engineered wood flooring. Start by cleaning the scratched area and removing any dirt or debris. Then, apply the wood filler to the scratch, making sure to fill it completely. Allow the filler to dry according to the manufacturer’s instructions. Once dry, use fine-grit sandpaper to sand down the filled area until it is level with the surrounding floor. After sanding, wipe away any dust and apply a wood finish or sealant to protect the repaired area.
It’s important to note that not all wood fillers are suitable for use on engineered wood flooring. Be sure to choose a filler specifically designed for this type of flooring to ensure proper adhesion and compatibility. If you’re unsure about using wood filler or if the scratches are extensive, it’s best to consult with a professional for advice or assistance.
How can I prevent scratches on wood flooring?
Preventing scratches on wood flooring can be done through a few simple measures. First, place doormats at all entrances to catch dirt, gravel, and debris that can be tracked in and cause scratches. Additionally, use furniture pads or felt sliders under the legs of furniture to prevent them from scratching the floor when moved. Avoid wearing high heels or shoes with sharp or damaged soles on the wood flooring, as these can easily leave marks. Regularly sweep or vacuum the floor to remove any dirt or particles that could potentially cause scratches.
If you have pets, keep their nails trimmed to minimize the risk of scratches. It’s also a good idea to use area rugs or runners in high-traffic areas to provide an extra layer of protection. Lastly, consider applying a protective finish or sealant to the wood flooring to help guard against scratches and other damage.

It is important to take preventive measures to avoid future scratches by using mats or rugs in high traffic areas, using furniture pads, and regularly sweeping and mopping your floors. By taking care of your wood flooring, you can enjoy its timeless elegance for years to come. So, roll up your sleeves, gather the necessary tools, and embrace the satisfaction of bringing your wood floors back to their former glory.
- How to Frame a Wooden Jigsaw Puzzle - May 12, 2024
- How to Glue a Wooden Jigsaw Puzzle - May 12, 2024
- How to Decoupage Wood - May 12, 2024