Are you a woodworking enthusiast looking to elevate your craftsmanship to the next level? If so, then you know the importance of having sharp and precise tools, such as a wood chisel. A sharp chisel not only makes your work easier and more efficient, but it also ensures clean and accurate cuts that showcase your skills. Whether you’re a beginner or an experienced woodworker, learning how to sharpen a wood chisel is an essential skill that can significantly enhance your woodworking journey. In this guide, we will take you through a step-by-step process, providing you with the knowledge and techniques to sharpen your wood chisel like a pro. Get ready to unleash the full potential of your chisel and create masterpieces that will leave others in awe.
Sharpening a wood chisel may seem like a daunting task, but with the right tools and techniques, it can be a rewarding and enjoyable process. In this comprehensive guide, we will break down the process into simple and easy-to-follow steps, ensuring that you sharpen your chisel effectively and efficiently. From understanding the different types of chisels to selecting the right sharpening tools, we will cover all the essential aspects of the sharpening process. We will also delve into the correct sharpening angles, honing techniques, and finishing touches that will make your chisel slicing through wood like a hot knife through butter. So, whether you’re a seasoned woodworker looking for a refresher or a beginner eager to learn the ropes, this guide is your go-to resource for mastering the art of sharpening a wood chisel. Get ready to elevate your woodworking game and achieve flawless results with a sharp and precise chisel.
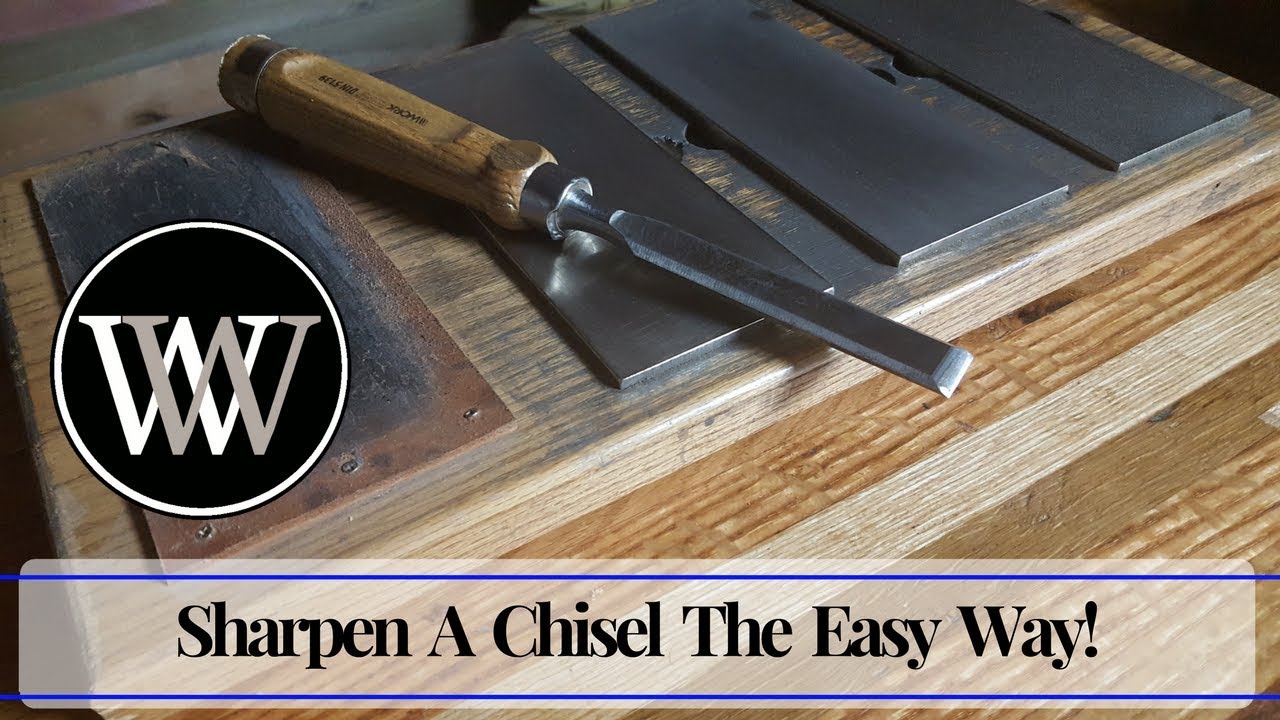
- Secure the chisel in a vise to prevent accidents.
- Use a honing guide to maintain the correct angle while sharpening.
- Start with a coarse sharpening stone and move to finer grits for a polished edge.
- Hold the chisel at a slight downward angle and move it back and forth across the stone.
- Repeat the process on the other side of the chisel to ensure an even edge.
- Finish by honing the chisel on a leather strop for a razor-sharp edge.

How to Sharpen a Wood Chisel
Learn the step-by-step process of sharpening a wood chisel to ensure precise and clean cuts every time.
Step 1: Gather the Necessary Materials
Before you begin sharpening your wood chisel, it’s important to gather all the necessary materials. You will need:
- A bench grinder with a medium-grit and a fine-grit wheel
- A honing guide
- A sharpening stone or diamond stone
- A honing compound
- A flat surface, such as a workbench or table
- Safety goggles and gloves
Having all these materials ready will ensure a smooth and efficient sharpening process.
Step 2: Prepare the Chisel
Before you start sharpening, it’s essential to prepare the wood chisel properly. Start by removing any dirt or debris from the blade using a brush or cloth. Then, inspect the blade for any chips or nicks. If you find any, use a file or a bench grinder to carefully remove them, ensuring the cutting edge is smooth and even.
Next, secure the chisel in a honing guide. The honing guide will help maintain the correct angle while sharpening. Make sure the cutting edge is facing up and protrudes slightly from the guide. Tighten the screws of the honing guide to secure the chisel in place.
Step 3: Initial Grinding

Start by using the medium-grit wheel on the bench grinder to perform the initial grinding. Turn on the grinder and hold the chisel firmly against the wheel, maintaining a consistent angle. Move the chisel back and forth across the wheel, applying gentle pressure. Be careful not to overheat the blade; if it becomes too hot, dip it in water to cool it down.
Continue grinding until you see a clean and even bevel forming on the cutting edge. Check the angle periodically using a protractor or a honing guide. Once the bevel is established, switch to the fine-grit wheel for further refinement.
Step 4: Honing the Edge
Now it’s time to hone the cutting edge for a sharp and polished finish. Apply a small amount of honing compound to the sharpening stone or diamond stone. With the chisel securely held in the honing guide, place the cutting edge flat on the stone.
Moving the chisel back and forth, maintain the same angle as during the grinding process. Apply light pressure and ensure the entire cutting edge contacts the stone. Repeat this process several times, periodically reapplying honing compound as needed, until the cutting edge feels smooth and sharp.
Step 5: Test and Fine-Tune
After honing, it’s important to test the sharpness of the chisel to ensure optimal performance. Carefully touch the cutting edge to a piece of scrap wood and observe the results. If the chisel cuts cleanly and effortlessly, it is properly sharpened. If not, return to the honing process and make any necessary adjustments to achieve the desired sharpness.
Remember to always wear safety goggles and gloves when working with sharp tools. Properly sharpened wood chisels not only make woodworking tasks easier, but they also help prevent accidents by ensuring clean and controlled cuts.
Frequently Asked Questions
Here are some common questions about how to sharpen a wood chisel:
Question 1: Why is it important to sharpen a wood chisel?
Sharpening a wood chisel is important because a sharp chisel allows for precise and clean cuts in wood. A dull chisel, on the other hand, can cause rough and jagged cuts, making it difficult to achieve the desired results. Additionally, a sharp chisel is safer to use as it requires less force to cut through wood, reducing the likelihood of slips and accidents.
Regularly sharpening your chisels also helps maintain their longevity. By removing the dull edges and honing them to a fine point, you can ensure that your chisels remain in optimal condition, allowing you to work efficiently and effectively.
Question 2: What tools are needed to sharpen a wood chisel?
To sharpen a wood chisel, you will need a few essential tools:
1. Bench grinder or sharpening stones: These tools are used to remove the metal to create a new cutting edge on the chisel.
2. Honing guide: This tool helps maintain a consistent angle while sharpening the chisel, ensuring an even and precise edge.
3. Leather strop: A strop is used to polish and refine the cutting edge, resulting in a razor-sharp chisel.
With these tools, you can effectively sharpen your wood chisels and keep them in optimal condition for woodworking projects.
Question 3: How often should I sharpen my wood chisel?
The frequency of sharpening your wood chisel will depend on how often you use it and the type of wood you are working with. As a general guideline, it is recommended to sharpen your chisel whenever you notice a decrease in its cutting performance. This could be indicated by the chisel struggling to make clean cuts or leaving rough edges.
Regular maintenance is key to keeping your chisels sharp and efficient. It is better to sharpen them before they become excessively dull, as this will require more time and effort to restore the cutting edge. By incorporating periodic sharpening into your woodworking routine, you can ensure that your chisels are always ready to deliver precise and clean cuts.
Question 4: How can I maintain the correct angle while sharpening a wood chisel?
Maintaining the correct angle while sharpening a wood chisel is crucial for achieving a sharp and effective cutting edge. A honing guide can be used to help maintain a consistent angle throughout the sharpening process. The honing guide is adjustable and allows you to set the desired angle for your chisel.
Start by securely clamping the chisel into the honing guide, ensuring that it is at the desired angle. Then, using a bench grinder or sharpening stones, carefully sharpen the chisel by moving it back and forth along the abrasive surface. Be sure to apply even pressure and maintain the angle set by the honing guide. This will ensure a uniform and sharp cutting edge.
Question 5: Are there any safety precautions I should take when sharpening a wood chisel?
When sharpening a wood chisel, it is important to prioritize safety. Here are some precautions to keep in mind:
1. Wear safety goggles to protect your eyes from any sparks or debris that may be produced during the sharpening process.
2. Use a secure work surface and ensure that the chisel is properly clamped or secured in a honing guide to prevent any accidents or slips.
3. Maintain a firm grip on the chisel and avoid applying excessive force, as this can lead to instability and potential injuries.
By following these safety precautions, you can sharpen your wood chisels effectively while minimizing the risk of accidents or injuries.
How to Sharpen a Chisel | Paul Sellers
In conclusion, mastering the art of sharpening a wood chisel is a valuable skill for any woodworker or DIY enthusiast. With the right tools and techniques, you can transform a dull and ineffective chisel into a precision cutting instrument. Remember to always prioritize safety by wearing protective gear and securing your workpiece before beginning the sharpening process.
By following the step-by-step guide outlined in this article, you can ensure that your wood chisel remains in optimal condition, allowing you to achieve clean and precise cuts in your woodworking projects. Regularly sharpening your chisel will not only enhance its performance but also prolong its lifespan, saving you time and money in the long run. So, embrace the challenge of sharpening your wood chisel and unlock a whole new level of woodworking proficiency. Happy sharpening!
- How to Make Wood Look Weathered - May 14, 2024
- How to Solve Wooden Egg Puzzle - May 14, 2024
- How to Decoupage on Wood With Pva Glue - May 14, 2024