Are you looking to add both style and safety to your outdoor steps? Look no further! In this guide, we will walk you through the step-by-step process of building a wooden handrail for your outdoor steps. Whether you are a skilled carpenter or a beginner DIY enthusiast, this project is sure to enhance the aesthetic appeal of your home while providing a sturdy handrail for you and your loved ones to rely on. So grab your tools and let’s get started on creating a beautiful and functional addition to your outdoor space!
As we delve into this project, we will cover everything you need to know, from selecting the right materials to measuring and cutting the pieces to assembling and installing the handrail. We will provide clear instructions, helpful tips, and detailed illustrations to ensure that you feel confident and empowered throughout the entire process. By the end, you will have a handrail that not only meets your safety needs but also complements the overall design of your outdoor steps. So let’s roll up our sleeves and embark on this exciting journey of crafting a wooden handrail that will truly elevate your home’s exterior.
How to Build a Wooden Handrail for Outdoor Steps:
- Measure and mark the height and length of the handrail.
- Secure the brackets to the wall using screws.
- Cut the wooden handrail to the desired length.
- Attach the handrail to the brackets using screws.
- Sand the handrail and apply a weather-resistant finish.
- Regularly inspect and maintain the handrail for safety.
How to Build a Wooden Handrail for Outdoor Steps
In this guide, we will provide you with step-by-step instructions on how to build a wooden handrail for outdoor steps. Whether you are looking to enhance the safety of your stairs or simply add a decorative element to your outdoor space, this project can be completed with some basic tools and materials. Follow these instructions for a sturdy and visually appealing handrail.
1. Planning and Preparation
Prior to starting the construction process, it is essential to plan and prepare accordingly. Begin by measuring the length of your outdoor steps and determining the desired height of the handrail. Take note of any local building codes or regulations that may impact the design and dimensions of your handrail.
Next, gather all the necessary tools and materials for the project. This may include a circular saw, drill, measuring tape, level, screws, wood glue, and a selection of wooden boards suitable for outdoor use. Ensure that you have a safe and well-ventilated work area.
2. Marking and Cutting the Handrail
Using your measurements, mark the desired length of the handrail on your wooden board. Double-check the accuracy of your measurements before making any cuts. Use a circular saw to carefully cut the board to the appropriate length. If your handrail requires multiple pieces, repeat this process for each section.

Next, mark the desired height for the handrail on both ends of the cut board. Use a level to ensure that the marks are horizontal. Connect the marks with a straight line, and repeat this process for all sections of the handrail.
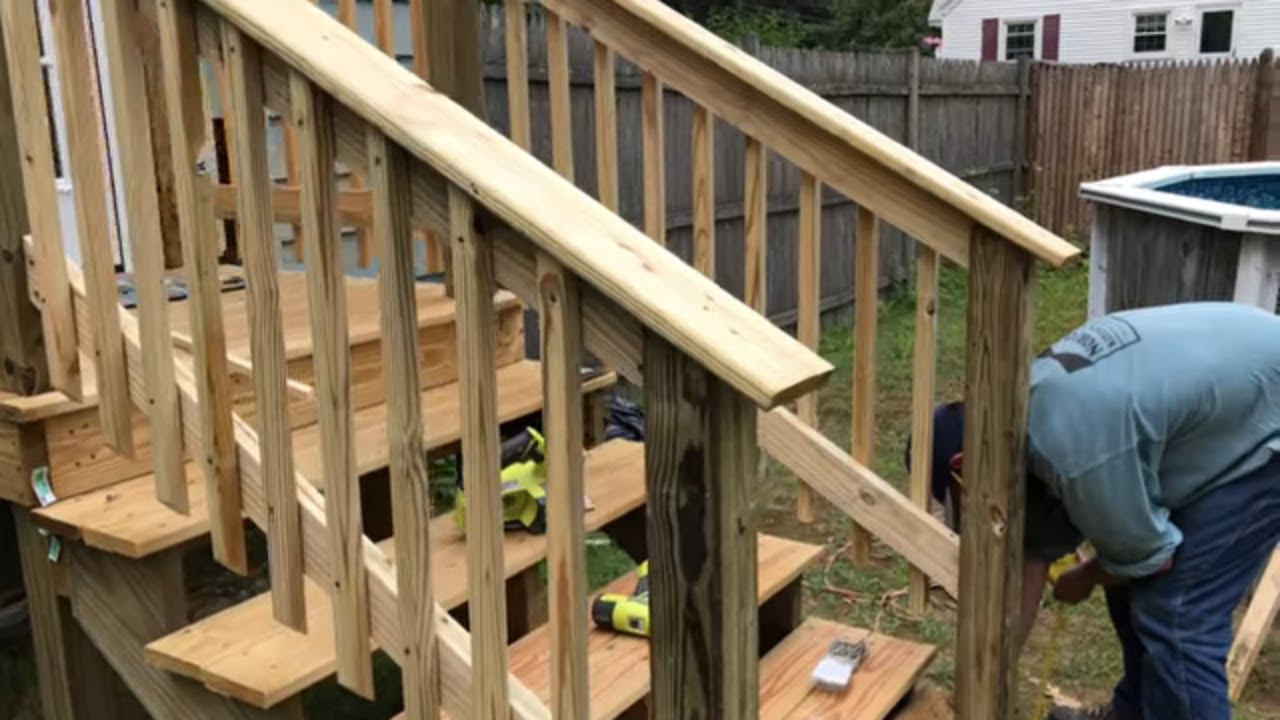
3. Installing the Handrail Posts
Determine the number of handrail posts needed based on the length of your handrail. These posts will provide support and stability for the handrail. Measure and mark the locations for the posts, ensuring they are evenly spaced along the length of the handrail.
Using a drill and appropriate screws, attach the handrail posts to the stairs or the adjacent structure. Make sure the posts are securely fastened and plumb. Test the stability of the posts by applying pressure before proceeding to the next step.
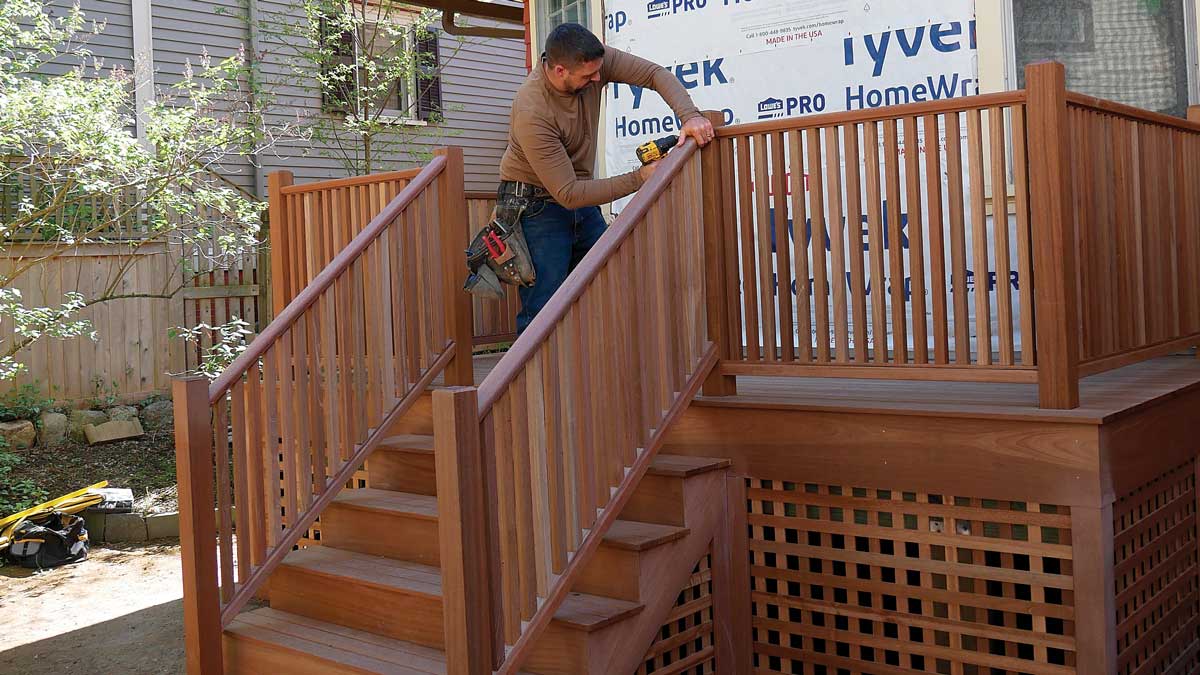
4. Attaching the Handrail
Apply wood glue along the top surface of the handrail posts. Carefully position the handrail sections on top of the posts, aligning them with the previously marked lines. Use screws to secure the handrail to the posts, ensuring a tight and secure fit.
For added strength and stability, consider adding additional screws at an angle through the handrail and into the posts. This will help prevent any wobbling or loosening over time. Repeat this process for each section of the handrail, making sure they are flush and level.
5. Finishing Touches
Once the handrail is securely attached, take the time to sand any rough edges or surfaces. This will create a smooth finish and reduce the risk of splinters. Apply a weather-resistant finish or paint to protect the wood from the elements and enhance its appearance.
Regularly inspect the handrail for any signs of wear or damage, and make necessary repairs or adjustments as needed. By properly maintaining your wooden handrail, you can ensure its longevity and continued functionality.
6. Safety Considerations
While building a wooden handrail for outdoor steps can be a rewarding DIY project, it is important to prioritize safety throughout the process. Use appropriate safety gear, such as goggles and gloves, when handling tools and materials. Take your time and work carefully to avoid accidents or injuries.
Additionally, ensure that the handrail meets local building codes and regulations. These codes are in place to ensure the safety of users, so it is important to adhere to them. If you are unsure about any requirements, consult with a professional or local authorities for guidance.
Frequently Asked Questions
Here are some common questions about building a wooden handrail for outdoor steps:
Question 1: What materials do I need to build a wooden handrail for outdoor steps?
Answer: To build a wooden handrail for outdoor steps, you will need the following materials:
– Pressure-treated lumber or cedar for the handrail and posts
– Galvanized screws or nails
– Concrete mix or post anchors for securing the posts
– A circular saw, miter saw, or hand saw for cutting the lumber
– A drill and drill bits for making pilot holes
– A level and measuring tape for ensuring accuracy
Question 2: How do I determine the height and length of the handrail?
Answer: The height of the handrail typically follows local building codes, but a common guideline is to have the top of the handrail between 34 and 38 inches above the steps. To determine the length of the handrail, measure the total length of the steps and add a few extra inches on each end for overhang.
Keep in mind that the handrail should extend at least 12 inches beyond the first and last step to provide adequate support and stability.
Question 3: What is the best way to secure the handrail posts?
Answer: There are two common methods for securing handrail posts for outdoor steps. The first method is to use concrete mix to create a stable foundation for the posts. Dig holes at least 18 inches deep, place the posts in the holes, and fill them with concrete mix. Make sure the posts are plumb and level before the concrete sets.
The second method is to use post anchors, which are metal brackets that attach to the bottom of the posts and anchor into the ground. This method is suitable for situations where digging holes for concrete is not feasible or preferred.
Question 4: How do I attach the handrail to the posts?
Answer: To attach the handrail to the posts, you can use either screws or nails. Pre-drill pilot holes in the handrail and posts to prevent splitting, then secure them together using galvanized screws or nails. Make sure the handrail is level and securely fastened to provide stability and support.
Consider using additional brackets or connectors for added strength and durability, especially for longer handrails or areas with high foot traffic.
Question 5: How do I finish and maintain the wooden handrail?
Answer: To finish the wooden handrail, you can apply an outdoor wood stain or paint to protect it from weathering and UV damage. Choose a product specifically designed for exterior use and follow the manufacturer’s instructions for application.
Maintaining the handrail involves regular inspection and cleaning. Check for any signs of damage, such as cracks or loose fasteners, and repair them promptly. Clean the handrail periodically with mild soap and water, and consider reapplying a protective finish every few years to maintain its appearance and durability.
Furthermore, building a wooden handrail for outdoor steps offers a great opportunity to showcase your creativity and personal style. Whether you choose a classic design or opt for a more contemporary look, the possibilities are endless. Additionally, this project allows you to customize the handrail to fit your specific needs and preferences, ensuring that it seamlessly integrates with your existing outdoor decor. So, why not embark on this rewarding endeavor and transform your outdoor space into a safe and beautiful oasis? With the right tools, materials, and guidance, you can confidently take on the challenge of building a wooden handrail for your outdoor steps.
- How to Apply Eco Wood Treatment - April 13, 2024
- How to Use Pc Woody Wood Epoxy - April 13, 2024
- How to Treat Wood Fungus - April 13, 2024