Are you tired of ordering pizza from your local restaurant and craving the authentic taste of a wood-fired oven? Well, you’re in luck! In this guide, we will delve into the fascinating world of building your very own wood-fired pizza oven. Imagine the satisfaction of crafting a delicious homemade pizza, with a crispy crust and perfectly melted cheese, all from the comfort of your own backyard. Whether you are an experienced DIY enthusiast or a complete novice, this step-by-step tutorial will provide you with all the necessary information and guidance to embark on this exciting culinary adventure.
Building a wood-fired pizza oven is not only a practical addition to your outdoor space but also a statement of craftsmanship and a testament to the age-old tradition of artisanal cooking. As you delve deeper into this guide, you will learn about the different types of pizza ovens, the materials required for construction, and the key steps involved in assembling your very own masterpiece. With a little patience and perseverance, you will soon be enjoying the delightful aromas and flavors that can only be achieved through the magic of a wood-fired oven. So, roll up your sleeves, gather your tools, and let’s get started on this rewarding journey to create the ultimate pizza experience!
How to Build a Wood Fired Pizza Oven
- Choose a suitable location for your oven.
- Prepare the foundation and build a solid base.
- Construct the oven dome using fire bricks and refractory mortar.
- Create the oven floor using fire bricks or clay tiles.
- Build the chimney and ensure proper ventilation.
- Finish the exterior with your preferred materials.
- Cure the oven by gradually increasing the temperature over several days.
- Enjoy making delicious wood-fired pizzas!
Building a Wood Fired Pizza Oven: Step-by-Step Guide
In this article, we will provide a detailed step-by-step guide on how to build a wood fired pizza oven. Whether you are a DIY enthusiast or an aspiring pizza chef, constructing your own pizza oven can be a rewarding and enjoyable project. With the right materials and careful planning, you can create a beautiful and functional oven that will enhance your outdoor cooking experience.
Step 1: Planning and Design
Before you start gathering materials, it’s important to plan and design your wood fired pizza oven. Consider factors such as the size of the oven, the location in your backyard, and the materials you will need. You can find various designs and plans online, or you can create your own custom design. Sketch out your ideas and calculate the dimensions to ensure that the oven will fit in your desired space.
Additionally, consider the type of materials you will use for the oven’s construction. Common choices include firebricks, refractory cement, and insulation materials. Research the pros and cons of each material and determine which ones are best suited for your specific needs and budget.
Step 2: Gathering Materials
Once you have finalized your design, it’s time to gather the necessary materials. Start by making a comprehensive list of everything you will need, including the oven dome materials, insulation materials, and tools. Purchase the required items from a reputable supplier to ensure their quality.
When it comes to the oven dome, firebricks are a popular choice due to their excellent heat retention properties. For insulation, consider using ceramic fiber blanket or perlite mixed with cement. Don’t forget to gather the necessary tools such as a trowel, level, and masonry saw.
Step 3: Building the Foundation

The foundation is a crucial element to ensure the stability and longevity of your wood fired pizza oven. Start by clearing the area and excavating a foundation pit according to the dimensions of your design. Next, prepare a concrete mix and pour it into the pit, making sure it is level and smooth. Allow the foundation to cure for a few days before proceeding to the next step.
Once the foundation is ready, you can start building the base of the oven. Lay the concrete blocks or bricks in a pattern that matches your design, ensuring they are level and securely bonded. This base will provide support for the oven dome and insulation layers.
Step 4: Constructing the Oven Dome
The oven dome is the most important part of the wood fired pizza oven, as it is responsible for retaining and radiating heat. To build the dome, start by wetting the firebricks to prevent them from absorbing moisture from the mortar. Lay the bricks in a circular pattern, using a heat-resistant mortar to bond them together.
As you build the dome, remember to leave an opening for the oven entrance. Use a temporary arch support to maintain the shape while the mortar dries. Once the dome is complete, remove the support and allow the mortar to cure completely before moving on to the next step.
Step 5: Applying Insulation
Proper insulation is essential to ensure efficient heat retention and prevent the oven from cracking due to thermal expansion. Begin by applying a layer of insulation material, such as ceramic fiber blanket, over the oven dome. Secure it in place using metal mesh or chicken wire.
Next, mix the insulation material with a refractory mortar to create a thick, paste-like consistency. Apply this mixture over the insulation layer, covering it entirely. Smooth out any bumps or uneven areas to create a uniform surface. Allow the insulation to dry and cure according to the manufacturer’s instructions.
Step 6: Finishing Touches
Once the insulation is fully cured, you can add the final touches to your wood fired pizza oven. Apply a layer of refractory cement or stucco to create a protective and aesthetically pleasing exterior. You can also add decorative elements, such as tiles or mosaic patterns, to personalize your oven.
After completing the exterior, it’s important to properly cure the oven before using it for cooking. Gradually increase the temperature over several days, allowing the oven to dry and release any remaining moisture. This process will strengthen the oven and prevent cracking.
Step 7: Enjoying Your Wood Fired Pizza Oven
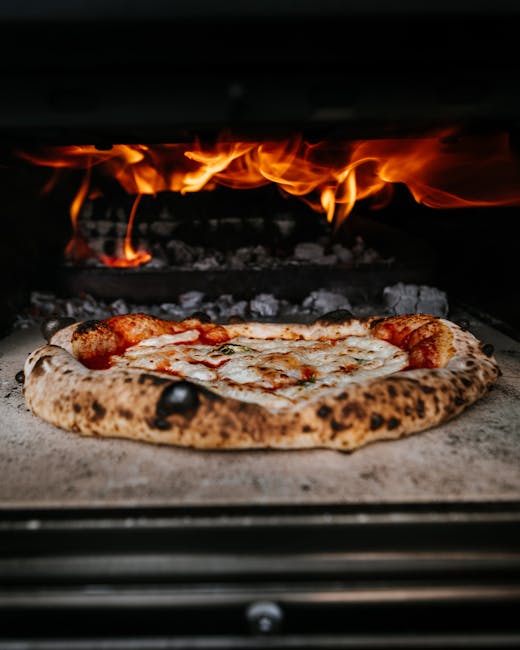
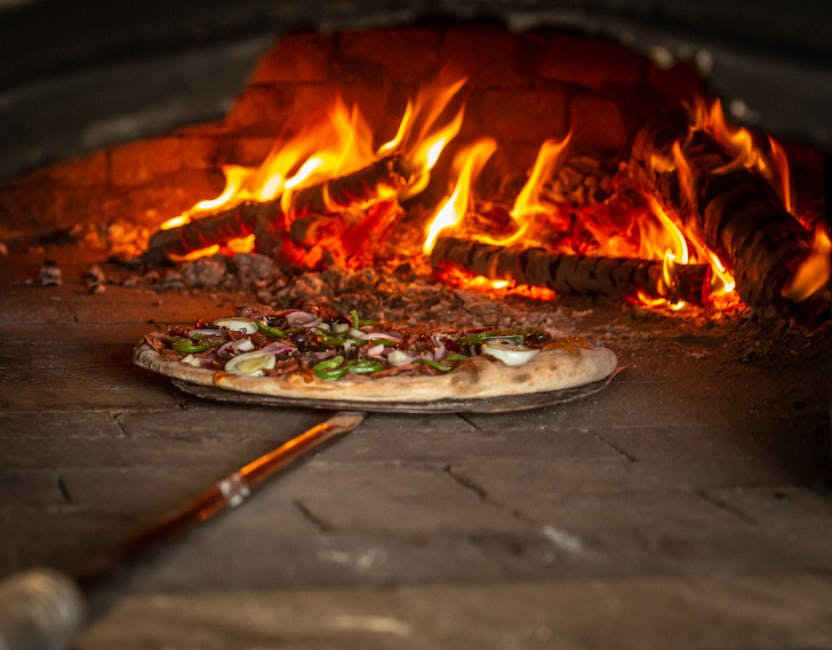
Now that your wood fired pizza oven is complete, it’s time to fire it up and start cooking delicious pizzas! Use dry, seasoned hardwood to create a hot and even fire. Allow the oven to heat up for at least an hour before placing your pizzas inside. Experiment with different toppings and cooking techniques to perfect your pizza-making skills.
Remember, building a wood fired pizza oven requires patience and attention to detail. Follow these steps carefully, and you will be rewarded with a beautiful and functional oven that will bring joy to your family and friends for years to come.
Frequently Asked Questions
Here are some commonly asked questions about how to build a wood-fired pizza oven:
Q: What materials do I need to build a wood-fired pizza oven?
A: Building a wood-fired pizza oven requires several materials. You will need fire bricks or refractory bricks for the oven chamber, insulation materials such as ceramic fiber blanket or vermiculite for heat retention, cement or refractory mortar for joining the bricks, a metal door for the oven opening, and a chimney for smoke ventilation. You may also need tools such as a masonry saw, trowel, and level for construction.
It is important to ensure that all materials used are suitable for high temperatures and can withstand the intense heat generated by the wood fire.
Q: How big should the wood-fired pizza oven be?
A: The size of the wood-fired pizza oven can vary depending on your needs and available space. However, a common size for a home pizza oven is around 32-36 inches in diameter. This size allows you to cook multiple pizzas at once and provides enough space for the fire to burn efficiently.
Keep in mind that the size of the oven will also determine the amount of materials required for construction, so plan accordingly.
Q: Do I need any special skills to build a wood-fired pizza oven?
A: While building a wood-fired pizza oven does require some basic masonry skills, it is a project that can be undertaken by a motivated DIY enthusiast. It is important to have a good understanding of the construction process, including laying bricks, mixing mortar, and ensuring proper insulation and ventilation.
If you are new to masonry, it may be helpful to consult online resources, books, or even take a short course to familiarize yourself with the techniques and best practices before beginning the project.
Q: How long does it take to build a wood-fired pizza oven?
A: The time required to build a wood-fired pizza oven can vary depending on factors such as the size of the oven, your skill level, and the availability of materials. On average, it can take anywhere from a few days to a couple of weeks to complete the construction.
It is important to allocate enough time for each stage of the process, including the curing time for the mortar and any necessary drying time for the insulation materials. Rushing the construction can lead to poor results and potential safety hazards.
Q: Can I use my wood-fired pizza oven for other types of cooking?
A: Yes, a wood-fired pizza oven can be used for various types of cooking besides pizza. The high temperatures achieved in the oven make it ideal for baking bread, roasting meats, grilling vegetables, and even cooking desserts.
By adjusting the fire and temperature, you can create different cooking zones within the oven to cook a wide range of dishes. Experimentation and practice will help you master the art of using the wood-fired pizza oven for different types of cuisine.
Remember, building a wood-fired pizza oven requires patience, attention to detail, and a passion for craftsmanship. As you gather the necessary materials, lay the foundation, and assemble the oven, take the time to appreciate the process and embrace the opportunity to create something truly unique. Once your oven is complete, the possibilities are endless. From traditional Margherita pizzas to creative and personalized toppings, you’ll have the freedom to experiment and perfect your pizza-making skills.
So, what are you waiting for? Roll up your sleeves, gather your tools, and let your imagination soar as you embark on the journey of building your own wood-fired pizza oven. With a little dedication and perseverance, you’ll soon be savoring authentic, artisanal pizzas that will have everyone coming back for more. Enjoy the process, and may your wood-fired pizza oven bring you years of culinary joy!
- How to Repair Split Wood Door - April 16, 2024
- How to Fix Gouges in Hardwood Floors - April 16, 2024
- How to Remove Wood Gorilla Glue - April 16, 2024