Woodworking is a craft that has been passed down through generations, captivating enthusiasts with its timeless appeal and endless possibilities. Whether you are a seasoned woodworker or just starting your journey in this fulfilling hobby, mastering the art of cutting circles in wood is an essential skill to have in your repertoire. From crafting a perfectly round tabletop to creating stunning wooden ornaments, the ability to cut circles opens up a world of creative opportunities. In this guide, we will explore the techniques, tools, and tips needed to achieve precise and flawless circular cuts in wood, allowing you to elevate your woodworking projects to new heights.
As you delve into the world of woodworking, you will quickly discover that cutting circles in wood requires a combination of precision, patience, and the right tools. The process may seem daunting at first, but fear not, as we will break it down step by step, providing you with the knowledge and confidence needed to tackle this task with ease. Whether you are working with a handheld jigsaw, a bandsaw, or even a router, we will guide you through the process of selecting the appropriate tool for your project and using it effectively to achieve those perfectly symmetrical circles. So, let us embark on this woodworking journey together and unlock the secrets of cutting circles in wood.
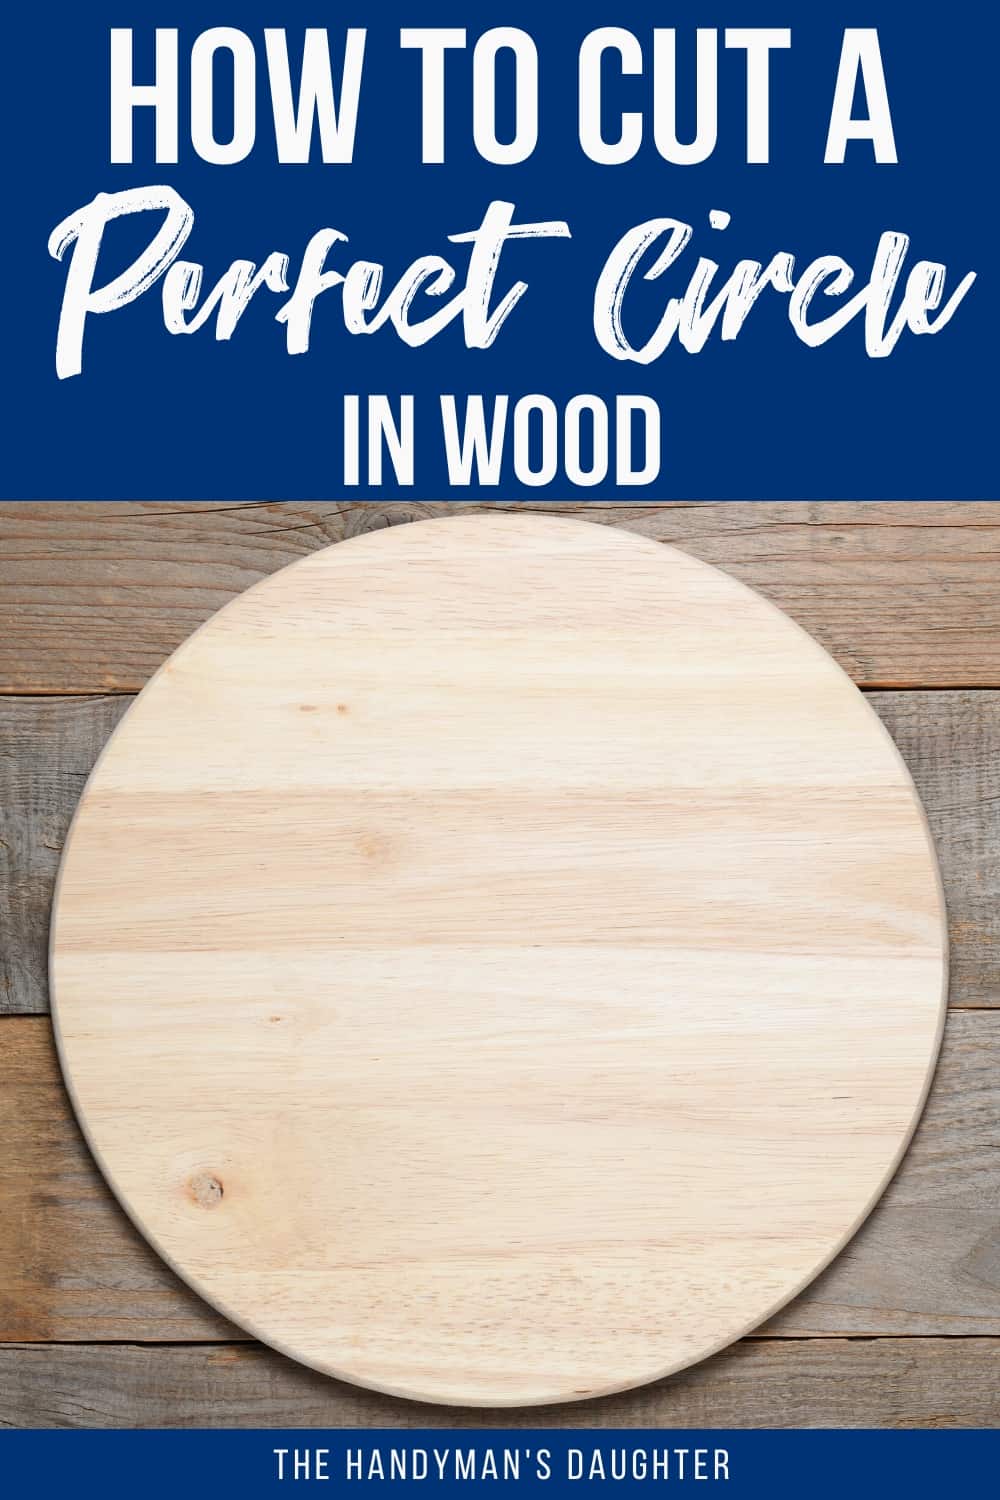
How to Cut Circles in Wood:
To cut circles in wood, follow these steps:
- Mark the center of the circle on the wood.
- Drill a small hole at the center point.
- Attach a jigsaw with a fine-toothed blade.
- Cut along the marked circle, keeping the jigsaw blade outside the line.
- Sand the edges to smoothen the cut circle.

How to Cut Circles in Wood
Woodworking projects often call for cutting circles in wood, whether it’s for decorative purposes or functional components. While cutting precise circles may seem challenging, it can be accomplished with the right tools and techniques. In this article, we will guide you through the step-by-step process of cutting circles in wood, ensuring accurate and clean results.
Step 1: Gather the Necessary Tools and Materials
Before you begin cutting circles in wood, make sure you have all the necessary tools and materials readily available. Here’s a list of what you’ll need:
- A drill press or a jigsaw: A drill press is ideal for larger circles, while a jigsaw works well for smaller ones.
- A circle-cutting jig: This jig will help guide the tool along the desired path, ensuring a smooth and precise cut.
- A piece of wood: Choose a suitable piece of wood that matches the size and thickness required for your project.
- A pencil or marker: This will be used to mark the center point of the circle on the wood.
- Safety equipment: Wear protective goggles and gloves to ensure your safety throughout the process.
Once you have gathered all the necessary tools and materials, you can move on to the next step.
Step 2: Mark the Center Point of the Circle

The center point of the circle is crucial for achieving an accurate cut. Measure and mark the center point on the wood using a pencil or marker. You can use a compass or a ruler to find the center if needed. Double-check the accuracy of your mark before proceeding to the next step.
With the center point marked, you’re now ready to move on to the actual cutting process. Depending on the tool you’re using, follow the appropriate steps below.
Step 3: Cutting Circles with a Drill Press
If you’re using a drill press to cut circles in wood, follow these steps:
- Attach the circle-cutting jig to the drill press table, ensuring it is securely fastened.
- Position the wood on the jig, aligning the center mark with the centering pin on the jig.
- Adjust the depth of the drill press, setting it to the desired depth for your circle.
- Turn on the drill press and slowly lower the drill bit onto the wood, beginning at the edge of the circle.
- Maintain a steady and controlled pace as you guide the drill bit along the path of the circle.
- Continue cutting until you reach the starting point, completing the circle.
Once you have finished cutting the circle, turn off the drill press and remove the wood from the jig. Sand the edges if necessary to achieve a smooth finish.
Step 3: Cutting Circles with a Jigsaw
If you’re using a jigsaw to cut circles in wood, follow these steps:
- Securely clamp the wood to a workbench or a sawhorse to prevent it from moving during the cutting process.
- Position the jigsaw blade near the edge of the marked circle, ensuring it aligns with the center point.
- Switch on the jigsaw and slowly guide the blade along the marked circle, maintaining a steady and controlled motion.
- Adjust the speed of the jigsaw as needed to achieve the desired cutting results.
- Continue cutting until you complete the circle, staying as close to the marked line as possible.
After cutting the circle, remove the wood from the clamps and sand the edges for a smooth finish. You can now incorporate the circular wood piece into your woodworking project.
Cutting circles in wood may require practice to master, but by following these steps and using the right tools, you can achieve precise and clean results. Remember to prioritize safety by wearing protective equipment and working in a well-ventilated area. Happy woodworking!
Frequently Asked Questions
Here are some commonly asked questions about cutting circles in wood:
Question 1: What tools do I need to cut circles in wood?
To cut circles in wood, you will need a few specific tools. Firstly, you will need a compass or a circle-cutting jig to mark the circle on the wood. A jigsaw or a scroll saw is then typically used to cut along the marked line. Additionally, a drill with a bit large enough to accommodate the jigsaw blade may be required for interior cuts. Finally, sandpaper or a sanding block can be used to smooth the edges of the cut circle.
It is important to note that the specific tools required may vary depending on the size and thickness of the wood, as well as personal preference and the desired precision of the cut.
Question 2: How do I mark a circle on wood?
To mark a circle on wood, you can use a compass or a circle-cutting jig. If using a compass, adjust the distance between the point and the pencil tip to the desired radius of the circle. Place the point of the compass at the center of the circle and rotate the pencil around it, keeping it in contact with the wood. This will create a perfect circle.
If using a circle-cutting jig, follow the manufacturer’s instructions to attach the jig securely to the wood. Adjust the position of the jig to set the radius of the circle, then use a pencil to trace along the edge of the jig to mark the circle on the wood.
Question 3: How do I cut a circle in wood with a jigsaw?
To cut a circle in wood with a jigsaw, start by drilling a hole large enough for the jigsaw blade to fit through at the center of the marked circle. Insert the jigsaw blade into the hole and turn on the jigsaw. Begin cutting along the marked line, following the curve of the circle.
Take your time and use steady, controlled movements to guide the jigsaw along the line. It may be helpful to make relief cuts on the outside of the circle to prevent the wood from binding the blade. Continue cutting until the entire circle is complete, then turn off the jigsaw and remove it from the wood.
Question 4: How can I ensure a smooth cut when cutting circles in wood?
To ensure a smooth cut when cutting circles in wood, it is important to use the right blade for the jigsaw. Choose a blade specifically designed for cutting wood, preferably one with fine teeth that will minimize splintering. Additionally, make sure the blade is sharp and in good condition.
Using a slower cutting speed on the jigsaw can also help achieve a smoother cut. Take your time and let the blade do the work, avoiding excessive force or pushing. Finally, sanding the edges of the cut circle with sandpaper or a sanding block can help smooth out any imperfections and give a polished finish.
Question 5: Are there any safety precautions I should take when cutting circles in wood?
Yes, there are several safety precautions to keep in mind when cutting circles in wood. Always wear appropriate safety gear, including safety glasses to protect your eyes from flying debris and ear protection if using power tools.
Ensure that the wood is securely clamped or held in place to prevent movement during the cutting process. Take care to keep your hands and fingers away from the cutting area and always be aware of the position of the jigsaw blade. If using a powered jigsaw, make sure to unplug it when changing blades or making adjustments. Lastly, follow the manufacturer’s instructions for the specific tools and equipment you are using.
How To Cut Perfect Circles – WOOD magazine
In conclusion, mastering the art of cutting circles in wood is a valuable skill for any aspiring woodworker or DIY enthusiast. By following the step-by-step instructions outlined in this guide, you can confidently tackle projects that require precise circular cuts, from creating wooden wheels for a toy car to crafting intricate designs on a tabletop. Remember to always prioritize safety by wearing protective gear, using appropriate tools, and working in a well-ventilated area.
With practice and patience, you will gradually develop the necessary techniques to achieve flawless circular cuts in wood. Whether you choose to use a jigsaw, router, or hole saw, the key is to approach each cut with precision and attention to detail. Remember to mark your center point, secure the wood firmly, and work at a steady pace to maintain a smooth, even cut. Don’t be discouraged if your first attempts are not perfect – woodworking is an art that requires practice and refinement. So, embrace the process, learn from your mistakes, and soon enough, you will be able to create beautiful circular shapes in wood with confidence and skill. Happy woodworking!
- How to Make Wood Look Weathered - May 14, 2024
- How to Solve Wooden Egg Puzzle - May 14, 2024
- How to Decoupage on Wood With Pva Glue - May 14, 2024