Are you tired of using flimsy plastic cutting boards that warp and stain after just a few uses? If you’re ready to elevate your culinary experience and add a touch of elegance to your kitchen, then it’s time to learn how to make a wood cutting board. A wood cutting board not only provides a durable and sturdy surface for all your chopping needs, but it also adds a rustic and natural aesthetic to your cooking space.
In this guide, we will take you step by step through the process of creating your very own wood cutting board. From selecting the perfect type of wood to the necessary tools and techniques, you’ll gain the knowledge and confidence to craft a cutting board that is not only functional but also a beautiful piece of art. Whether you’re an experienced woodworker or a complete novice, this guide will provide you with all the information you need to create a custom wood cutting board that will last for years to come. So, let’s dive in and discover the joy of creating your own wooden masterpiece!
- Measure and cut your desired wood into a rectangular shape.
- Smooth the edges and surfaces using sandpaper.
- Apply food-safe finish to the wood for protection.
- Let it dry completely before use.

How to Make a Wood Cutting Board
In this step-by-step guide, we will walk you through the process of making your own wood cutting board. With just a few materials and some basic woodworking skills, you can create a beautiful and functional cutting board that will last for years. Whether you want to add a personal touch to your kitchen or create a unique gift for someone special, making a wood cutting board is a rewarding project that anyone can enjoy.
Gather the Materials
Before you get started, it’s important to gather all the necessary materials. Here’s what you’ll need:
- Hardwood board: Choose a high-quality hardwood, such as maple or walnut, for your cutting board.
- Saw: You’ll need a saw to cut the hardwood board to your desired size and shape.
- Sandpaper: Use sandpaper to smooth the edges and surface of the cutting board.
- Food-safe finish: Look for a food-safe finish, such as mineral oil or beeswax, to protect and seal the wood.
- Clamps: Clamps will help secure the wood while you work.
- Measuring tape: Use a measuring tape to ensure accurate cuts and dimensions.
- Pencil: A pencil will come in handy for marking measurements and lines on the wood.
- Safety equipment: Don’t forget to wear safety goggles and gloves to protect yourself during the woodworking process.
Once you have gathered all the materials, you’re ready to start making your wood cutting board.
Prepare the Wood
Begin by measuring and marking the desired dimensions of your cutting board on the hardwood. Use a measuring tape and pencil to ensure accurate measurements. Once you have marked the dimensions, use a saw to cut the wood along the marked lines. Take your time and make sure to cut straight and evenly.
After cutting the wood, use sandpaper to smooth the edges and surface of the cutting board. Start with a coarse grit sandpaper and gradually move to a finer grit for a smooth finish. Sand in the direction of the wood grain to achieve the best results. Be sure to sand all the edges and corners to remove any roughness.

Once the cutting board is smooth, wipe away any dust or debris with a clean cloth. Now, it’s time to apply a food-safe finish to protect and seal the wood. Follow the manufacturer’s instructions for the specific finish you have chosen. Apply the finish evenly, using a clean cloth or brush. Allow the finish to dry completely before using the cutting board.
And there you have it! By following these steps, you can create your own wood cutting board. Remember to always exercise caution and follow proper safety guidelines when working with tools and equipment. Enjoy the process and take pride in your handmade creation!
Maintenance and Care
Once you have finished making your wood cutting board, it’s important to properly maintain and care for it to ensure its longevity. Here are a few tips:
- Wash the cutting board with warm, soapy water after each use.
- Do not soak the cutting board or put it in the dishwasher, as this can cause warping and damage.
- Regularly apply a food-safe oil or beeswax to keep the wood moisturized and prevent it from drying out.
- Avoid cutting raw meat or fish directly on the wood surface to prevent cross-contamination. Use a separate cutting board for raw proteins.
- Periodically sand the cutting board to remove any scratches or stains, and reapply the food-safe finish.
By following these maintenance and care tips, your wood cutting board will maintain its beauty and functionality for years to come. Enjoy the satisfaction of using a handmade cutting board in your kitchen!
Frequently Asked Questions
Here are some commonly asked questions about how to make a wood cutting board:
Q: What materials do I need to make a wood cutting board?
To make a wood cutting board, you will need the following materials:
– A hardwood board (such as maple or walnut) for the main body of the cutting board.
– Sandpaper of various grits (ranging from coarse to fine) for smoothing and finishing the board.
– Food-grade mineral oil or beeswax for protecting and conditioning the wood.
– Clamps or weights to hold the boards together during glue-up.
– A saw for cutting the wood to size.
– A drill and drill bits for making holes if you plan to add a handle.
Q: What are the steps to make a wood cutting board?
The general steps to make a wood cutting board are as follows:
1. Prepare the wood: Cut the wood to size and sand it to remove any rough edges or imperfections.
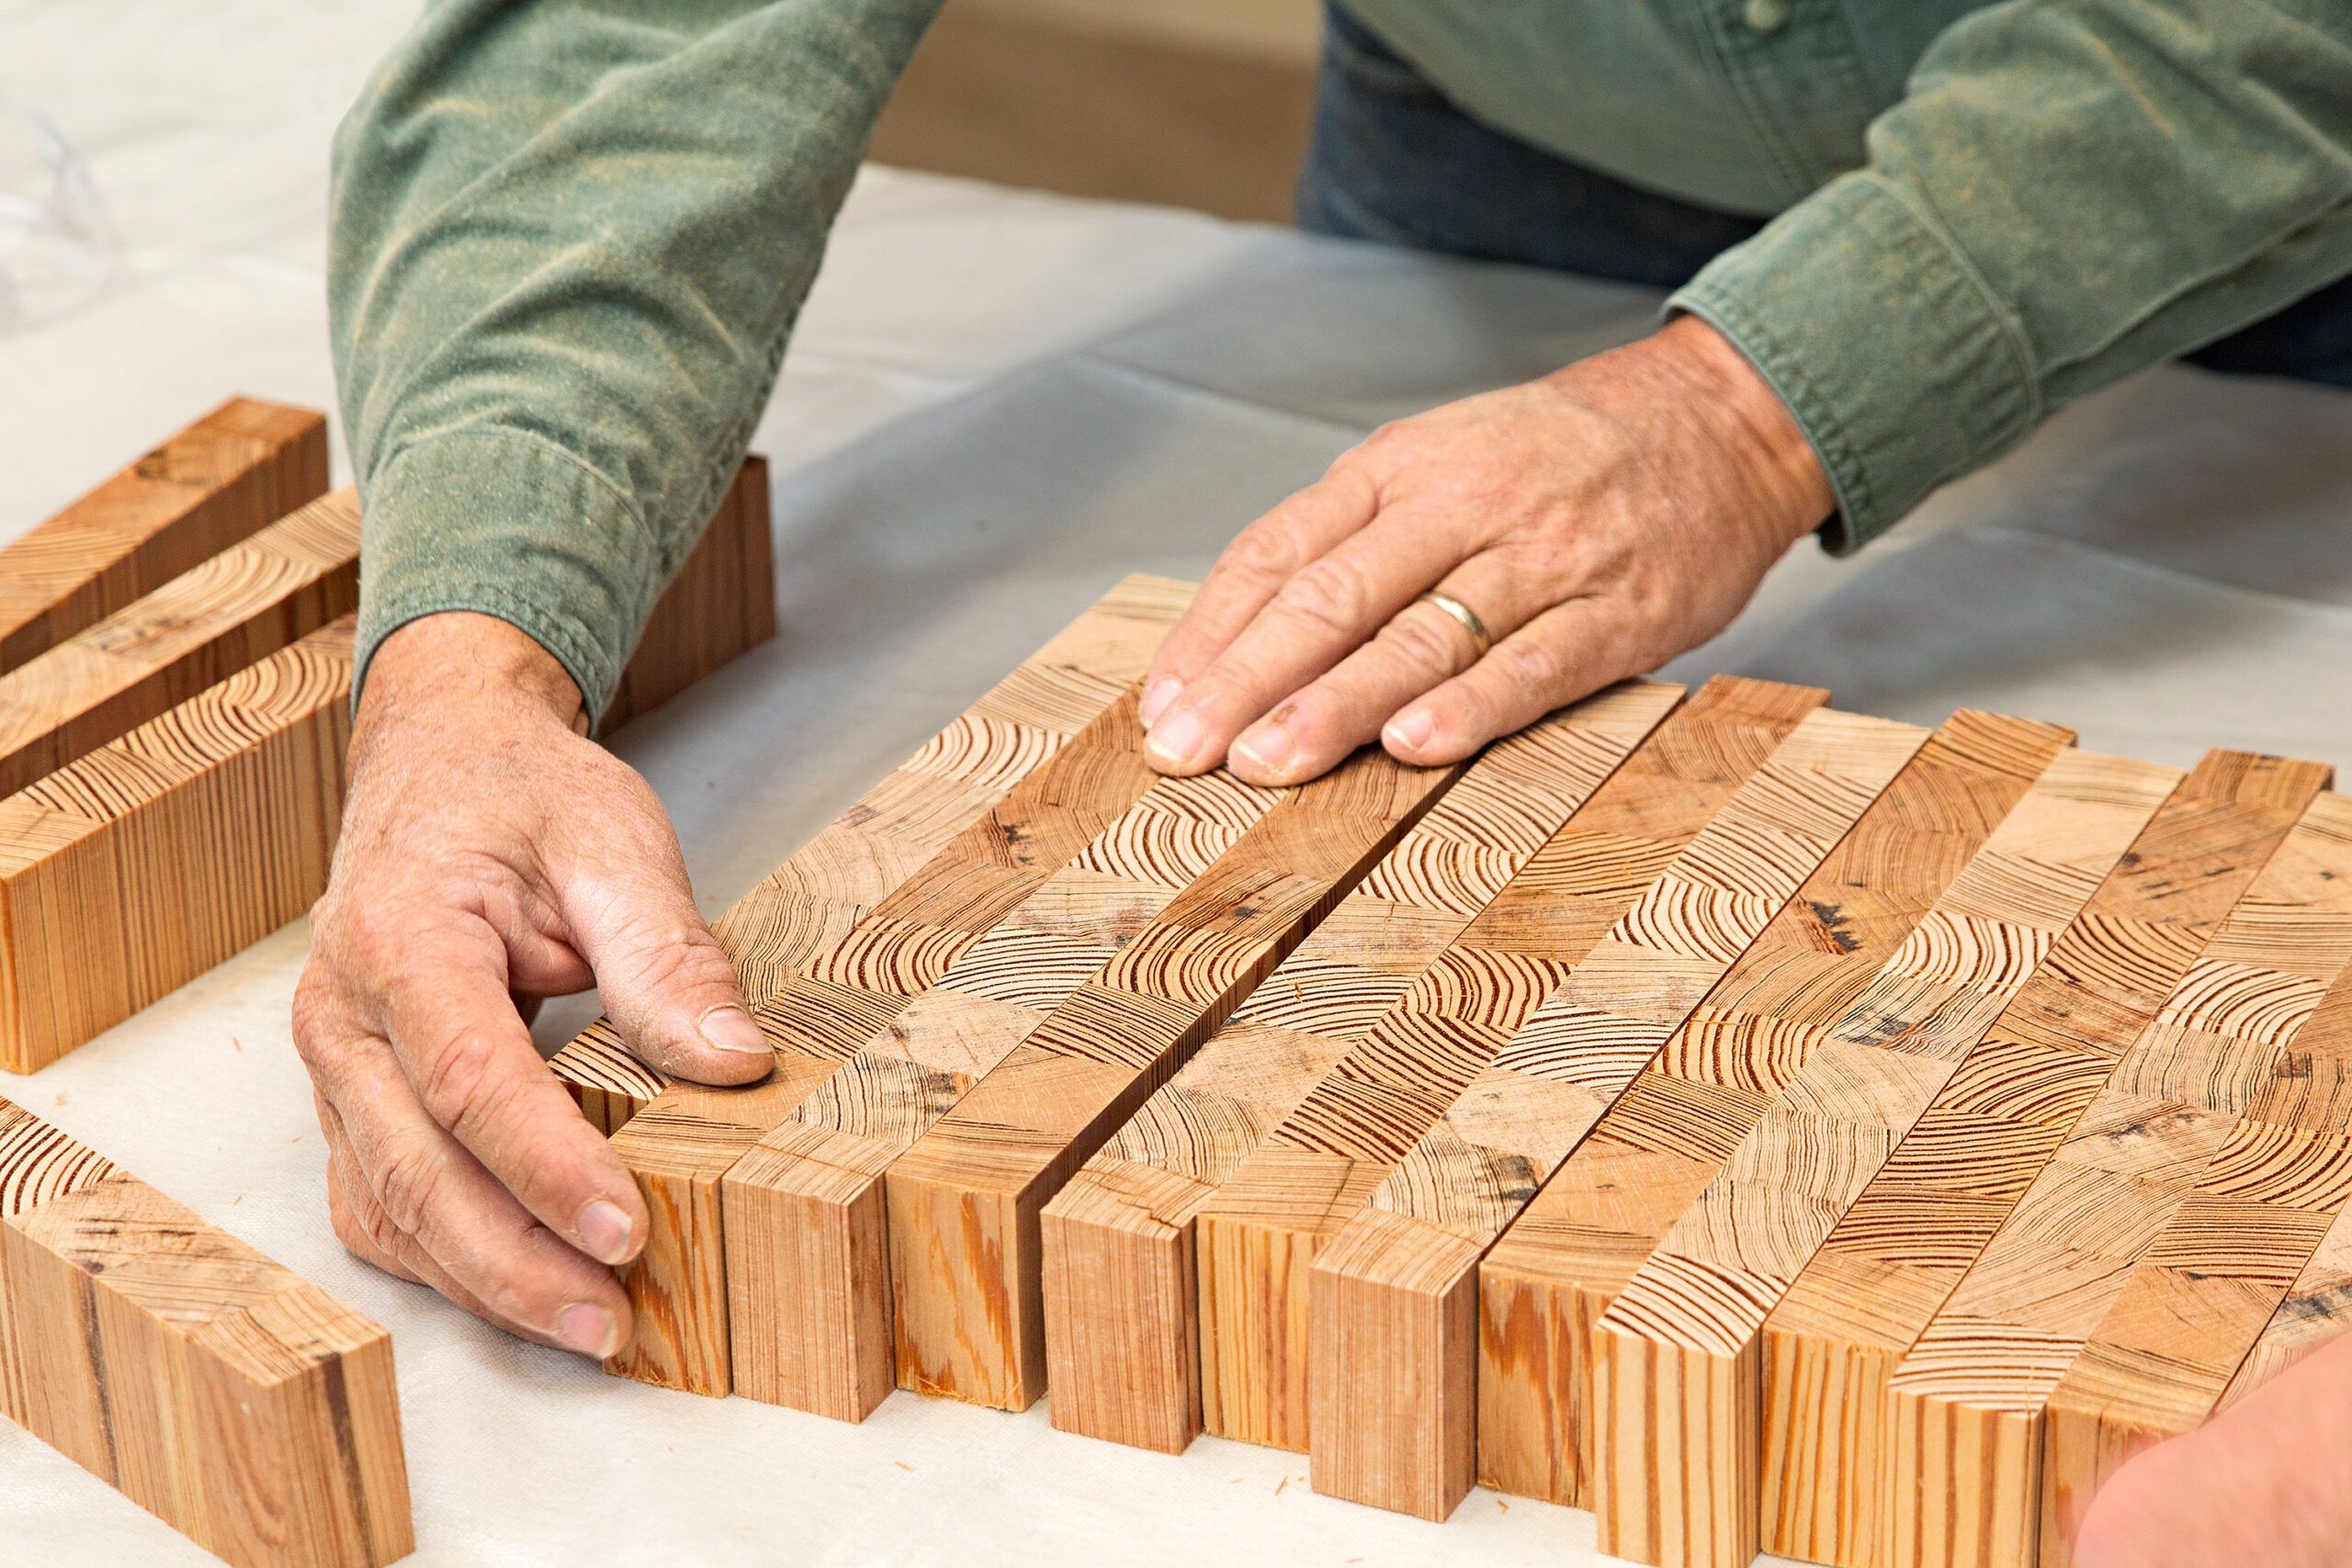
2. Glue up the board: Apply glue to the edges of the wood pieces and clamp them together. Let the glue dry thoroughly.
3. Shape and sand the board: Use a saw or a router to shape the board, and sand it with progressively finer grits of sandpaper until smooth.
4. Finish the board: Apply food-grade mineral oil or beeswax to the wood to protect and condition it. Let it soak in, then wipe off the excess.
Q: How do I maintain a wood cutting board?
To maintain a wood cutting board and keep it in good condition, follow these tips:
1. Wash the board with warm, soapy water after each use. Avoid soaking it or putting it in the dishwasher.
2. Dry the board thoroughly after washing to prevent any moisture from being absorbed by the wood.
3. Regularly apply a thin layer of food-grade mineral oil or beeswax to the board to keep the wood hydrated and protected.
4. Avoid cutting raw meat directly on the board to prevent cross-contamination. Use separate boards for different types of food.
Q: Can I personalize my wood cutting board?
Yes, you can personalize your wood cutting board in several ways:
– Engrave or burn your initials, name, or a meaningful design into the wood.
– Add decorative inlays made of contrasting wood species.
– Attach a handle or leather strap for easy handling and storage.
– Apply a custom finish, such as a food-safe dye or tinted oil, to give the board a unique look.
Q: Are there any safety considerations when using a wood cutting board?
While wood cutting boards are generally safe to use, it’s important to keep the following safety considerations in mind:
– Avoid using the board for cutting raw meat, as bacteria can penetrate the wood grain.
– Clean the board thoroughly after each use to prevent cross-contamination.
– Check the board regularly for any signs of wear or damage, such as deep cuts or cracks, and replace if necessary.
– Use a stable and secure cutting surface to prevent the board from slipping or moving during use.
Cutting Board for Beginners | Woodworking Basics
In conclusion, learning how to make a wood cutting board is not only a rewarding craft but also a practical skill that can enhance your culinary experience. By following the step-by-step process outlined in this guide, you can create a personalized and durable cutting board that will withstand the test of time. Whether you are a seasoned woodworker or a beginner, this project allows you to exercise your creativity and showcase your craftsmanship.
Furthermore, making your own wood cutting board gives you full control over the materials used, ensuring that you can select a high-quality and sustainable option. Additionally, the ability to customize the size and design of your cutting board allows you to tailor it to your specific needs and preferences. By investing time and effort into this project, you not only acquire a functional kitchen tool but also gain a sense of pride and accomplishment. So why wait? Get started on making your very own wood cutting board today and elevate your culinary journey to new heights.
- How to Decorate a Living Room With Wood Paneling - May 8, 2024
- How to Paint Wood Paneling - May 8, 2024
- How to Carve Wooden Gnomes - May 8, 2024