Wood burning art, also known as pyrography, is a captivating and timeless craft that allows artists to leave their mark on a piece of wood. With its roots dating back to ancient times, this technique has evolved into a popular form of artistic expression. Whether you are a seasoned artist looking to explore a new medium or a beginner intrigued by the idea of creating intricate designs on wood, this guide will provide you with all the essential knowledge and techniques to get started on your wood burning journey.
In this comprehensive tutorial, we will delve into the fascinating world of wood burning art, exploring the tools and materials you’ll need, as well as the techniques and tips that will help you achieve stunning results. From choosing the right type of wood to understanding the different types of pyrography pens, we will walk you through each step of the process, ensuring that you feel confident and inspired to create your own unique designs. So, grab a cup of coffee, grab your pyrography pen, and let’s embark on a creative adventure that will leave you with awe-inspiring works of art.
- Choose a suitable wood piece for your project.
- Sketch your design on the wood using a pencil.
- Heat up your wood burning tool.
- Gently burn the outline of your design on the wood.
- Start filling in the details of your design with the wood burning tool.
- Allow the wood to cool and apply a finish if desired.
Wood Burning Art: A Step-by-Step Guide
In the world of art, wood burning is a unique and captivating technique that allows artists to create intricate designs on wood surfaces. If you’ve ever wondered how to get started with this beautiful art form, then you’re in the right place. In this guide, we’ll take you through the step-by-step process of wood burning art, from gathering the necessary materials to adding the finishing touches to your masterpiece.
Step 1: Gather Your Materials
Before diving into the world of wood burning, it’s important to gather all the necessary materials. First and foremost, you’ll need a wood burning tool. This tool typically consists of a handle attached to a heated metal tip. You can find various types of wood burning tools in art supply stores or online. Additionally, you’ll need a piece of wood to work on. Choose a smooth piece of wood, such as birch plywood or basswood, for the best results. Other essential materials include sandpaper for preparing the wood surface, carbon paper for transferring designs, and a pencil for sketching your design.
Furthermore, it’s crucial to ensure your safety during the wood burning process. Make sure to have a well-ventilated workspace and wear protective goggles and gloves to avoid any accidents. Keep a fire extinguisher nearby, just in case.
Step 2: Prepare Your Wood Surface
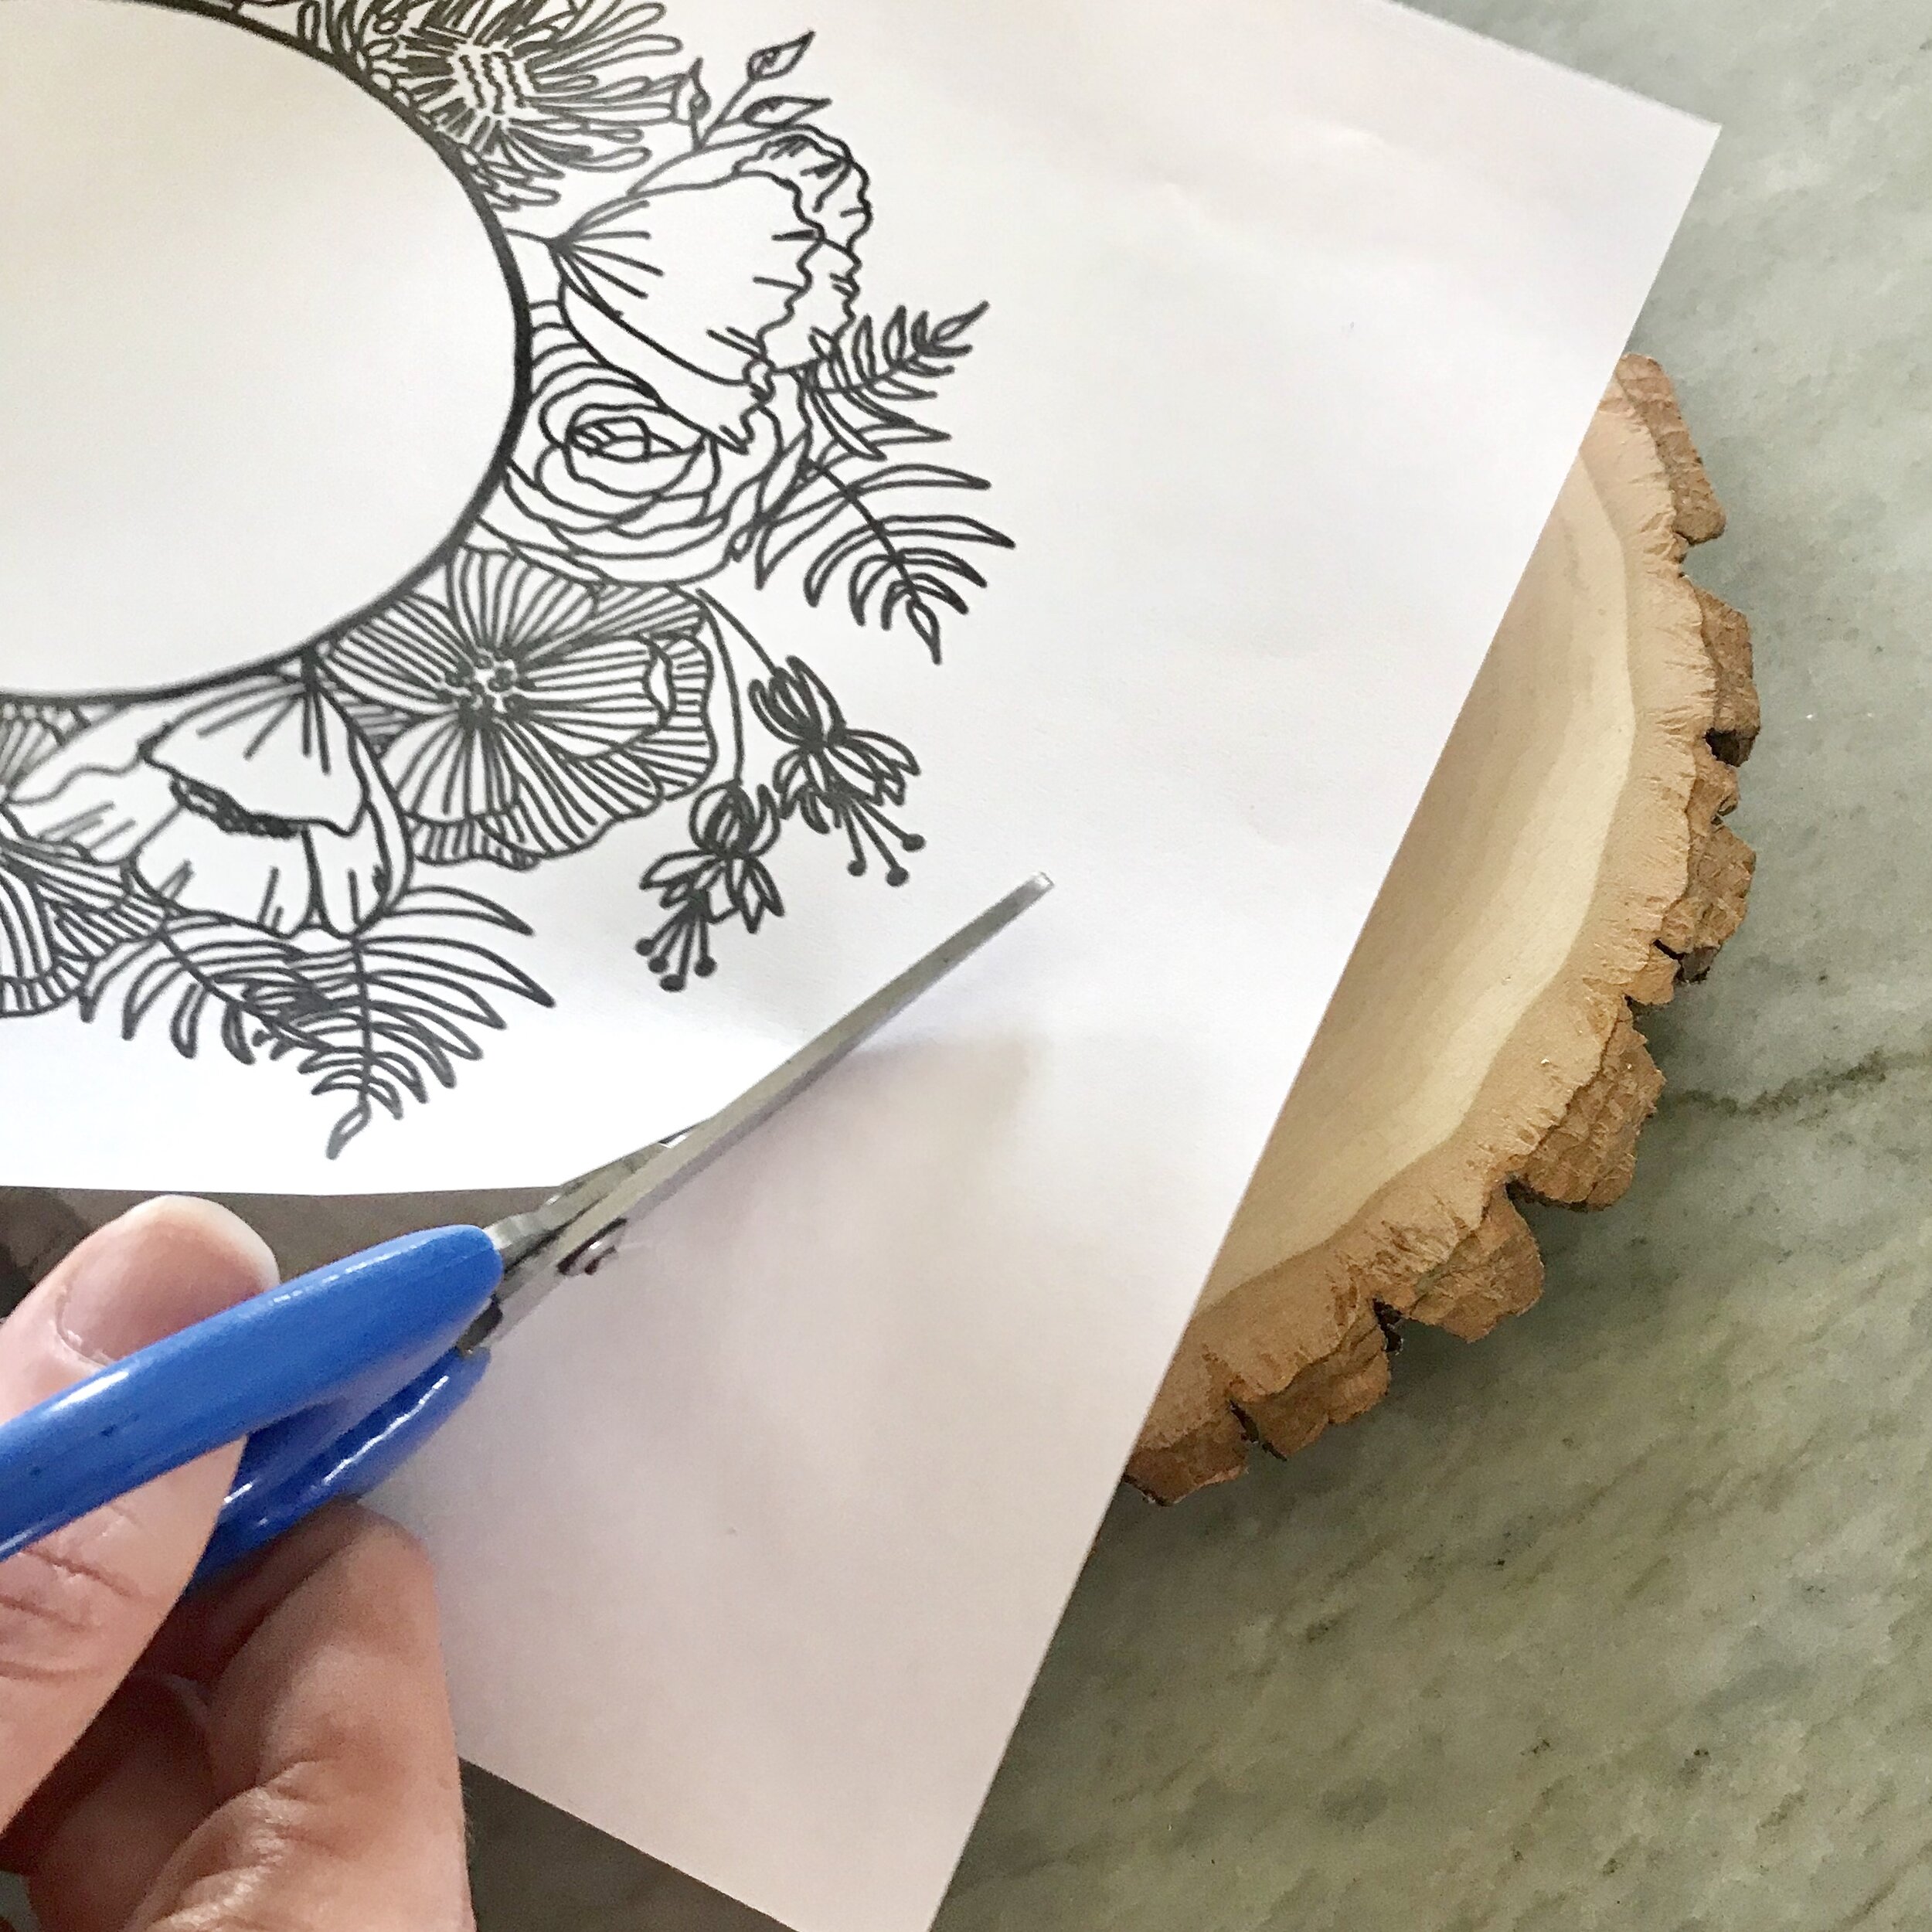
Once you have all your materials ready, it’s time to prepare the wood surface for wood burning. Start by sanding the wood with fine-grit sandpaper to create a smooth and even surface. This not only helps in achieving better results but also prevents the wood from splintering during the burning process. After sanding, wipe off any dust or debris with a clean cloth.
Next, transfer your chosen design onto the wood using carbon paper. Place the carbon paper face down on the wood, followed by your design on top. Secure both papers in place and trace over the design with a pencil, applying enough pressure to transfer the outline onto the wood. Once done, remove the papers, and you’ll be left with a faint outline of your design, ready to be burned.
Step 3: Start Wood Burning

Now comes the exciting part – wood burning! Before you begin, it’s crucial to familiarize yourself with your wood burning tool. Read the manufacturer’s instructions carefully and adjust the temperature according to the type of wood you’re using.
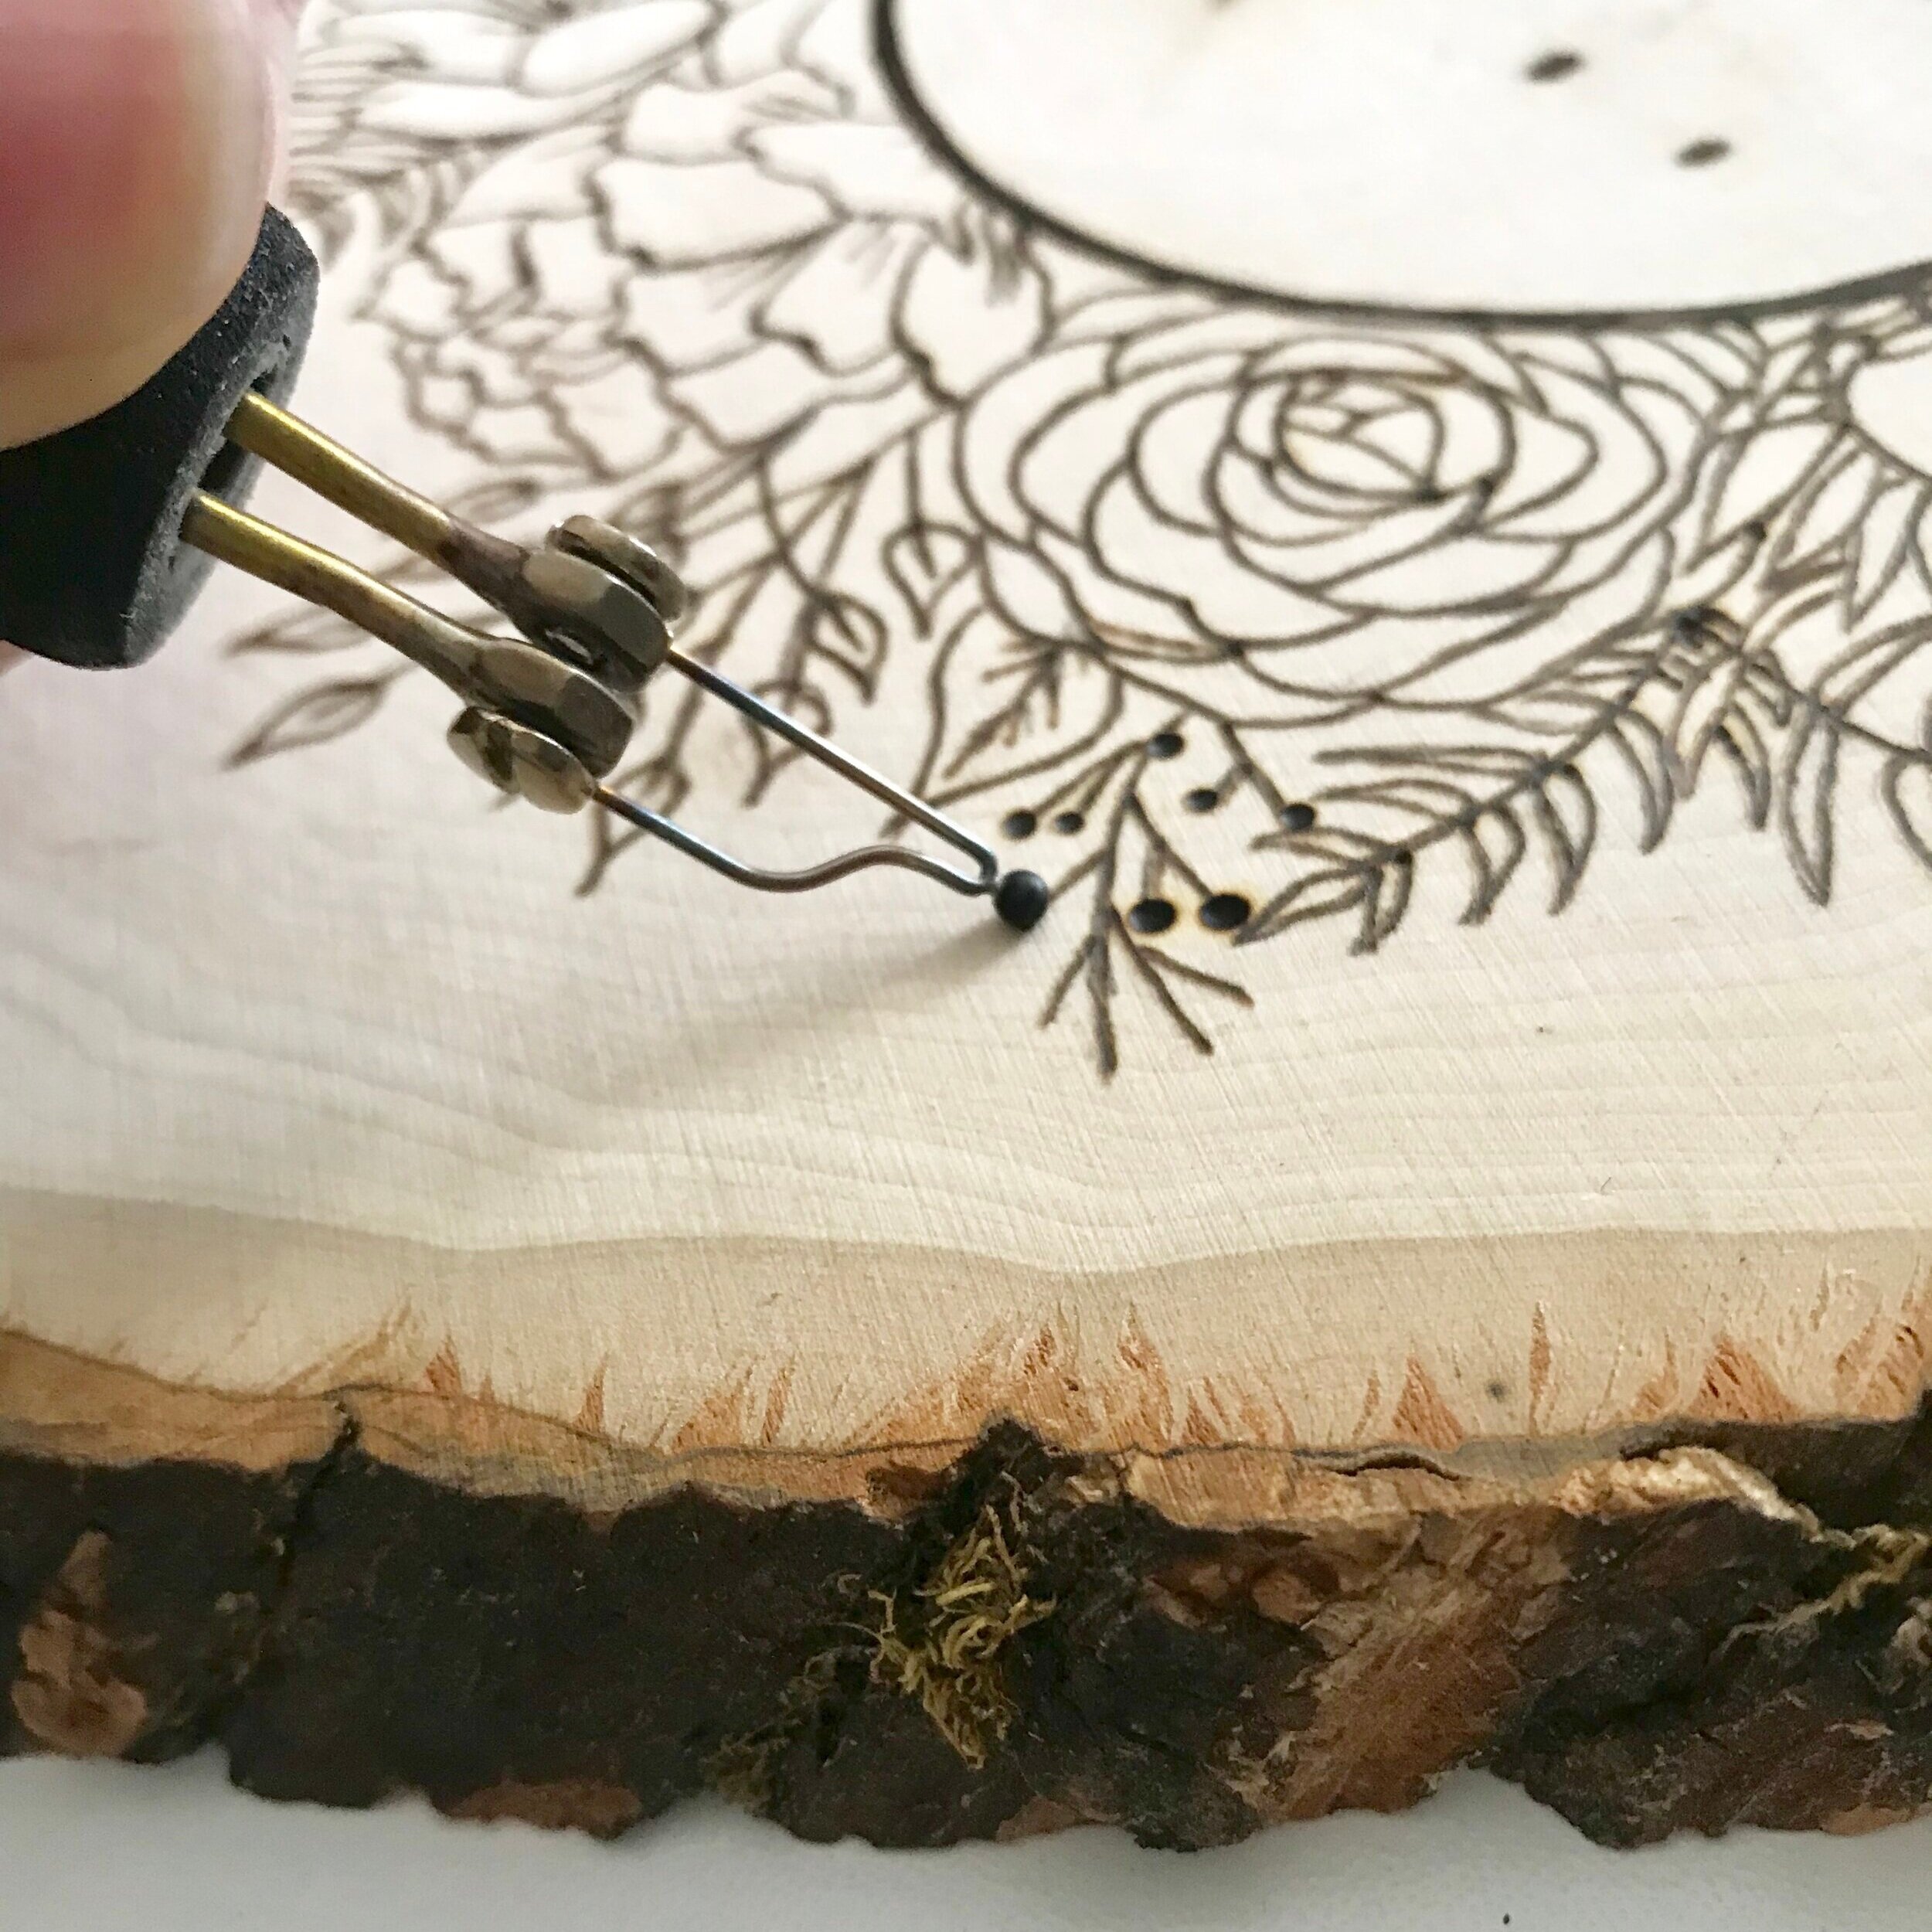
With your wood burning tool heated up, start tracing over the outline of your design with the heated metal tip. Take it slow and steady, applying gentle pressure to create dark and light shades. Experiment with different tip shapes and sizes to achieve various effects. Remember, practice makes perfect, so don’t get discouraged if your first attempts are not as expected. Keep practicing, and you’ll improve over time.
Step 4: Add Finishing Touches
Once you’ve completed the main design, you can enhance your wood burning art by adding some finishing touches. Use a fine-tip wood burning tool to add intricate details and textures to your artwork. You can also experiment with shading techniques to create depth and dimension. Be patient and work slowly, as these final touches can make a significant difference in the overall appearance of your piece.
After finishing the wood burning process, let the wood cool down completely before handling it. You can then apply a protective finish, such as varnish or lacquer, to preserve and enhance the beauty of your artwork. Follow the manufacturer’s instructions for the chosen finish and allow it to dry completely.
Step 5: Display and Enjoy
Once your wood burning art is fully dry, it’s time to display and enjoy your creation. You can frame it, mount it on a wooden plaque, or simply showcase it on a shelf. Wood burning art also makes for a unique and personalized gift for your loved ones.
Remember, wood burning art is a skill that improves with practice, so don’t be afraid to experiment and explore your creativity. With time and dedication, you’ll be able to create stunning wood burning masterpieces that will leave everyone in awe.
Frequently Asked Questions
Wood burning art, also known as pyrography, is the process of using a heated tool to burn designs into wood. It is a popular form of art and craft that allows you to create intricate and detailed designs on various wooden surfaces. If you are new to wood burning art or looking to improve your skills, here are some common questions and answers to help you get started.
1. What tools do I need for wood burning art?
To get started with wood burning art, you will need a wood burning tool, also known as a pyrography pen. This tool typically has interchangeable tips that allow you to create different effects and line thicknesses. Additionally, you will need wooden surfaces to burn your designs on, such as wood plaques or blocks. Other useful tools include sandpaper for preparing the wood, a pencil for sketching your design before burning, and a heat-resistant surface to work on.
It’s worth noting that wood burning tools can reach high temperatures, so it’s important to use them with caution and follow safety guidelines. Always work in a well-ventilated area and use heat-resistant gloves to protect your hands.
2. What types of wood are suitable for wood burning art?
Various types of wood can be used for wood burning art, but some are more suitable than others. Hardwoods such as birch, maple, and oak are popular choices as they have a smooth surface and can withstand high temperatures without scorching. Softwoods like pine and cedar can also be used, but they may require more care and attention to avoid scorching or charring.
When selecting wood for your project, consider the grain pattern and color as they can add depth and texture to your design. It’s always a good idea to test your wood burning tool on a small piece of the chosen wood before starting your project to ensure it reacts well to the heat and creates the desired effects.
3. How do I create a design for wood burning art?
Before you begin wood burning, it’s helpful to sketch your design on the wooden surface using a pencil. This allows you to plan and refine your design before committing it to the wood. You can also use transfer paper or carbon paper to transfer a design or pattern onto the wood.
When creating your design, consider the heat and pressure you apply with the wood burning tool. Different tips and techniques can be used to achieve various effects, such as shading, stippling, or outlining. Practice different techniques on scrap wood to familiarize yourself with the tool and explore the range of effects you can achieve.
4. How do I prevent mistakes or errors while wood burning?
Wood burning is a technique that requires patience and practice. However, mistakes can still happen, especially when you are starting out. To prevent errors, it’s helpful to work slowly and steadily, allowing the wood burning tool to do the work. Avoid applying too much pressure or rushing through the process.
If you do make a mistake, don’t panic. Depending on the severity of the error, you can often correct or minimize it by sanding the area and re-burning the design. It’s also a good idea to keep a spare piece of wood nearby for testing techniques or practicing new designs.
5. How do I protect and finish my wood burning art?
Once you have finished your wood burning design, you may want to protect it and enhance its appearance. One common method is to apply a clear finish or sealer to the wood. This helps protect the wood from moisture and gives it a polished look. You can choose from various finishes such as polyurethane, lacquer, or wax, depending on the desired outcome.
Before applying any finish, make sure the wood is clean and free of dust or debris. Apply the finish according to the manufacturer’s instructions and allow it to dry completely. It’s also a good idea to handle your finished wood burning art with care to avoid scratching or damaging the design.
Learn How to Wood Burn in 5 Minutes
In conclusion, the art of wood burning is a fascinating and versatile craft that allows individuals to express their creativity and create stunning works of art. Whether you are a beginner or have years of experience, there are endless possibilities to explore and techniques to master. By following the steps outlined in this guide, you can start your wood burning journey with confidence and create beautiful pieces that showcase your unique style.
Remember, practice makes perfect in wood burning art. Don’t be discouraged if your early attempts do not turn out exactly as you envisioned. Embrace the learning process and keep experimenting with different techniques, patterns, and wood types. With time and dedication, you will develop your skills and create truly exceptional pieces. So, grab your wood burning tool, choose your design, and let your imagination run wild as you delve into the captivating world of wood burning art.
- How to Clean Pottery Barn Wood Furniture - April 25, 2024
- How to Clean Amish Wood Furniture - April 25, 2024
- How to Treat Eucalyptus Wood - April 25, 2024