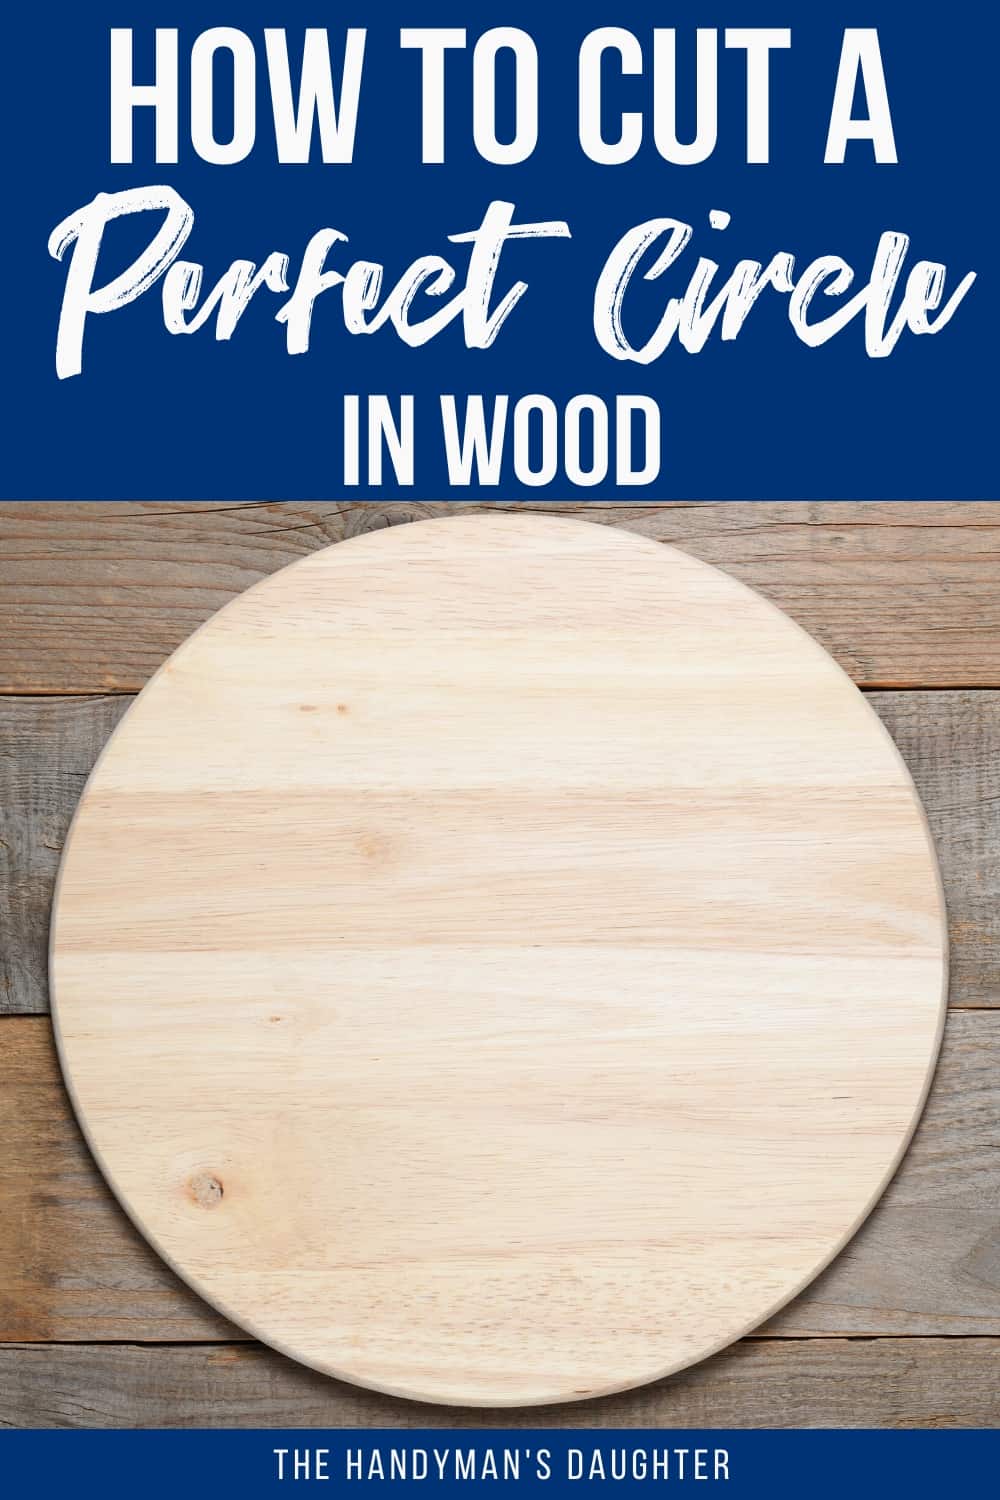
Woodworking is a timeless craft that allows individuals to unleash their creativity and create beautiful, functional pieces. From furniture to decorative accents, there is no limit to what can be achieved with the right tools and techniques. One of the fundamental skills in woodworking is the ability to cut wood circles, as they serve as the foundation for many projects. Whether you are a seasoned woodworker looking to refine your skills or a beginner eager to dive into this rewarding hobby, this guide will provide you with step-by-step instructions on how to cut wood circles with precision and ease.
Cutting wood circles may seem like a daunting task, but with the right knowledge and approach, it can be a straightforward process. In this comprehensive guide, we will explore the various methods and tools available to achieve perfect circles, regardless of your skill level. From using a jigsaw or a router to creating circle-cutting jigs, we will cover all the essential techniques and tips to ensure your wood circles are flawlessly cut every time. So, whether you are working on a project that requires circular tabletops, decorative wooden wheels, or even intricate wooden gears, let’s embark on this woodworking journey together and unlock the secrets to mastering the art of cutting wood circles.
- Measure and mark the center point of your wood piece.
- Attach a nail or screw at the center point, leaving enough exposed to act as a pivot.
- Attach a string or wire to the nail/screw, with the other end holding a pencil.
- Gently pull the string/wire tight and start rotating the pencil around the pivot.
- Continue rotating until you complete the circle.

Introduction
Are you looking to create perfect wood circles for your next woodworking project? Cutting wood circles may seem like a daunting task, but with the right tools and techniques, it can be a simple and enjoyable process. In this step-by-step guide, we will provide you with all the information you need to know to cut wood circles with precision and ease.
Step 1: Gather the necessary tools and materials
Before you begin cutting wood circles, it is important to gather all the necessary tools and materials. Here is a list of items you will need:
- A circular saw or jigsaw
- A drill with a drill bit
- A compass or a round object of the desired circle size
- A piece of wood large enough for your desired circle
- Safety goggles and gloves
- Measuring tape
- Pencil or marker
- Clamps
Make sure you have all these items before proceeding to the next step.
Step 2: Mark the center of the wood
Once you have gathered all the necessary tools and materials, it’s time to mark the center of the wood. Use a measuring tape to find the exact center point and make a small mark with a pencil or marker.
Next, take your compass or round object of the desired circle size and place it at the center mark. Adjust the width of the compass to the desired radius of your wood circle. Carefully draw a circle around the center mark using the compass.
Step 3: Secure the wood and prepare for cutting

Now that you have marked the center and drawn the circle, it’s time to secure the wood and prepare for cutting. Place the wood on a stable work surface and use clamps to hold it securely in place. This will prevent the wood from moving during the cutting process.
Put on your safety goggles and gloves to protect yourself from any potential injuries. Safety should always be a top priority when working with power tools.
Step 4: Cut the wood circle
With the wood securely in place and all safety precautions taken, it’s time to cut the wood circle. If you are using a circular saw, carefully align the blade with the marked circle and slowly guide the saw along the line. Take your time and make sure to follow the line accurately for a clean cut.
If you are using a jigsaw, start by drilling a hole inside the marked circle. Insert the jigsaw blade into the hole and carefully cut along the line, keeping a steady hand and following the curve.
Step 5: Sand and finish the wood circle
Once you have cut the wood circle, it’s important to sand and finish the edges for a smooth and polished look. Use sandpaper to sand down any rough edges or imperfections. Start with a coarse grit sandpaper and gradually move to a finer grit for a professional finish.
After sanding, you can apply a wood finish or paint to enhance the appearance and protect the wood circle from moisture and wear.
Step 6: Clean up and admire your work
After completing the cutting, sanding, and finishing process, it’s time to clean up your work area and admire your beautifully cut wood circle. Remove any wood debris and put away your tools in their proper place.
Now you have successfully learned how to cut wood circles! With practice and patience, you can create perfect wood circles for all your woodworking projects.
Frequently Asked Questions
Here are some commonly asked questions about how to cut wood circles:
Question 1: What tools do I need to cut wood circles?
In order to cut wood circles, you will need a jigsaw or a band saw. These saws are specifically designed to make curved cuts and will give you the most precise results. Additionally, you will need a pencil or marker to mark the circle on the wood, a ruler or compass to measure and draw the circle, and clamps to secure the wood in place while cutting.
It is also important to wear appropriate safety equipment, such as safety glasses and ear protection, when using power tools.
Question 2: How do I mark the circle on the wood?
To mark the circle on the wood, first decide on the diameter of the circle you want to cut. Use a ruler or compass to measure and mark the center point of the circle. Then, measure the radius (half the diameter) from the center point and make a mark on the wood.
Next, use the ruler or compass to draw a line from the center point to the mark you made on the wood. Rotate the ruler or compass around the center point, keeping the same distance, and draw a full circle. This will be your cutting line.
Question 3: How do I secure the wood for cutting?
Before cutting the wood circle, it is important to secure it in place to prevent any movement or slipping. One common method is to use clamps to hold the wood securely to a workbench or table. Make sure the clamps are tight enough to keep the wood from shifting during the cutting process.
If you don’t have clamps, you can also use screws or nails to attach the wood to a stable surface. Just be careful not to place the screws or nails in areas that will interfere with the cutting line.
Question 4: How do I cut the wood circle with a jigsaw?
When cutting a wood circle with a jigsaw, start by aligning the jigsaw blade with the cutting line you marked on the wood. Turn on the jigsaw and slowly guide it along the cutting line, keeping a steady hand and following the curve of the circle.
It is important to use a slow and steady cutting speed to maintain control and accuracy. Take your time and let the saw do the work, avoiding any sudden movements or forcing the blade through the wood. Make sure to stay on the cutting line and adjust the angle of the jigsaw as needed to follow the curve of the circle.
Question 5: How do I cut the wood circle with a band saw?
When using a band saw to cut a wood circle, start by adjusting the blade tension and tracking to ensure proper cutting performance. Position the wood on the band saw table, aligning the cutting line with the blade.
Turn on the band saw and slowly feed the wood into the blade, maintaining a steady and controlled pace. Keep your hands clear of the blade and use a push stick or a push block to guide the wood through the cut. As with the jigsaw, be sure to follow the cutting line and adjust the angle of the wood as needed to create a smooth and accurate circle.
How To Cut Perfect Circles – WOOD magazine
In conclusion, mastering the art of cutting wood circles is a valuable skill that can open up a world of possibilities for any woodworker. By following the step-by-step process outlined in this guide, you can confidently approach any project that requires the creation of perfect circular shapes. Remember to invest in the right tools, such as a jigsaw or a router, and take the time to measure and mark your wood accurately. With practice and patience, you can achieve precise and clean wood circles that will enhance the quality and aesthetics of your crafts.
Furthermore, understanding the techniques for cutting wood circles is not only essential for woodworking enthusiasts but also for professionals in various fields. From furniture makers to carpenters, being able to create precise circular shapes is a valuable asset that can set you apart from others in the industry. Whether you are looking to make decorative pieces, functional furniture, or even intricate wooden toys, the ability to cut wood circles with precision and confidence will elevate the quality of your craftsmanship. So, embrace the challenge, hone your skills, and let your creativity shine through the perfectly cut wood circles you create.
- How to Make Wood Look Weathered - May 14, 2024
- How to Solve Wooden Egg Puzzle - May 14, 2024
- How to Decoupage on Wood With Pva Glue - May 14, 2024