As an avid woodworker, I've discovered a remarkable technique to add depth and richness to any wooden surface: darkening it with UV light.
This method not only enhances the natural beauty of the wood but also provides a sense of liberation by allowing you to transform your pieces with ease.
In this article, I'll guide you through the step-by-step process of using UV light to darken wood, providing you with the knowledge and precision needed to achieve stunning results.
Get ready to unlock a whole new level of woodworking creativity!
Overview
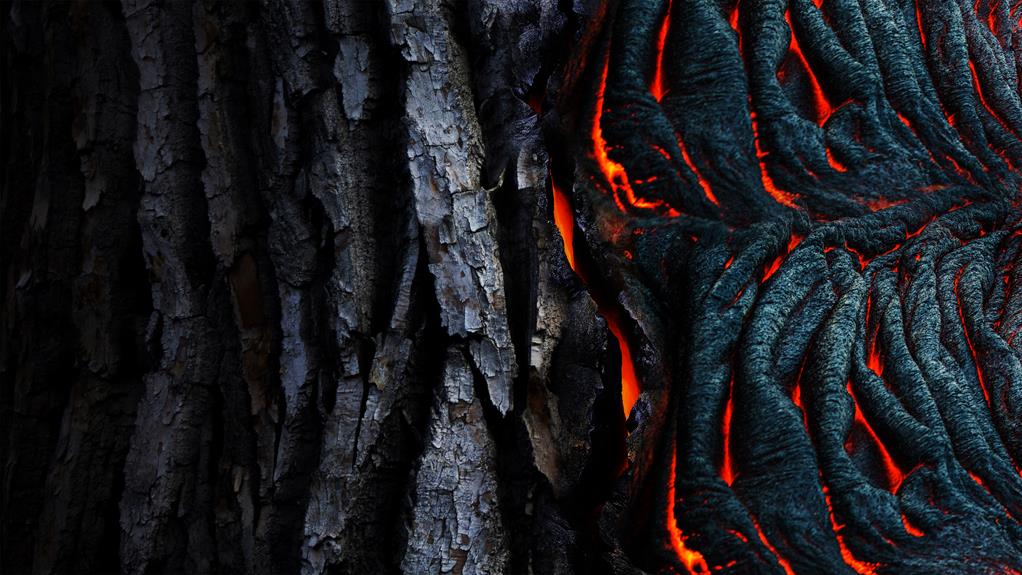
I'll give you an overview of the current discussion topic. We're going to delve into the fascinating technique of darkening wood with UV light. This method has gained popularity among woodworking enthusiasts who desire to enhance the appearance of their projects and add a touch of elegance. By using UV light, we can accelerate the natural aging process of wood, giving it a rich, dark hue that usually takes years to develop.
To begin, let me explain how this process works. UV light interacts with the tannins present in wood, causing them to darken over time. This reaction is similar to how our skin tans when exposed to sunlight. By exposing the wood to controlled amounts of UV light, we can achieve the desired darkening effect without compromising its structural integrity.
It's important to note that not all types of wood respond equally to this technique. Hardwoods such as oak, walnut, and mahogany tend to produce the best results. Softer woods may require multiple treatment sessions to achieve the desired darkness.

quick answer
Finding a quick answer is essential when it comes to efficiently darkening wood with UV light. As someone who values liberation, I understand the importance of having a concise and effective method for achieving the desired results. Here are some key points to consider:
- Choosing the right type of wood: Different types of wood react differently to UV light, so it's crucial to select the appropriate wood species for your project.
- Preparing the wood: Properly preparing the wood surface by sanding it smooth and removing any existing finishes or coatings is crucial for optimal UV light penetration.
- Using the right UV light source: Selecting the correct UV light source is essential for achieving the desired darkness. Consider factors such as wavelength, intensity, and exposure time.
- Applying a UV light-reactive stain or finish: To enhance the darkening effect, you can apply a UV light-reactive stain or finish to the wood surface. This will help intensify the color transformation.
- Protecting the wood: After achieving the desired darkness, it's important to protect the wood by applying a suitable protective coating, such as a clear varnish or polyurethane.
In conclusion, finding a quick answer to efficiently darkening wood with UV light involves careful consideration of wood selection, surface preparation, UV light source, stain or finish application, and wood protection. Understanding these key points will ensure successful and satisfying results for your wood darkening project.
Now, let's delve into the key takeaways from this discussion.
Key Takeways
To summarize, the key takeaways from this discussion on darkening wood with UV light are:
- The importance of wood selection and the proper application of a UV light-reactive stain or finish.
- Choosing the right type of wood for darkening with UV light, considering natural color and grain pattern.
- Woods with lighter tones and open grains are more receptive to the darkening effects of UV light.
- Oak, ash, and cherry are popular choices for this technique.
Once the appropriate wood is selected, the next step is:
- The proper application of a UV light-reactive stain or finish.
- These products contain additives that react to UV light, causing the wood to darken over time.
- Follow the manufacturer's instructions carefully and apply the stain or finish evenly and consistently.
- Multiple coats may be required to achieve the desired darkness.
Furthermore, it's important to note:
- UV light darkening is a gradual process.
- The wood will continue to darken over time as it's exposed to sunlight or artificial UV light sources.
- Patience is key when using this technique.
In conclusion:
- Darkening wood with UV light can be an effective way to achieve a rich, dark color.
- By selecting the right wood and applying a UV light-reactive stain or finish correctly, you can transform your wood projects into stunning, dark masterpieces.
Summary
I've summarized the key takeaways from our discussion on darkening wood with UV light, highlighting the importance of wood selection and the proper application of a UV light-reactive stain or finish.
When it comes to darkening wood with UV light, the type of wood you choose is crucial. Woods that naturally have a higher tannin content, such as oak or walnut, tend to react better to UV light and result in a deeper, richer color. It's also important to consider the moisture content of the wood. Drier wood tends to respond better to UV light, so it's recommended to let the wood dry thoroughly before exposing it to the light.
In terms of application, using a UV light-reactive stain or finish is key. These products are specially formulated to react with the UV light and darken the wood. It's important to follow the manufacturer's instructions and apply the stain or finish evenly to ensure consistent results. Additionally, proper curing time is essential to allow the stain or finish to fully react with the UV light and achieve the desired darkening effect. It's crucial to be patient and allow enough time for the wood to fully cure before handling or using it.
Overall, darkening wood with UV light requires careful wood selection and the proper application of a UV light-reactive stain or finish. By following these guidelines, you can achieve beautiful, darkened wood with a professional finish.
Step-By-Step Instructions
To darken wood with UV light, follow these step-by-step instructions:
- Prepare the wood surface by sanding it smooth and removing any debris.
- Apply a layer of UV light-sensitive dye evenly across the wood, using a brush or cloth.
- Place the wood under a UV light source, ensuring it's exposed to light on all sides.
- Allow the wood to darken over time, periodically checking the color until desired darkness is achieved.
- Once the wood has darkened to your liking, seal it with a protective finish to preserve the color and enhance durability.
UV Light Application
I can use UV light to darken the wood by following these step-by-step instructions.
First, I need to gather the necessary equipment: a UV light source, safety goggles, and wood stain.
Next, I should prepare the wood surface by sanding it down and removing any existing finish. Once the wood is smooth and clean, I can apply the stain evenly using a brush or cloth.
After that, it's time to bring out the UV light. I need to position the light source about 6-8 inches away from the wood and turn it on. The UV light will accelerate the drying process, causing the stain to darken quickly. It's important to keep an eye on the wood and adjust the distance or exposure time as needed.
Once the desired darkness is achieved, I can turn off the UV light and allow the wood to fully dry.
Finally, I should seal the wood with a protective finish to preserve the color.
With these simple steps, I can easily darken wood using UV light.
Wood Darkening Process
One important step in the wood darkening process is to sand the wood surface to remove any existing finish. Sanding helps to create a smooth and clean surface, allowing the wood to absorb the darkening agents more effectively.
After sanding, it's crucial to clean the wood thoroughly to remove any dust or debris.
Once the wood is prepared, it's time to apply the darkening agent. There are various options available, such as stains, dyes, or even natural methods like tea or vinegar. It's essential to apply the darkening agent evenly, using a brush or cloth, and following the manufacturer's instructions.
After applying the darkening agent, it's crucial to allow the wood to dry completely before applying any protective finish.
This process can be repeated as necessary to achieve the desired darkness. With proper knowledge and technique, anyone can achieve the perfect darkened wood finish, liberating their creativity in woodworking projects.
Benefits of UV Treatment
Using UV treatment on wood provides numerous benefits, including enhanced durability and protection against UV rays.
UV treatment involves exposing wood to ultraviolet light, which helps to enhance its natural properties and protect it from damage caused by sunlight. This process is commonly used in industries such as furniture manufacturing and outdoor construction.
When wood is exposed to UV light, it undergoes a chemical reaction that strengthens its structure and makes it more resistant to wear and tear. Additionally, UV treatment helps to prevent the wood from fading or discoloring due to prolonged exposure to sunlight.
This means that furniture and other wooden products treated with UV can maintain their original appearance for a longer period of time, making them more durable and cost-effective.
Safety Precautions for UV
While working with UV light, it's important to wear protective eyewear to shield your eyes from potential harm. UV light can be harmful to the eyes and prolonged exposure can lead to serious damage. By wearing protective eyewear, you can ensure the safety of your eyes while working with UV light.
In addition to wearing protective eyewear, there are other safety precautions to consider when working with UV light. It's important to properly handle and store UV light equipment, as well as ensure proper ventilation in the workspace. Regularly checking the equipment for any damage or malfunctions is also crucial.
To further emphasize the importance of eye protection, here is a table that highlights the potential risks of UV light exposure to the eyes:
| Risk | Effect | Prevention |
|---|---|---|
| Eye damage | Vision loss or impairment | Wear protective eyewear |
| Photokeratitis | Temporary blindness | Limit exposure time |
| Cataracts | Clouding of the eye lens | Use UV-blocking lenses |
Alternative Wood Staining
I've found that applying three coats of a coffee grounds and vinegar mixture to the wood surface creates a unique and eco-friendly alternative wood stain. This method isn't only cost-effective but also provides a natural and chemical-free option for those who desire liberation from traditional stains.
The coffee grounds add a deep, rich color to the wood, while the vinegar acts as a natural fixative, helping the stain penetrate the surface and bond with the wood fibers. To apply, simply mix equal parts of coffee grounds and vinegar, then use a brush or cloth to evenly distribute the mixture onto the wood.
Allow each coat to dry before applying the next, and repeat until the desired shade is achieved. This alternative wood stain isn't only environmentally friendly but also offers a one-of-a-kind finish that will surely impress.
Final Thought
As a woodworker, my final thought on darkening wood with UV light is that it's a simple and effective technique. When it comes to enhancing the natural beauty of wood, there are various methods available, but using UV light has proven to be a game-changer.
This technique involves exposing the wood to UV light, which causes a chemical reaction that darkens the color of the wood. It offers a unique way to achieve a deep, rich tone without the need for harsh chemical stains or dyes.
One of the reasons why I find this technique so appealing is its simplicity. All you need is a UV light source and some patience. By carefully exposing the wood to the UV light, you can gradually darken its color, highlighting the natural grain patterns and adding depth to the overall appearance. This method is particularly useful when working with lighter woods that may not have the desired richness initially.
In addition to being simple, using UV light to darken wood is also quite effective. Unlike traditional staining methods that can sometimes produce uneven results, this technique ensures a consistent color throughout the wood. Moreover, since it doesn't involve the use of chemicals, it's a safer and more eco-friendly option.
Frequently Asked Questions
Can I Use Any Type of Wood to Darken With UV Light?
Yes, any type of wood can be darkened with UV light. It works by reacting with the wood's natural tannins, creating a darker color. However, the intensity and duration of exposure will affect the final result.
Is It Safe to Use UV Light on Wood?
It's important to consider safety when using UV light on wood. While it can darken the wood, UV light can also be harmful to your skin and eyes. Protective measures should be taken to ensure your well-being.
How Long Does the Darkening Process Take With UV Light?
The darkening process with UV light varies depending on several factors, such as the type of wood and the intensity of the light. Generally, it can take anywhere from a few hours to a few days to achieve the desired darkening effect.
Can I Darken Wood With UV Light Outdoors?
Yes, you can darken wood with UV light outdoors. UV rays from the sun can naturally darken wood over time. However, the process may take longer compared to using artificial UV light sources.
Will the Darkened Wood Fade Over Time?
The darkened wood may fade over time due to exposure to sunlight. It's important to apply a protective finish to the wood to minimize fading and maintain the desired darkened color.
- How to Keep Wood Post From Rotting in Concrete - April 22, 2024
- How to Build a Wooden Desk - April 22, 2024
- How to Wood Smoke Meat - April 22, 2024