Are you looking to add a touch of rustic charm to your home decor? If so, learning how to distress wood is the perfect skill to master. Whether you’re a DIY enthusiast or a professional woodworker, distressing wood allows you to create unique and aged-looking pieces that exude character and warmth. In this guide, we will delve into the art of distressing wood, providing you with valuable tips and techniques to achieve that sought-after weathered appearance. So, grab your sandpaper, paint, and brushes, and let’s embark on a journey to transform plain wood into a stunning masterpiece.
Distressing wood is not only a popular trend in interior design but also a way to breathe new life into old furniture or create custom pieces that reflect your personal style. The process involves intentionally aging wood to give it a weathered, worn-out look, reminiscent of vintage or antique pieces. From creating faux cracks and scratches to adding layers of paint and distressing them, the possibilities are endless when it comes to distressing wood. Whether you want to create a farmhouse-style dining table, a shabby chic bookshelf, or a rustic picture frame, mastering the art of distressing wood will open a world of creative possibilities for you. So, let’s dive in and discover the techniques that will help you achieve stunning, aged effects on any wooden surface.
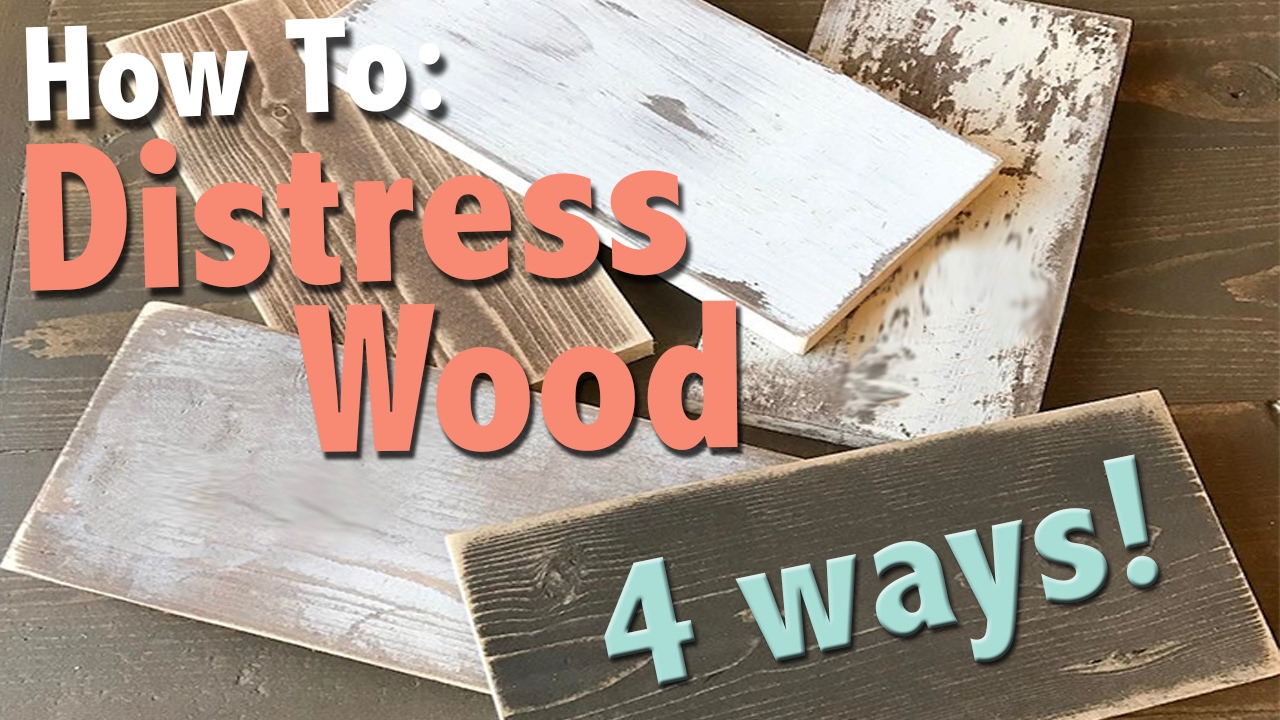
How to Distress Wood:
- Start by sanding the wood to create a smooth surface.
- Apply a coat of primer to protect the wood and help the paint adhere better.
- Choose a base color and apply it evenly to the wood surface.
- Once the base coat is dry, use sandpaper to distress the wood by rubbing it in areas where wear and tear would naturally occur.
- Apply a darker color or stain to the distressed areas to enhance the weathered look.
- Seal the wood with a clear coat to protect the finish.

How to Distress Wood: Step-by-Step Guide
In this guide, we will walk you through the process of distressing wood to achieve a beautiful aged look. Whether you want to distress a new piece of furniture or give an old piece a makeover, this step-by-step tutorial will provide you with all the information you need to achieve the desired outcome. So, let’s dive in and learn how to distress wood like a pro!
Step 1: Gather the Necessary Tools and Materials
Before you begin distressing wood, it’s important to gather all the tools and materials you will need for the project. Here’s a list of what you’ll need:
- Sandpaper (medium and fine grit)
- Hammer
- Chain
- Scraper
- Chisel
- Paint (optional)
- Stain or glaze
- Brushes
- Protective sealant
- Cloth
Make sure to have all these tools and materials ready before you start distressing wood.
Step 2: Prepare the Wood Surface
Before distressing the wood, you need to prepare the surface. Start by thoroughly cleaning the wood to remove any dirt or debris. Use a damp cloth or a mild cleaner to wipe down the surface. Let the wood dry completely before moving on to the next step.

Once the wood is dry, use sandpaper to smooth out any rough areas. Start with medium-grit sandpaper to remove any imperfections or splinters. Then, switch to fine-grit sandpaper to create a smooth and even surface. Sand in the direction of the wood grain to avoid scratching the surface. Once you’re done sanding, wipe away any dust with a clean cloth.
Step 3: Distressing Techniques
Now that the wood surface is prepared, it’s time to distress the wood using various techniques. Here are a few popular distressing techniques:
- Hammering: Use a hammer to create dents and dings on the wood surface. Randomly hit the wood with the hammer to mimic the natural wear and tear.
- Chain Distressing: Wrap a chain around your hand and gently strike the wood surface. This technique creates small scratches and indentations, adding character to the wood.
- Scraping: Use a scraper or chisel to scrape off layers of paint or stain. Focus on areas that would naturally wear out over time, such as edges and corners.
- Sanding: Sand the wood surface again, but this time focus on specific areas to create a distressed look. Sand corners, edges, and other high-traffic areas to expose the bare wood.
- Painting and Staining: Apply paint or stain to create an aged effect. Use a brush or cloth to apply the paint or stain, and then wipe away the excess to achieve the desired look.
Experiment with these distressing techniques to achieve the level of distressing you desire. Remember, you can always practice on a scrap piece of wood before attempting it on your actual project.
Step 4: Finishing Touches
Once you’re satisfied with the level of distressing, it’s time to add the finishing touches. Apply a protective sealant to preserve the distressed look and protect the wood from further damage. Choose a sealant that matches your desired finish, such as matte or gloss.
Allow the sealant to dry completely before using or displaying the distressed wood piece. Once dried, you can further enhance the distressed look by gently sanding the surface again or applying additional layers of paint or stain if desired.
That’s it! You’ve successfully distressed wood and achieved a beautiful aged look. Now you can enjoy your newly transformed piece of furniture or décor item.
Conclusion
In this guide, we have provided you with a step-by-step tutorial on how to distress wood. By following these instructions and using the right tools and techniques, you can achieve a professional-looking distressed finish on any wooden piece. Remember to practice on a scrap piece before attempting it on your actual project, and have fun experimenting with different distressing techniques. Happy distressing!
Frequently Asked Questions
Here are some commonly asked questions about how to distress wood:
Q: What is distressing wood?
Distressing wood is a technique used to give wood furniture or surfaces an aged or weathered appearance. It involves intentionally damaging or aging the wood in various ways to create a rustic or vintage look.
There are several methods for distressing wood, including sanding, scraping, denting, and staining. Each technique can be used individually or in combination to achieve the desired effect.
Q: What tools do I need to distress wood?
To distress wood, you will need a few basic tools. These include sandpaper or a sanding block for sanding the wood, a hammer or mallet for denting the wood, a wire brush or steel wool for creating texture, and various staining or painting supplies depending on the desired finish.
Additionally, you may want to have a putty knife or chisel for scraping the wood, as well as safety equipment such as gloves and goggles to protect yourself during the distressing process.
Q: How do I sand wood to distress it?
Sanding is a common technique used to distress wood. Start by selecting the appropriate grit sandpaper for the level of distressing you want to achieve. For a more subtle look, use a finer grit sandpaper, while a coarser grit will create a more heavily distressed appearance.
Using a sanding block or your hand, sand the wood surface in the direction of the grain. Apply even pressure and make sure to sand all areas evenly. You can also concentrate on certain areas, such as edges or corners, to create a more worn look. Once you are satisfied with the distressing, wipe away any dust with a clean cloth before moving on to the next step.
Q: How can I create dents in the wood for distressing?
To create dents in the wood, you can use a hammer or mallet. Place a piece of scrap wood or a cloth over the area you want to dent to protect the surrounding wood. Then, using the hammer or mallet, gently tap the wood surface in a random pattern to create small dents and indentations.
Make sure to vary the intensity and placement of the dents to achieve a natural and aged appearance. You can also use different tools, such as nails or screws, to create additional texture and character in the wood.
Q: What staining techniques can I use to distress wood?
Staining is another effective way to distress wood and enhance its aged look. There are several staining techniques you can try, such as using a dark stain and wiping it off quickly to create a worn effect, or applying multiple layers of different colored stains to achieve a weathered appearance.
You can also experiment with distressing the wood after staining by lightly sanding the surface or using a wire brush to remove some of the stain in certain areas. This will add depth and dimension to the distressed look. Remember to test the staining techniques on a small, inconspicuous area of the wood before applying them to the entire piece.
How to Distress Wood
In conclusion, learning how to distress wood is not only a practical skill but also a creative outlet. By following the step-by-step process outlined in this guide, you can transform any piece of wood into a stunning work of art with a weathered and rustic charm. From choosing the right tools and materials to mastering various distressing techniques, you have the power to create unique and personalized pieces that will add character and warmth to any space.
Remember, distressing wood requires patience and practice. Don’t be discouraged if your first attempt doesn’t turn out exactly as expected. Embrace the imperfections and let them add to the overall beauty of your finished piece. Whether you’re looking to revamp old furniture or create new pieces with a vintage feel, the art of distressing wood is a versatile skill that will continue to bring joy and satisfaction for years to come. So, gather your supplies, unleash your creativity, and dive into the world of distressing wood – the possibilities are endless!
- How to Design Wood Carving - May 7, 2024
- How to Carve Wood - May 7, 2024
- How to Remove Cat Urine From Wood Furniture - May 7, 2024