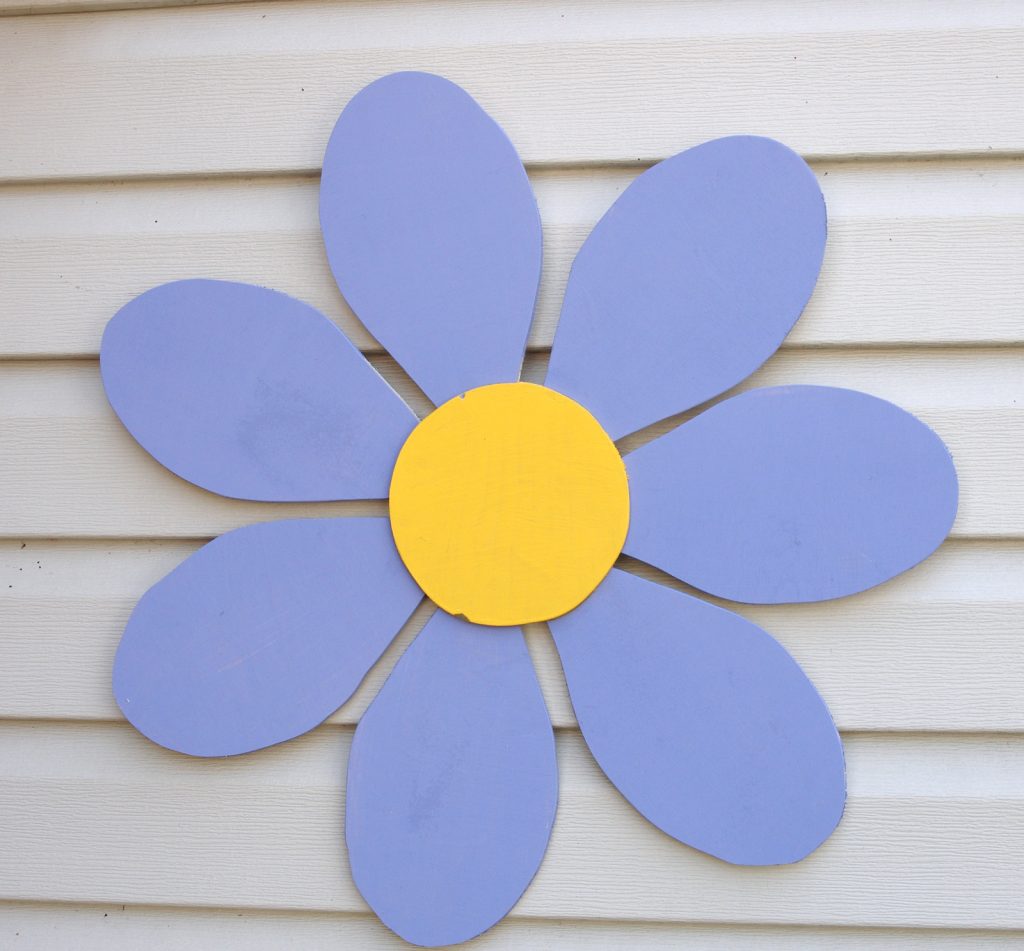
Are you looking to add a touch of natural beauty to your home decor? Perhaps you want to create a unique and personalized gift for a loved one? Look no further than the art of making wood flowers. These exquisite creations provide a stunning alternative to traditional floral arrangements, and the best part is, they never wilt or fade away. In this guide, we will explore the fascinating world of crafting wood flowers, from selecting the right materials to mastering the techniques that bring them to life. Whether you’re a seasoned woodworker or a beginner looking for a rewarding and creative project, this step-by-step tutorial will equip you with the skills and knowledge needed to create your own enchanting wood flowers.
If you’ve ever been captivated by the delicate and intricate beauty of flowers, you’ll be amazed at the artistry and craftsmanship that goes into making wood flowers. Gone are the days of relying solely on fresh blooms that wither away in a matter of days. With wood flowers, you can enjoy the elegance and charm of nature’s masterpieces in a more durable and long-lasting form. Imagine the joy of having an everlasting bouquet adorning your dining table or a stunning wood flower arrangement gracing your mantle. In this guide, we will delve into the world of woodworking, exploring the techniques and tools required to create these stunning pieces of art. Get ready to embark on a journey of creativity and craftsmanship as we uncover the secrets to making your own wood flowers.
How to Make a Wood Flower:
- Choose a piece of wood suitable for carving the flower shape.
- Sketch the flower design on the wood using a pencil.
- Use a carving knife or chisel to carefully carve out the flower shape.
- Sand the carved wood flower to smoothen the surface.
- Apply a coat of wood stain or paint to enhance the flower’s appearance.
- Allow the stain or paint to dry completely before handling or displaying the wood flower.
Introduction
In this informative article, we will guide you step by step on how to make a beautiful wood flower. Wood flowers are an excellent alternative to real flowers as they are long-lasting, low-maintenance, and can be a unique addition to your home decor or special occasions. With a few materials and tools, you can create your own stunning wood flower that will impress everyone who sees it.
Gathering the Materials
Before you start making your wood flower, it’s essential to gather all the necessary materials. Here’s what you’ll need:
- Wooden dowels
- Wooden beads
- Wooden petals
- Hot glue gun
- Paints (optional)
- Paintbrushes (optional)
Make sure you have all these materials ready before proceeding with the next steps.

Preparing the Petals
The first step in making a wood flower is preparing the petals. Take the wooden petals and start arranging them in the desired shape of your flower. You can experiment with different petal arrangements to create unique designs. Once you are pleased with the arrangement, use a hot glue gun to attach the petals together. Allow the glue to dry completely before moving on to the next step.
If you want to add some color to your wood flower, this is the perfect time to do it. Take your paints and paintbrushes and carefully apply the colors of your choice to the wooden petals. Let the paint dry before proceeding.
Assembling the Flower
Now that you have prepared the petals, it’s time to assemble the wood flower. Take a wooden dowel and apply some hot glue to one end. Attach the wooden beads to the glued end of the dowel, creating the center of your flower. The number of beads you use will depend on the size and fullness you desire for your flower.
Once the glue is dry and the beads are securely attached, take the prepared wooden petals and glue them around the beads, forming the outer layers of the flower. Make sure to position the petals in a way that creates a natural-looking flower shape. Hold the petals in place until the glue sets and the flower is secure.
Final Touches
Your wood flower is almost complete! Check if all the petals are securely attached and make any necessary adjustments. If you want to enhance the natural look of the flower, you can lightly sand the edges of the petals to give them a more organic appearance.
Now, your wood flower is ready to be displayed or gifted. You can place it in a vase, attach it to a wreath, or even use it as a centerpiece for special occasions. The possibilities are endless!
Adding Personalized Details
If you want to add a personal touch to your wood flower, you can get creative with additional details. Consider adding leaves, glitter, or even small decorative elements to make your wood flower truly unique. Let your imagination guide you in making your wood flower stand out.
Remember, making wood flowers is a fun and creative process. Don’t be afraid to experiment with different materials, colors, and arrangements to create the perfect wood flower that matches your style and preferences.
Frequently Asked Questions
Here are some commonly asked questions about how to make a wood flower:
Question 1: What materials do I need to make a wood flower?
To make a wood flower, you will need the following materials:
– Wood blocks or slices
– Wood glue
– Sandpaper
– Acrylic paint
– Paintbrushes
– Floral wire
– Hot glue gun
– Decorative elements (optional)
Question 2: How do I prepare the wood for making a flower?
To prepare the wood for making a flower, follow these steps:
1. Start by sanding the wood blocks or slices to smooth out any rough edges.
2. Apply a coat of wood glue to the surface of the wood to seal it and prevent any future damage.
3. Let the wood glue dry completely before proceeding with the next steps.
Question 3: How do I paint the wood flower?
To paint the wood flower, you can follow these instructions:
1. Choose your desired acrylic paint colors and apply a base coat to the wood surface. Let it dry.
2. Use a smaller brush to add details and create a realistic flower design on the wood.
3. Once the paint is dry, apply a coat of varnish or sealant to protect the paint and give it a glossy finish.
Question 4: How do I assemble the wood flower?
To assemble the wood flower, you can follow these steps:
1. Take a piece of floral wire and bend it in half to create a loop at one end.
2. Apply hot glue to the looped end of the wire and attach it to the back of the wood flower.
3. Hold the wire in place until the glue has dried and the flower is securely attached.
4. Repeat this process for as many wood flowers as you want to create.
Question 5: Can I add additional decorative elements to the wood flower?
Yes, you can add additional decorative elements to the wood flower to enhance its appearance. Some ideas include:
– Glue small beads or rhinestones to the center of the flower for added sparkle.
– Attach small leaves or petals made from paper or fabric to create a more realistic look.
– Use a thin wire to create a stem and wrap it with floral tape for a more finished look.
– Experiment with different paint techniques, such as ombre or marbling, to create unique designs.
Get creative and personalize your wood flowers to suit your style and preferences.
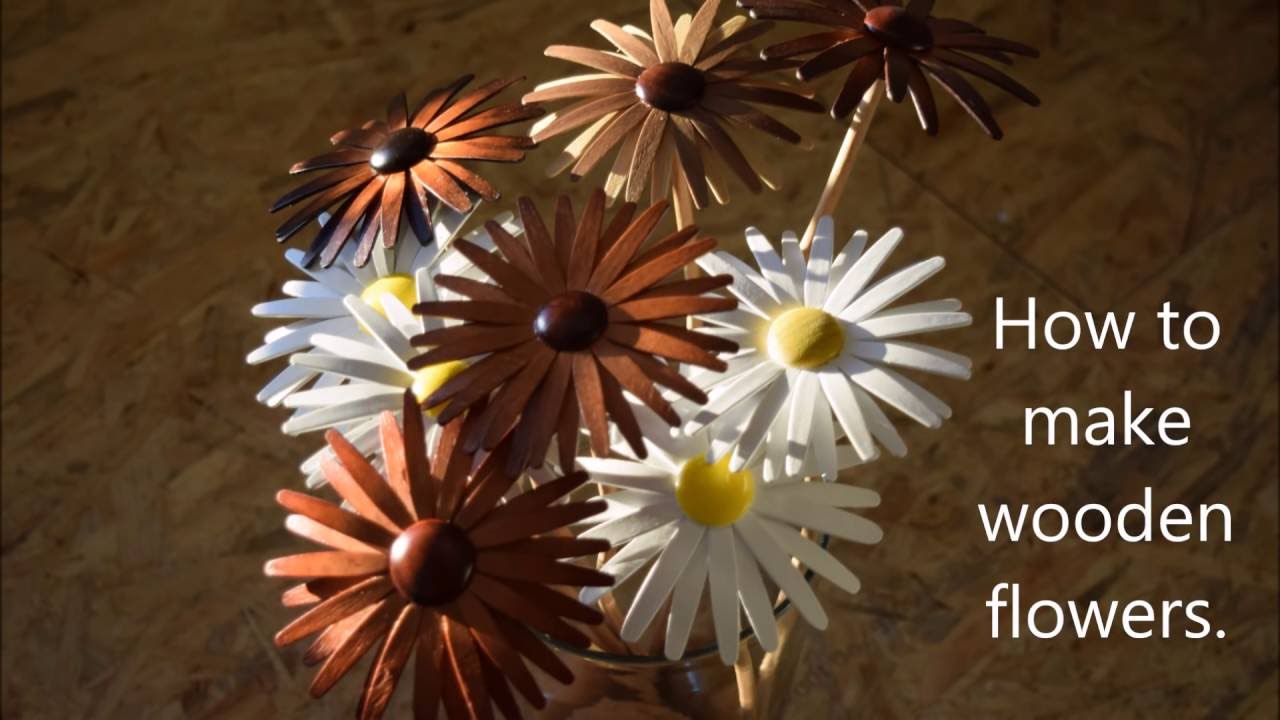
Wooden roses tutorial. FarmCraft101 Valentines flowers DIY idea.
In conclusion, learning how to make a wood flower can be a rewarding and creative endeavor. By following the steps outlined in this guide, you can transform a simple piece of wood into a beautiful and unique piece of art. From selecting the right type of wood to shaping and painting the petals, each step requires patience and attention to detail. However, the final result is well worth the effort.
Not only does making a wood flower provide a sense of accomplishment, but it also allows you to express your artistic side. Whether you choose to create a single flower or a whole bouquet, the possibilities are endless. Additionally, this craft can be enjoyed by people of all ages and skill levels. So, why not grab some wood, tools, and paints, and start your journey into the world of wood flower making? You may discover a new passion or even find a unique gift to share with others. So go ahead and let your creativity blossom!
- How to Remove Glue From Wood Floor - April 14, 2024
- How to Dissolve Wood Glue - April 14, 2024
- How to Remove Wood Glue - April 14, 2024