Are you tired of your worn-out hardwood floors? Do you dream of restoring their natural beauty and adding a touch of elegance to your home? Look no further! In this guide, we will take you through the step-by-step process of finishing hardwood floors, leaving them gleaming and revitalized. Whether you are a seasoned DIY enthusiast or a novice looking to embark on your first home improvement project, this comprehensive tutorial will provide you with all the information and tips you need to achieve professional-quality results.
From preparation to the final coat of finish, we will walk you through each stage of the hardwood floor finishing process, ensuring that you have a thorough understanding of the tools, materials, and techniques required. You will learn how to properly sand your floors, removing any imperfections or old finishes, and how to seamlessly blend in any repairs needed. We will also delve into the various types of finishes available, discussing their pros and cons, so you can make an informed decision based on your preferences and the unique characteristics of your hardwood floors. Get ready to transform your space and bring new life to your tired hardwood floors.
How to Finish Hardwood Floors:
- Clean the floor thoroughly by removing any dirt or debris.
- Sand the floor to remove any existing finish or imperfections.
- Apply wood stain or sealer, following the manufacturer’s instructions.
- Allow the stain or sealer to dry completely.
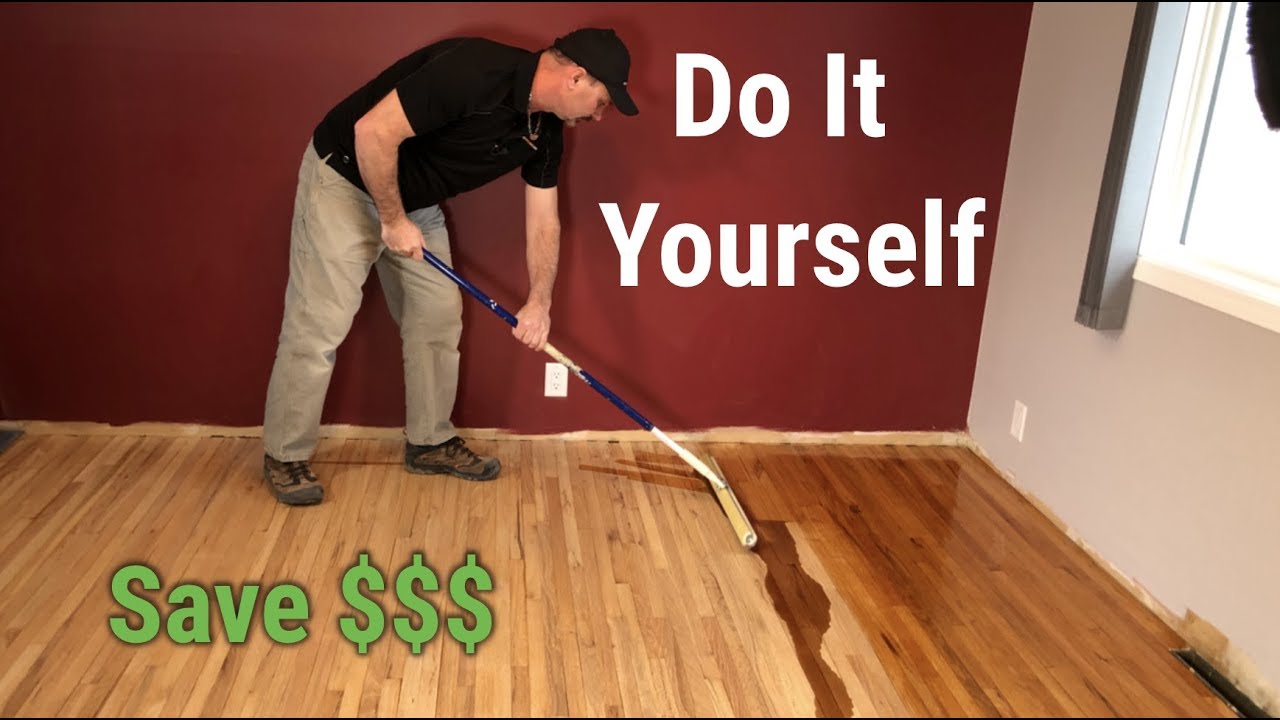
- Apply a layer of polyurethane finish using a brush or roller.
- Allow the finish to dry and then lightly sand the floor.
- Apply another coat of polyurethane finish and allow it to dry.
- Repeat the sanding and finishing process for additional coats, if desired.
- Let the final coat of finish dry completely before moving furniture back in.

How to Finish Hardwood Floors
Finishing hardwood floors is an important step in preserving their beauty and durability. Whether you are refinishing old floors or applying a finish to newly installed ones, this guide will provide you with step-by-step instructions on how to achieve a professional-looking finish. By following the proper techniques and using the right materials, you can ensure that your hardwood floors will not only look stunning but also stand the test of time.
Step 1: Prepare the Surface
Before you can start applying the finish, you need to prepare the surface of your hardwood floors. Begin by thoroughly cleaning the floors, removing any dust, dirt, or debris. Use a broom or vacuum cleaner to ensure that the surface is free from any loose particles. Next, inspect the floors for any imperfections or damage. Fill in any gaps or cracks with wood filler and sand down any rough spots. It’s important to have a smooth and even surface before proceeding to the next step.
Once the surface is clean and repaired, it’s time to sand the floors. This step is crucial as it helps to remove any existing finish and create a smooth surface for the new finish to adhere to. Start with a coarse-grit sandpaper and gradually work your way up to a finer grit. Make sure to sand in the direction of the wood grain to avoid causing any damage. After sanding, use a vacuum cleaner or a tack cloth to remove any dust from the surface.
Step 2: Apply the Stain
Now that the surface is prepared, it’s time to apply the stain. Choose a stain that complements the color of your hardwood floors and test it on a small, inconspicuous area to ensure that you are happy with the results. Apply the stain using a brush or a rag, following the manufacturer’s instructions. Always work in small sections, making sure to blend the stain evenly. Allow the stain to dry completely before moving on to the next step.

After the stain has dried, it’s time to apply a protective finish. There are various types of finishes available, such as polyurethane, varnish, or wax. Choose the type of finish that best suits your needs and follow the manufacturer’s instructions for application. Use a brush or a roller to apply the finish, working in even strokes and overlapping each stroke slightly. Allow the first coat to dry completely before applying additional coats, if desired. Once the final coat is dry, your hardwood floors will be beautifully finished and ready to enjoy.
Step 3: Maintenance and Care
After finishing your hardwood floors, it’s important to maintain them properly to ensure their longevity. Regularly sweep or vacuum the floors to remove any dirt or grit that could cause scratches. Avoid using harsh chemicals or abrasive cleaners that could damage the finish. Instead, use a damp mop with a mild wood floor cleaner to keep the floors clean. If the finish starts to show signs of wear, you can apply a maintenance coat to restore its shine and protect the wood.
Additionally, take precautions to protect your hardwood floors from furniture scratches by using felt pads or furniture coasters. Place doormats at entryways to prevent dirt and moisture from being tracked onto the floors. Finally, avoid walking on the floors with high heels or shoes with sharp objects that could dent or scratch the surface. By following these maintenance tips, you can keep your hardwood floors looking beautiful for years to come.
Step 4: Finishing Touches
Once you have finished the main steps of finishing your hardwood floors, you can add some finishing touches to enhance their appearance. Consider adding area rugs or runners to protect high-traffic areas and add a touch of style to your space. You can also apply a wood floor polish to give the floors a glossy shine. Lastly, ensure that you allow enough time for the finish to fully cure before placing furniture or rugs back onto the floors. This will prevent any marks or imprints from forming on the newly finished surface.
With these step-by-step instructions, you now have the knowledge and tools to successfully finish your hardwood floors. By following the proper techniques and maintaining your floors, you can enjoy the beauty and durability of hardwood for many years to come.
Frequently Asked Questions
Here are some common questions about finishing hardwood floors:
Q: How do I prepare the hardwood floor for finishing?
A: Before starting the finishing process, it is important to prepare the hardwood floor properly. Begin by thoroughly cleaning the surface, removing any dust, dirt, or debris. Fill any gaps or cracks with wood filler and sand the entire floor to ensure a smooth and even surface. It is also recommended to remove any existing finish or stain, especially if it is worn or damaged. Finally, make sure the floor is completely dry before applying any finishing product.
Q: What types of finishes are available for hardwood floors?
A: There are several types of finishes available for hardwood floors, each with its own characteristics and advantages. Some common options include polyurethane, oil-based finishes, water-based finishes, and wax. Polyurethane finishes are durable and provide a protective layer against wear and tear. Oil-based finishes enhance the natural color of the wood and give it a warm, rich appearance. Water-based finishes are a popular choice for their low odor and quick drying time. Wax finishes offer a traditional, matte look but require regular maintenance to keep the floor looking its best.
Q: How do I apply the finish to the hardwood floor?
A: Applying the finish to a hardwood floor requires careful attention to detail. Start by pouring the finish into a clean container and using a brush or applicator pad to apply it evenly onto the floor. Work in small sections, following the grain of the wood. Remove any excess finish to avoid streaks or puddles. Allow the first coat to dry completely before applying additional coats, usually overnight. Between coats, lightly sand the floor to ensure adhesion and a smooth surface. Follow the manufacturer’s instructions for the specific finish you are using, as drying times and application techniques may vary.
Q: How long does it take for the finish to dry?
A: The drying time of the finish depends on several factors, including the type of finish used, humidity levels, and temperature. Generally, water-based finishes dry faster than oil-based finishes. It is important to allow each coat of finish to dry completely before applying another layer or allowing foot traffic. This can take anywhere from a few hours to a couple of days. It is recommended to follow the manufacturer’s instructions for the specific finish you are using to ensure proper drying time and optimal results.
Q: How do I maintain the finished hardwood floor?
A: To keep your finished hardwood floor looking its best, regular maintenance is essential. Sweep or vacuum the floor regularly to remove dirt and debris that can scratch the surface. Avoid using harsh cleaners or abrasive tools that can damage the finish. Instead, use a damp mop or specialized hardwood floor cleaner to gently clean the surface. Wipe up spills immediately to prevent staining. Depending on the wear and tear, you may need to periodically reapply a fresh coat of finish to maintain the floor’s beauty and protection.
Remember, preparation is key to a successful finish. From sanding and cleaning to choosing the right type of stain and sealant, each step plays a crucial role in achieving a flawless result. By following the proper techniques and using high-quality products, you can ensure that your hardwood floors not only look remarkable but also stand up to the test of time. So why wait? Take the plunge and embark on the rewarding journey of finishing your hardwood floors today. The satisfaction of stepping back and admiring your beautifully finished floors will be well worth the time and effort invested.
- How to Repair Split Wood Door - April 16, 2024
- How to Fix Gouges in Hardwood Floors - April 16, 2024
- How to Remove Wood Gorilla Glue - April 16, 2024