Are you embarking on a home renovation project and in need of a perfectly level plywood subfloor? Look no further! In this comprehensive guide, we will take you through the step-by-step process of leveling a plywood subfloor, ensuring a sturdy and even foundation for any type of flooring you choose. Whether you are planning to install hardwood, laminate, or tile, a level subfloor is essential for a flawless finish and long-lasting durability.
Leveling a plywood subfloor may seem daunting, but with the right tools, materials, and techniques, it can be a straightforward and rewarding DIY project. We will discuss everything from assessing the current state of your subfloor to preparing the surface, applying the leveling compound, and achieving a smooth and seamless result. By the end of this guide, you will have the knowledge and confidence to tackle this task with ease, saving you time and money on hiring a professional. So, let’s dive in and discover the secrets to achieving a perfectly level plywood subfloor!
- Start by removing any existing flooring and cleaning the subfloor thoroughly.
- Identify any low spots and high spots on the plywood subfloor.
- For low spots, use a leveling compound to fill them in. Follow the manufacturer’s instructions for mixing and applying the compound.
- For high spots, sand them down until they are level with the rest of the subfloor.
- Once the leveling compound is dry and any high spots are sanded down, sweep and vacuum the subfloor to remove any dust or debris.
- You can now proceed with installing your new flooring on the leveled plywood subfloor.
How to Level Plywood Subfloor
Welcome to this informative guide on how to level a plywood subfloor. A level subfloor is essential for ensuring the stability and longevity of any flooring installation. Whether you are planning to lay tiles, hardwood, or laminate, following the steps outlined below will help you achieve a smooth and even surface for your new flooring.
Step 1: Assess the Subfloor
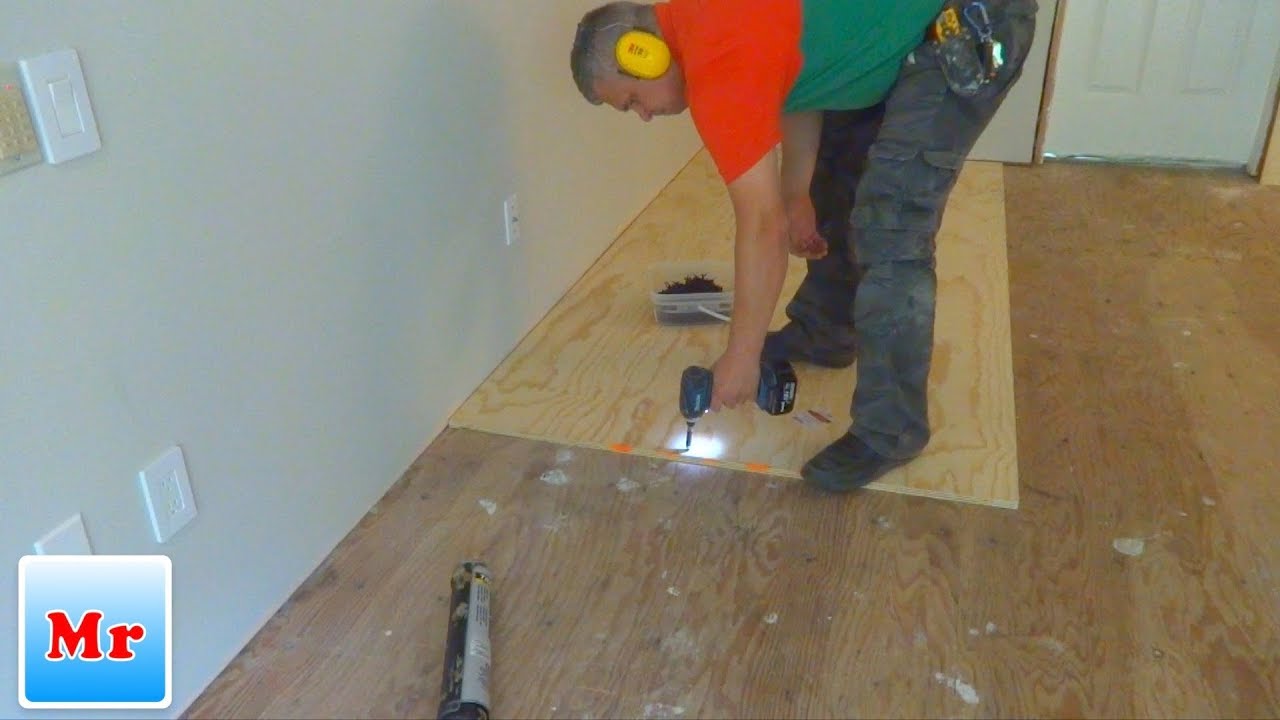
Before beginning the leveling process, it’s important to assess the condition of your plywood subfloor. Inspect for any loose or damaged boards, as these will need to be repaired or replaced before proceeding. Additionally, check for any significant height differences or uneven areas across the subfloor’s surface. Identifying these issues early on will help you determine the extent of leveling required.
Once you have assessed the subfloor, thoroughly clean it to remove any dirt, debris, or adhesive residue. A clean surface will ensure proper adhesion of leveling compounds or patching materials.
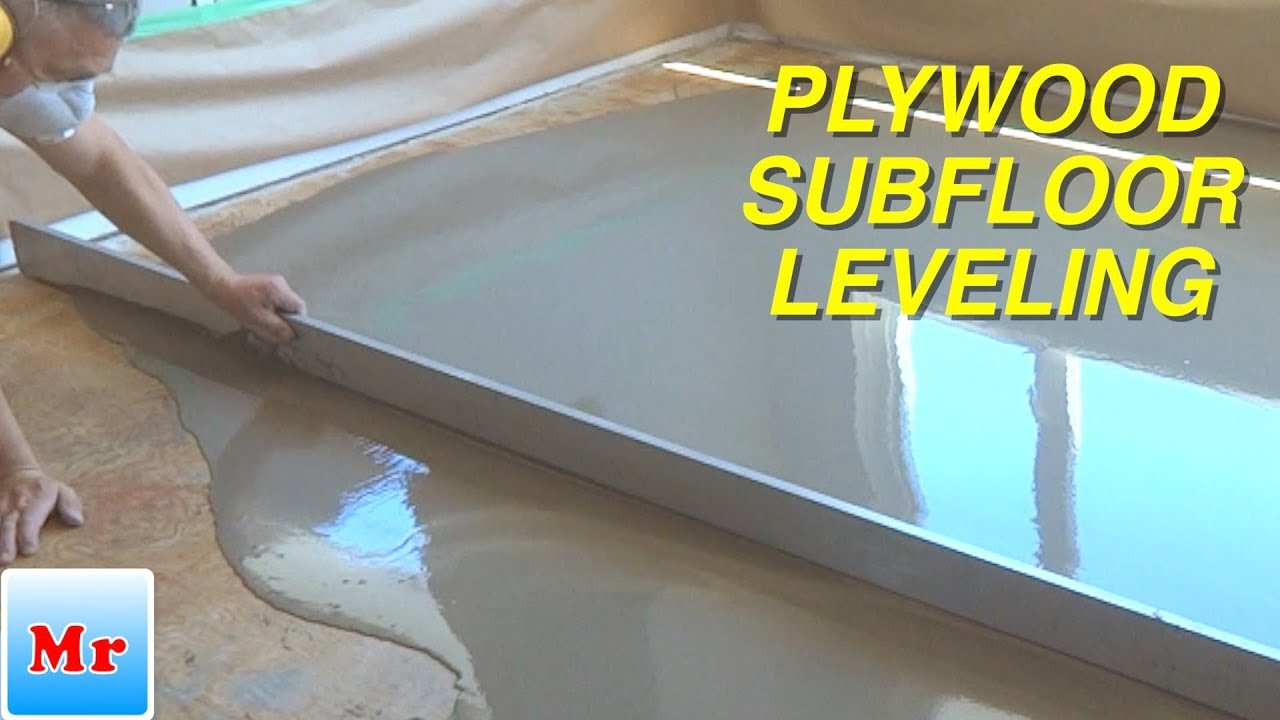
Step 2: Leveling Compound Application
Begin by mixing the leveling compound according to the manufacturer’s instructions. It’s crucial to follow these instructions precisely to achieve the desired consistency and performance of the compound. Pour the mixed compound onto the lowest areas of the subfloor, using a trowel or a notched spreader to spread it evenly.
Work in small sections, spreading the compound in a thin layer to avoid excessive buildup. Use a long straightedge or a level to check for evenness across the subfloor. Repeat this process for all the low spots until the entire subfloor is level. Allow the leveling compound to dry completely according to the manufacturer’s recommended drying time.
Step 3: Sanding and Patching

After the leveling compound has dried, inspect the subfloor for any high spots or imperfections. Use a sander or a floor buffer with a coarse grit sandpaper to remove any high areas, creating a smooth and even surface. Be cautious not to sand too aggressively, as this can damage the plywood.
If there are any remaining small imperfections or holes, apply a patching compound using a putty knife. Smooth out the compound and let it dry completely before proceeding to the next step.
Step 4: Finishing Touches
Once the subfloor is completely level and any patching compounds have dried, it’s essential to vacuum or sweep the surface to remove any dust or debris. This will ensure a clean and proper bonding surface for your chosen flooring material.
Before installing your new flooring, it’s recommended to consult the manufacturer’s guidelines for any specific subfloor preparation requirements. Following these guidelines will help you achieve the best results and ensure the warranty validity of your flooring product.
Step 5: Ensuring a Properly Leveled Subfloor
Lastly, it’s crucial to double-check the levelness of the subfloor before proceeding with the installation of your chosen flooring material. Use a straightedge or a level to verify that the entire surface is even and ready for the next steps of your flooring project.
By following these steps diligently, you can ensure a properly leveled plywood subfloor, providing a stable and even foundation for your new flooring. Remember to always prioritize safety and accuracy during the process, and consult professionals if you encounter any difficulties or uncertainties.
Frequently Asked Questions
Here you will find answers to common questions about how to level a plywood subfloor.
Q: Why is it important to level a plywood subfloor?
Leveling a plywood subfloor is crucial for several reasons. First, it provides a stable and even surface for the installation of flooring materials, such as tiles or hardwood. This helps prevent the formation of gaps, cracks, or unevenness in the finished floor. Second, a level subfloor ensures that furniture and appliances sit evenly on the floor, preventing wobbling or instability. Lastly, leveling the subfloor can help prevent moisture-related issues, as it minimizes the risk of water pooling or seeping into gaps or low areas.
Leveling a plywood subfloor is a necessary step in any flooring project as it ensures a professional and long-lasting result.
Q: Can I level a plywood subfloor myself?
Yes, you can level a plywood subfloor yourself with the right tools and materials. The process involves removing any loose or damaged sections of the subfloor, filling in gaps or low spots with a leveling compound, and sanding down high spots. However, it requires some experience and knowledge to achieve a truly level surface. It is recommended to do thorough research and follow step-by-step guides or consult with professionals before attempting to level a subfloor on your own.
If you are unsure about your abilities or the complexity of the project, it is always best to hire a professional contractor who specializes in subfloor leveling.
Q: What tools and materials do I need to level a plywood subfloor?
To level a plywood subfloor, you will need the following tools and materials:
– A pry bar or hammer to remove any loose or damaged sections of the subfloor
– A leveling compound to fill in gaps or low spots
– A trowel or putty knife to apply the leveling compound
– Sandpaper or a sander to smooth down high spots
– A straightedge or level to check for evenness
– Safety goggles and gloves for protection
Having these tools and materials on hand will make the leveling process easier and more efficient.
Q: How long does it take to level a plywood subfloor?
The time it takes to level a plywood subfloor depends on several factors, such as the size and condition of the subfloor, the complexity of the leveling required, and your level of experience. On average, a small to medium-sized room can take anywhere from a day to a few days to level, including drying time for the leveling compound.
It is important to factor in the time needed for the leveling compound to dry and cure properly before proceeding with any further flooring installation. Following the manufacturer’s instructions for drying times is crucial to ensure a successful leveling process.
Q: Can I install flooring directly on a leveled plywood subfloor?
Yes, once you have properly leveled a plywood subfloor, you can install flooring materials directly on top. However, it is important to follow the manufacturer’s instructions for the specific flooring material you are using. Some flooring types may require an additional underlayment or adhesive for proper installation.
Ensure that the leveled subfloor is clean, dry, and free of any debris or dust before proceeding with the flooring installation. This will help ensure a smooth and successful installation process.
In summary, leveling a plywood subfloor requires careful planning, precision, and attention to detail. Start by gathering the necessary tools and materials, such as a leveling compound, a trowel, and a level. Take the time to thoroughly prepare the subfloor, removing any debris, loose nails, or damaged sections. Then, apply the leveling compound, following the manufacturer’s instructions and taking care to spread it evenly across the surface. Allow the compound to dry completely before moving forward with your flooring installation. By following these steps and paying careful attention to each detail, you can achieve a level and solid plywood subfloor that will serve as a strong foundation for your new flooring.
- How to Remove Glue From Wood Floor - April 14, 2024
- How to Dissolve Wood Glue - April 14, 2024
- How to Remove Wood Glue - April 14, 2024