Are you tired of using the same old metal spoons for your cooking adventures? Do you long for a touch of rustic charm in your kitchen utensils? Look no further! In this guide, we will delve into the fascinating world of wooden spoon making. From selecting the perfect wood to carving and finishing techniques, we will equip you with the knowledge and skills to craft your very own unique and beautiful wooden spoons. So, roll up your sleeves, grab your tools, and let’s embark on this delightful journey of creativity and craftsmanship!
Wooden spoons have been an essential part of kitchens for centuries, cherished for their durability, versatility, and natural beauty. There is something truly magical about using a utensil that has been handcrafted with love and care. Whether you are a seasoned woodworker seeking a new project or a beginner eager to explore the art of spoon making, this guide is designed to cater to all skill levels. With step-by-step instructions, helpful tips, and inspiring design ideas, we will take you through the entire process, ensuring that you gain the confidence and expertise to create spoons that are as functional as they are aesthetically pleasing. So, let your creativity flow and let’s dive into the enchanting world of wooden spoon making!
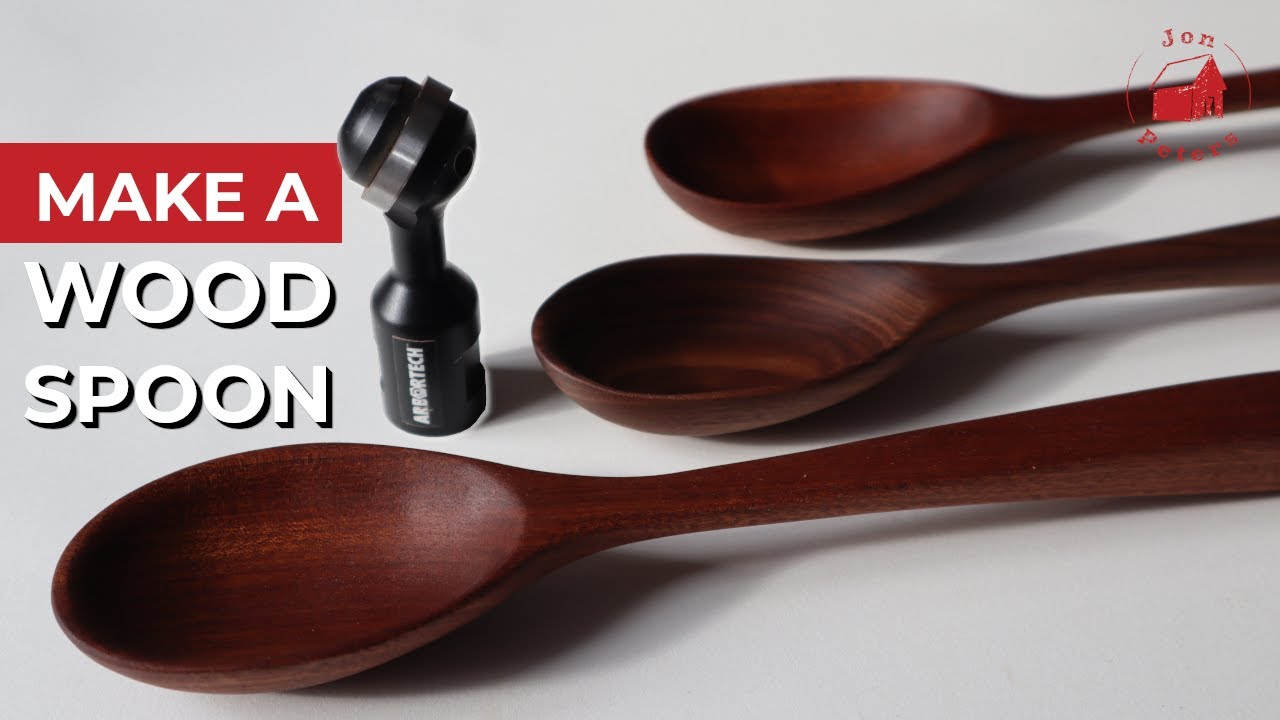
How to Make Wooden Spoons:
- Start by selecting a suitable piece of wood.
- Use a saw to cut the wood into the desired spoon shape.
- Shape the spoon using a carving knife or spoon gouge.
- Sand the spoon to smooth out any rough edges.
- Apply food-safe oil or beeswax to protect the spoon.
Introduction:
A wooden spoon is a versatile and essential tool in any kitchen. With its smooth surface and natural material, it is perfect for stirring, mixing, and serving various dishes. Making your own wooden spoons can be a rewarding and enjoyable craft that allows you to create personalized utensils that are both functional and beautiful. In this guide, we will take you through the step-by-step process of making wooden spoons, providing you with all the information you need to get started.
Step 1: Gather the Materials
Before you begin making wooden spoons, it is important to gather all the necessary materials. You will need a suitable wood blank, preferably hardwood such as cherry or maple, with dimensions around 2x2x12 inches. Other essential tools include a bandsaw or coping saw, a carving knife, a rasp or file, sandpaper of various grits, and food-safe finishing oil.
Ensure that you have a well-lit and properly ventilated workspace, as woodworking can generate a lot of dust. It is also advisable to use protective gear such as safety glasses and a dust mask to keep yourself safe during the process.
Step 2: Design and Rough Shaping
Once you have gathered all the materials, it is time to design the shape of your wooden spoon. You can either create your own design or find inspiration from existing spoon shapes. Draw the outline of the spoon on the wood blank using a pencil or marker.

Next, use a bandsaw or coping saw to roughly cut out the shape of the spoon. Take your time and make gentle, controlled cuts to ensure accuracy. It is important to leave some extra material around the outline, as you will refine the shape further in the subsequent steps.
Step 3: Carving and Smoothing
With the rough shape of the spoon in place, it is time to start carving and smoothing the wood. Use a carving knife to carefully remove excess material and shape the spoon. Begin by carving the bowl of the spoon, making sure to maintain an even thickness throughout.
Once you are satisfied with the shape of the bowl, move on to carving the handle. Pay attention to ergonomics and create a comfortable grip. Use a rasp or file to refine the shape, removing any rough edges or imperfections. As you progress, switch to finer grits of sandpaper to achieve a smooth and polished finish.
Step 4: Finishing and Sealing
After the spoon is carved and smoothed to your liking, it is time to apply a food-safe finish. This step not only enhances the appearance of the spoon but also protects it from moisture and stains. Apply a thin coat of food-safe finishing oil, such as mineral oil or walnut oil, to the entire surface of the spoon using a clean cloth or brush.
Allow the oil to penetrate the wood for a few minutes, and then wipe off any excess. Leave the spoon to dry in a well-ventilated area for at least 24 hours. If desired, you can apply multiple coats of oil to achieve a deeper finish. Remember to reapply the finish periodically to maintain the spoon’s appearance and durability.
Step 5: Enjoy and Share
Once the finishing process is complete and the spoon is fully dried, it is ready to be used in your kitchen or gifted to someone special. Wooden spoons make thoughtful and unique presents, showcasing your craftsmanship and creativity. Enjoy using your handmade wooden spoons for cooking, baking, or serving, knowing that you have created something truly special.
Remember, making wooden spoons is a skill that improves with practice. Don’t be afraid to experiment with different shapes and designs, and always prioritize safety when working with tools and materials. Happy spoon-making!
Frequently Asked Questions
Here are some commonly asked questions about how to make wooden spoons:
Q: What type of wood is best for making wooden spoons?
When making wooden spoons, it is recommended to use hardwoods such as maple, cherry, or walnut. These types of wood are durable and have a tight grain, which makes them less likely to splinter or break. Avoid using softwoods like pine, as they are more prone to damage and wear over time.
Additionally, it’s important to choose wood that is free of knots, cracks, and other defects which can weaken the spoon and affect its functionality. Look for straight-grained wood that is smooth and easy to work with.
Q: How do I shape a wooden spoon?
To shape a wooden spoon, start by sketching the desired shape and size on a piece of wood. Use a bandsaw or coping saw to cut out the rough shape, leaving some extra material for sanding. Next, use a combination of hand tools such as a carving knife, gouges, and rasps to refine the shape.
Work slowly and carefully, removing small amounts of wood at a time. Pay close attention to the curvature of the spoon bowl and the thickness of the handle. Once you are satisfied with the shape, use sandpaper or a sanding block to smooth out any rough edges and surfaces.
Q: How do I finish a wooden spoon?
Finishing a wooden spoon is important to protect the wood from moisture and food stains. One common method is to apply food-safe oils, such as mineral oil or walnut oil, to the spoon. Start by sanding the spoon to a smooth finish, then apply a generous amount of oil using a clean cloth or brush.
Allow the oil to penetrate the wood for a few minutes, then wipe off any excess. Let the spoon dry completely before using or applying additional coats. It’s recommended to apply multiple coats of oil, allowing each coat to dry thoroughly, to ensure a durable and long-lasting finish.
Q: How do I care for wooden spoons?
To keep wooden spoons in good condition, it’s important to properly care for them. Avoid soaking them in water for extended periods, as this can cause the wood to warp or crack. Instead, hand wash them with mild soap and warm water, and immediately dry them thoroughly with a towel.
Occasionally, you can also apply a thin coat of food-safe oil to maintain the wood’s moisture content and prevent it from drying out. Regularly inspect the spoons for any signs of wear or damage, and if needed, lightly sand and refinish them to maintain their smoothness and appearance.
Q: Can I use power tools to make wooden spoons?
While it is possible to use power tools to make wooden spoons, many woodworkers prefer to use hand tools for better control and precision. Hand tools like carving knives, gouges, and rasps allow for more detailed shaping and refinement of the spoon’s curves and contours.
However, if you are comfortable and experienced with power tools, you can use tools such as a bandsaw or a drill with a carving attachment to speed up the initial shaping process. Just remember to work slowly and safely, and always follow the manufacturer’s instructions for operating power tools.
Make a Wood Spoon
In conclusion, learning how to make wooden spoons is a rewarding and fulfilling experience that connects us with the timeless art of craftsmanship. Through the step-by-step process, we have explored the various techniques and tools required to shape and carve a beautiful wooden spoon. Not only does this skill allow us to create functional and practical utensils for our everyday lives, but it also provides an opportunity to express our creativity and appreciation for the natural beauty of wood.
By embracing the art of wooden spoon making, we can also develop a deeper connection with our culinary traditions and the importance of sustainable living. Crafting our own spoons allows us to use locally sourced materials and reduce our reliance on disposable and plastic utensils. Moreover, the act of making a wooden spoon encourages mindfulness and patience, as we carefully shape each curve and contour, honoring the unique characteristics of the wood. So, let us embark on this journey of craftsmanship and unleash our creativity while making functional and beautiful wooden spoons that will not only enhance our cooking experience but also serve as a testament to our skill and dedication as artisans.
- How to Design Wood Carving - May 7, 2024
- How to Carve Wood - May 7, 2024
- How to Remove Cat Urine From Wood Furniture - May 7, 2024