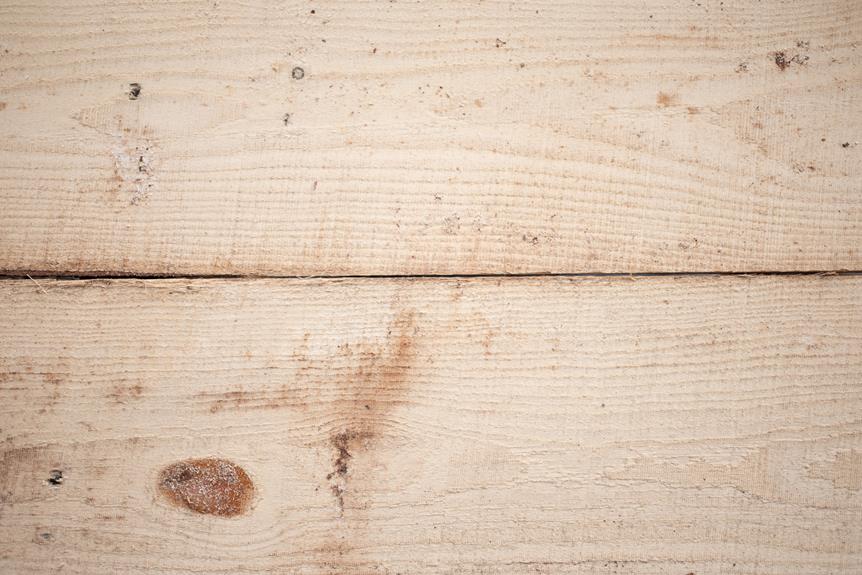
I've stained countless pieces of wood over the years, and let me tell you, proper preparation is key. Did you know that 80% of staining failures are due to improper wood prep?
That's why I'm here to share my expert tips on how to prep wood for stain. From sanding to cleaning, I'll guide you through the process step by step.
Get ready to unleash the true beauty of your woodwork and achieve stunning, long-lasting results. Let's dive in!
Overview
I'm gonna give you a quick overview of how to prep wood for stain. As someone who's worked with wood for years, I understand the importance of properly preparing the surface before applying stain. Prepping wood not only ensures a smooth and even finish but also enhances the longevity of the stain.
The first step in prepping wood for stain is to sand the surface. This removes any rough spots or imperfections, allowing the stain to penetrate evenly. I recommend using fine-grit sandpaper and sanding with the grain of the wood for the best results.
After sanding, it's crucial to clean the wood thoroughly to remove any dust or debris. A damp cloth or vacuum cleaner can be used for this purpose. This step ensures that the stain adheres properly to the wood.
In some cases, wood may have knots or blemishes that need additional attention. To prevent these areas from absorbing too much stain, it's important to apply a wood conditioner. This helps to create a more uniform color and finish.

Now that you have a brief overview of how to prep wood for stain, let's move on to the quick answer list, where I'll provide you with a step-by-step guide for easy reference.
quick answer
To get a quick answer to your question, check out the step-by-step guide I've prepared for preparing wood for stain. As someone with years of experience in woodworking, I understand the importance of proper wood preparation to achieve a flawless finish. So, let's dive right in!
Here is a concise guide to help you prepare wood for stain:
- Inspect the wood: Start by examining the wood for any imperfections, such as knots, cracks, or rough areas. Address these issues before proceeding to ensure a smooth and even surface.
- Sand the wood: Use sandpaper or a sanding block to smooth out the wood surface. Begin with a coarse grit sandpaper and gradually work your way up to a finer grit for a polished finish.
- Remove dust: After sanding, it's crucial to remove all dust and debris from the wood. Use a vacuum or a tack cloth to ensure a clean surface before applying the stain.
By following these steps, you'll be well on your way to achieving a professional-looking stained wood finish. Remember, proper preparation is the key to a successful project.
Good luck and enjoy the liberation of creating beautiful pieces with stained wood!
Key Takeways
There are three key takeaways that can greatly improve your wood staining process. First, proper wood preparation is crucial to ensure an even and long-lasting stain application. Second, choosing the right type of stain for your project is essential for achieving the desired results. And finally, following the correct application techniques will help you achieve a professional finish.
To help you visualize these takeaways, here is a table outlining the key points:
| Key Takeaways |
|---|
| 1. Wood Preparation |
| Sand the wood surface to remove any imperfections and create a smooth base for the stain. |
| Use a wood cleaner or conditioner to remove dirt, oils, and old stain remnants. |
| 2. Choosing the Right Stain |
| Consider the type of wood and its natural color when selecting a stain color. |
| Determine if you want a transparent, semi-transparent, or opaque stain for your desired level of coverage. |
| 3. Application Techniques |
| Apply the stain with a brush, sponge, or cloth, following the wood grain. |
| Wipe off any excess stain to prevent uneven drying and blotchy results. |
| Allow sufficient drying time between coats and apply a sealer for added protection. |
Summary
One important takeaway from the discussion on wood staining is that proper preparation and application techniques, along with choosing the right stain, can greatly improve the overall results.
As someone with extensive experience in woodwork, I can't stress enough the significance of thorough preparation before applying any stain. It's crucial to start with a clean and smooth surface. This involves sanding the wood to remove any imperfections, such as rough patches or previous coatings. Additionally, it's essential to ensure the wood is free from dust and debris by using a tack cloth or vacuum cleaner.
Once the wood is prepared, the next step is to select the right stain for your project. Consider factors such as the type of wood, desired color, and the level of transparency you want. Test the stain on a small inconspicuous area to ensure it achieves the desired result.
Finally, when applying the stain, use even and consistent strokes, following the grain of the wood. Allow the stain to penetrate the wood for the recommended time before wiping off any excess.
Following these steps will yield beautiful and long-lasting results, elevating the overall appearance of your woodwork.
Step-By-Step Process
To achieve a professional-looking finish on wood, it's important to follow a step-by-step process.
First, sand the wood to ensure a smooth surface, removing any imperfections.
Next, remove any old finishes to allow the new stain to penetrate the wood properly.
Finally, apply a wood conditioner to ensure an even application of the stain.
By following these steps, you can achieve a beautiful stained finish on your wood project.
- Sand the wood for smoothness
- Remove old finishes
- Apply wood conditioner
Sanding for Smoothness
I can feel the difference in smoothness when I sand the wood properly before staining it. Sanding is a crucial step in preparing wood for stain, as it helps to remove imperfections and create a smooth surface for the stain to adhere to.
When I run my hand across the sanded wood, I can feel the absence of rough spots and bumps. This is important because a smooth surface allows the stain to penetrate evenly, resulting in a more uniform and professional-looking finish.
Additionally, sanding helps to open up the pores of the wood, allowing the stain to seep in and enhance the natural beauty of the grain.
Removing Old Finishes
After carefully sanding the wood, I can now move on to removing old finishes by using a stripper and a scraper. This step is crucial in prepping the wood for stain, as it ensures a clean and smooth surface for the new finish to adhere to.
When selecting a stripper, it's important to choose one that's specifically designed for the type of finish you're trying to remove. Follow the instructions carefully, applying the stripper evenly and allowing it to penetrate the old finish.
Once the stripper has done its job, use a scraper to gently remove the softened finish, being careful not to damage the wood. Liberating the wood from its old finish is a satisfying step, bringing us closer to achieving a beautiful and rejuvenated piece.
Applying Wood Conditioner
Before applying the wood conditioner, I carefully wipe down the sanded surface with a clean, lint-free cloth to remove any dust or debris.
Then, I evenly spread a generous amount of conditioner using a brush or a rag. This step is crucial in preparing the wood for stain as it helps to ensure an even and smooth application of the stain later on.
Wood conditioner acts as a primer for the wood, sealing the pores and preventing the stain from being absorbed too quickly and unevenly. It also helps to enhance the natural beauty of the wood by bringing out its rich tones and grain patterns.
Choosing the Right Stain
To achieve the desired aesthetic, it's important to carefully consider the color and finish options when choosing the right stain for your project.
As an experienced woodworker, I understand the liberation that comes from having the perfect stain that enhances the natural beauty of the wood.
When selecting a stain, consider the type of wood you're working with and its natural color. Darker stains can create a rich, luxurious look, while lighter stains can highlight the grain and create a more rustic feel.
Additionally, think about the finish you want – glossy, satin, or matte. Each finish can drastically change the overall appearance of the wood.
Proper Application Techniques
I always make sure to follow the proper application techniques when staining wood to ensure a smooth and even finish. Preparation is key in achieving the desired results.
First, I start by sanding the wood with a fine-grit sandpaper to create a clean and smooth surface. This step helps the stain penetrate evenly and avoids blotching.
Next, I remove any dust or debris using a tack cloth or a soft brush. This ensures that the stain adheres properly and prevents any imperfections.
Before applying the stain, I always test it on a small, inconspicuous area to determine the desired color and absorption rate.
Finally, I apply the stain using a brush or a cloth, following the direction of the wood grain, and wiping off any excess for an even and professional finish.
Final Thought
The final thought on prepping wood for stain is to ensure that all surfaces are smooth and free of any dust or debris. As someone who's spent years working with wood and perfecting my staining techniques, I understand the importance of this final step. It may seem minor, but a smooth, clean surface is crucial for achieving a flawless finish.
To begin, I recommend using a fine-grit sandpaper to gently sand the wood. This will remove any rough spots or imperfections, allowing the stain to penetrate evenly. Be sure to sand in the direction of the grain to avoid creating scratches.
Once the sanding is complete, it's essential to thoroughly clean the wood. I prefer using a soft brush or tack cloth to remove any lingering dust or debris. This step is crucial because even the tiniest specks can mar the final result.
Finally, before applying the stain, double-check that the surface is completely dry. Moisture can interfere with the absorption of the stain and lead to uneven coloring. Take your time and ensure all areas are dry before proceeding.
Frequently Asked Questions
Can I Stain Wood Without Sanding It First?
No, you can't stain wood without sanding it first. Sanding helps to remove any existing finish, smooth out imperfections, and allow the stain to penetrate the wood evenly, resulting in a beautiful and long-lasting finish.
What Types of Wood Are Best for Staining?
Some types of wood that are best for staining include oak, maple, cherry, and mahogany. These woods have a tight grain structure and take stains well, resulting in a beautiful and even finish.
Can I Use a Power Sander Instead of Hand Sanding?
Yes, I can use a power sander instead of hand sanding. It saves time and effort, ensuring a smooth surface for stain application. However, I must be cautious not to over-sand and remove too much wood.
How Long Should I Let the Wood Dry Before Applying Stain?
I usually let the wood dry for at least 24 hours before applying the stain. This gives it enough time to fully dry and ensures that the stain will adhere properly for a smooth and even finish.
Can I Stain Over an Existing Stain?
Sure, you can stain over an existing stain, but it's important to properly prep the wood first. Sanding and cleaning the surface will ensure better adhesion and a more even finish.
- How to Laser Engrave Wood - May 5, 2024
- How to Use Ryobi Wood Splitter - May 5, 2024
- How to Split Wood Youtube - May 5, 2024