Are you tired of the generic flooring options available in the market? Do you dream of having a unique and stunning hardwood floor that reflects your personal style? Look no further, as we have the perfect solution for you! In this guide, we will take you on a journey to discover the art of creating your own hardwood flooring. Whether you are a DIY enthusiast or a professional craftsman, this comprehensive tutorial will equip you with the knowledge and skills needed to transform your space into a masterpiece.
Imagine walking into your home and being greeted by the warmth and elegance of a handcrafted hardwood floor, tailored to your exact specifications. With our step-by-step instructions and expert tips, you will learn everything from selecting the right type of wood to the final finishing touches. Unleash your creativity and let your imagination run wild as you embark on this exciting project. Get ready to not only enhance the beauty of your home, but also add value and a touch of luxury that will leave your guests in awe. So, roll up your sleeves, grab your tools, and let’s dive into the world of DIY hardwood flooring like never before!
How to Make Your Own Hardwood Flooring:
- Start by selecting the type of hardwood you want to use.
- Measure the area where you want to install the flooring.
- Prepare the subfloor by cleaning and leveling it.
- Acclimate the hardwood to the room’s temperature and humidity.
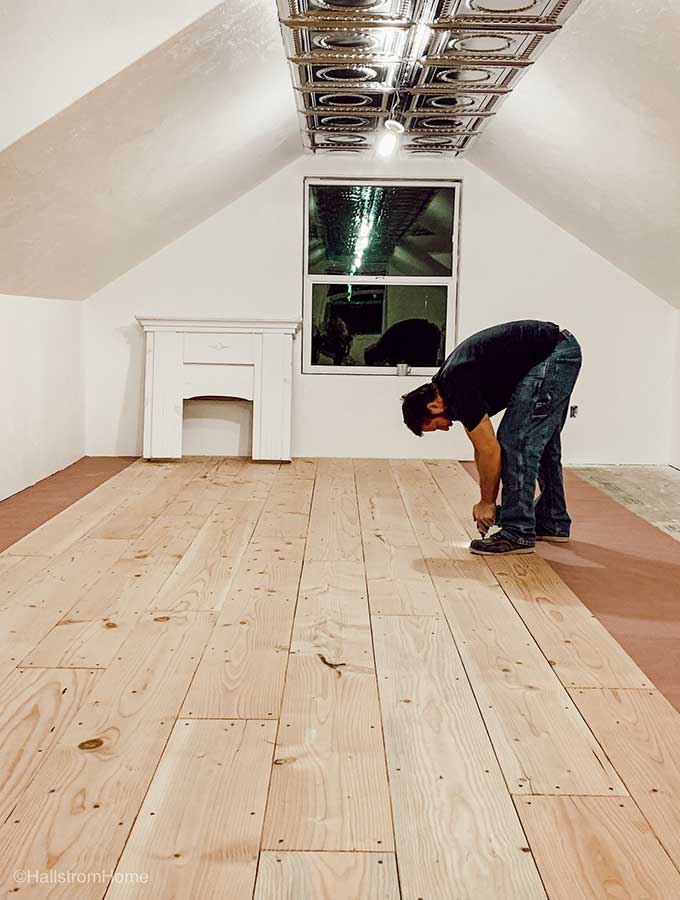
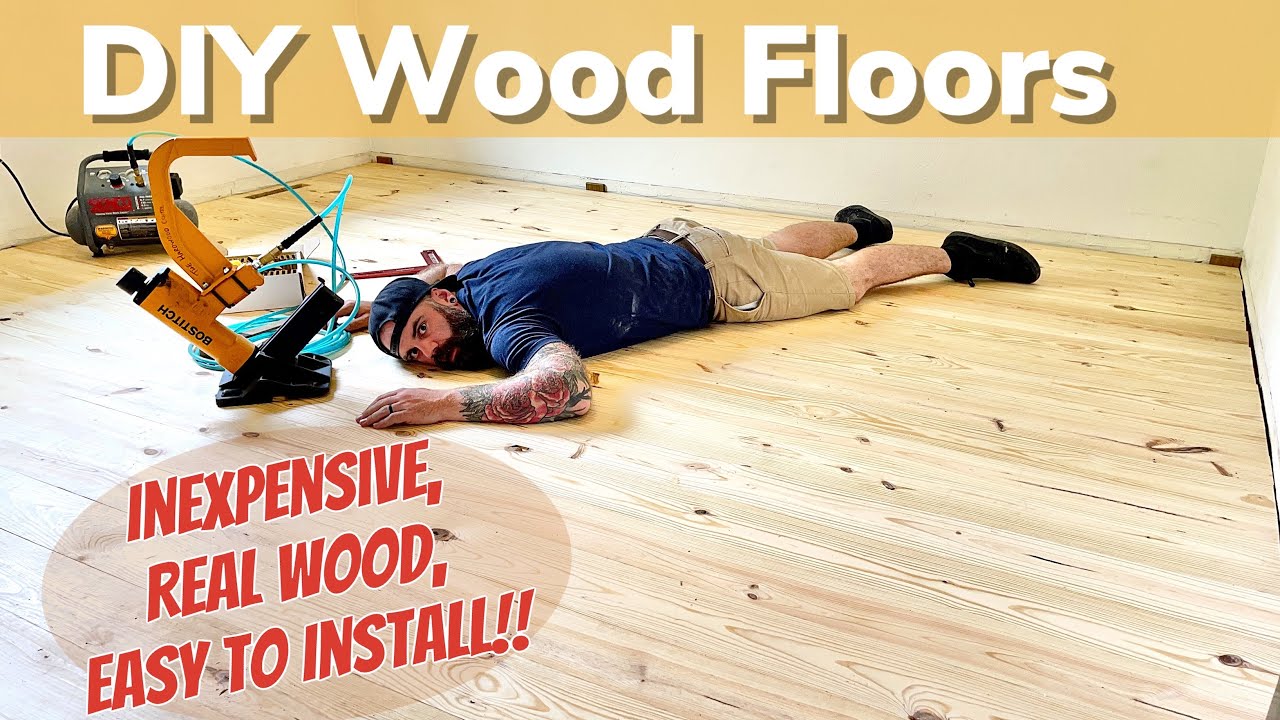
- Install the hardwood planks using a flooring nailer or adhesive.
- Sand the floor to ensure a smooth surface.
- Apply a protective finish to enhance durability.
- Allow the finish to dry completely before using the floor.
Introduction
Making your own hardwood flooring can be a rewarding and cost-effective project that adds beauty and value to your home. By following these step-by-step instructions, you can create high-quality hardwood flooring that matches your style and meets your specific needs. Whether you’re a seasoned DIY enthusiast or a beginner, this comprehensive guide will provide you with all the information you need to successfully tackle this project.
Step 1: Gather Materials and Tools
Before you begin making your own hardwood flooring, it’s important to gather all the necessary materials and tools. Here’s a list of what you’ll need:
- Hardwood boards
- Nails or staples
- Moisture barrier paper
- Wood glue
- Hammer or pneumatic nail gun
- Saw
- Tape measure
- Chalk line
- Drill
- Sanding machine
Make sure you have all the materials and tools readily available before you start the project. This will help streamline the process and prevent any unnecessary delays.
Step 2: Prepare the Subfloor
Before you can install the hardwood flooring, it’s important to prepare the subfloor properly. Start by removing any existing flooring materials, such as carpet or laminate. Then, thoroughly clean the subfloor to remove any dirt, debris, or adhesive residue. If the subfloor is uneven, you may need to level it using a leveling compound.

Next, lay down a moisture barrier paper to protect the hardwood flooring from any moisture that may seep through the subfloor. Secure the moisture barrier paper in place using a staple gun or adhesive.
Step 3: Measure and Cut the Hardwood Boards
Measure the dimensions of the room to determine the amount of hardwood flooring you’ll need. It’s always a good idea to purchase some extra boards to account for any mistakes or future repairs. Once you have the measurements, mark the boards accordingly using a tape measure and chalk line.
Using a saw, carefully cut the hardwood boards to the desired length. Make sure to wear appropriate safety gear, such as goggles and a dust mask, while cutting the boards to protect yourself from any flying debris.
Step 4: Install the Hardwood Flooring
Start the installation process by laying the first row of hardwood boards along one wall of the room. Use a nail gun or hammer and nails to secure the boards in place. Make sure to leave a small gap between the boards and the wall to allow for expansion.
Continue installing the hardwood boards row by row, using wood glue along the edges to ensure a secure fit. Use a nail gun or hammer and nails to fasten the boards to the subfloor. Make sure each board is tightly connected to the previous one, without any gaps or unevenness.
Step 5: Sand and Finish the Flooring
Once all the hardwood boards are installed, it’s time to sand and finish the flooring. Use a sanding machine to smooth out any rough edges or imperfections on the surface of the boards. Start with a coarse grit sandpaper and gradually move to a finer grit for a polished finish.
After sanding, apply a protective finish to the hardwood flooring. You can choose from various finishes, such as polyurethane or tung oil, depending on your preference. Follow the manufacturer’s instructions for applying the finish and allow it to dry completely before walking on the newly installed flooring.
Step 6: Maintain and Care for Your Hardwood Flooring
Proper maintenance and care are essential to keep your hardwood flooring looking beautiful and in top condition. Sweep or vacuum regularly to remove any dirt or debris that can scratch the surface. Use a damp mop with a mild hardwood floor cleaner to remove any stains or spills.
Avoid exposing the hardwood flooring to excessive moisture or direct sunlight, as this can cause damage over time. Place protective pads under furniture legs to prevent scratches, and use rugs or mats in high-traffic areas to minimize wear and tear.
Step 7: Enjoy Your DIY Hardwood Flooring
Congratulations! You’ve successfully made your own hardwood flooring. Now, sit back, relax, and enjoy the beauty and warmth that your DIY project has brought to your home. With proper care and maintenance, your hardwood flooring will continue to impress for years to come.
Frequently Asked Questions
Here are some commonly asked questions about how to make your own hardwood flooring:
Question 1: What materials do I need to make my own hardwood flooring?
To make your own hardwood flooring, you will need the following materials:
– Hardwood planks: Choose the type of hardwood you prefer, such as oak, maple, or cherry.
– Moisture barrier: This helps protect the wood from moisture and prevents warping.
– Underlayment: Provides a smooth surface and helps reduce noise.
– Nails or staples: Used to secure the hardwood planks to the subfloor.
– Sandpaper: Used for sanding the wood to create a smooth surface.
– Stain and finish: Gives the hardwood flooring its desired color and protects it from wear and tear.
Question 2: How do I prepare the subfloor for hardwood flooring installation?
Before installing hardwood flooring, it is important to prepare the subfloor properly. Follow these steps:
– Clean the subfloor: Remove any debris, dust, or existing flooring that may be on the subfloor.
– Level the subfloor: Ensure that the subfloor is level by using a leveling compound or self-leveling concrete.
– Install moisture barrier: Lay down a moisture barrier to prevent moisture from seeping into the hardwood.
– Install underlayment: Lay down the underlayment to provide a smooth surface for the hardwood planks.
Question 3: How should I acclimate the hardwood planks before installation?
Acclimating the hardwood planks is crucial to ensure they adjust to the humidity and temperature of the installation area. Here’s what you need to do:
– Unpack the hardwood planks and remove any plastic wrapping or coverings.
– Allow the planks to sit in the room where they will be installed for at least 72 hours.
– Maintain the room temperature and humidity levels as close as possible to the regular living conditions.
– This acclimation period allows the wood to adjust and minimize the risk of warping or shrinking after installation.
Question 4: How do I install the hardwood flooring?
Follow these steps to install your own hardwood flooring:
– Start with a clean and prepared subfloor.
– Lay down the moisture barrier and underlayment.
– Begin laying the hardwood planks from one corner of the room, working your way across.
– Use a pneumatic nailer or stapler to secure the planks to the subfloor.
– Leave a small gap along the edges of the room to allow for expansion.
– Continue installing the planks row by row until the entire floor is covered.
– Use a saw to cut the planks to fit around doorways or other obstacles.
– Once all the planks are installed, sand the surface to remove any imperfections.
– Apply stain and finish according to the manufacturer’s instructions.
Question 5: How do I maintain and care for my hardwood flooring?
To keep your hardwood flooring looking its best, follow these maintenance tips:
– Sweep or vacuum regularly to remove dirt and debris.
– Use a damp mop or cloth to clean up spills immediately.
– Avoid using harsh chemicals or abrasive cleaners that can damage the finish.
– Place felt pads under furniture legs to prevent scratches.
– Use rugs or mats in high-traffic areas to protect the hardwood from wear.
– Avoid dragging heavy objects across the floor to prevent scratches.
– Periodically refinish the hardwood to restore its appearance and protect it from wear and tear.
Remember, patience and attention to detail are key when embarking on this project. Take the time to properly prepare and acclimate the wood, ensure precise measurements and cuts, and expertly install each plank. With each passing day, as you walk on the smooth and stunning surface you have created, you will feel a sense of accomplishment and pride in knowing that you have crafted a timeless and durable hardwood floor that will withstand the test of time.
So, gather your tools, unleash your creativity, and let your DIY spirit shine as you embark on the journey of making your own hardwood flooring. With passion, determination, and a little bit of guidance, you can turn your vision into a reality and transform your home into a haven of natural beauty and elegance.
- How to Frame a Wooden Jigsaw Puzzle - May 12, 2024
- How to Glue a Wooden Jigsaw Puzzle - May 12, 2024
- How to Decoupage Wood - May 12, 2024