Are you looking to add a touch of elegance and security to your property? Look no further than a wooden fence gate! A well-designed and sturdily-built wooden gate not only enhances the overall appearance of your fence but also provides an extra layer of protection and privacy. Whether you’re a seasoned DIY enthusiast or a beginner looking to embark on your first woodworking project, this guide will take you step by step through the process of building a wooden fence gate. By the end, you’ll have a beautiful and functional gate that will stand the test of time.
Building a wooden fence gate may seem like a daunting task, but with the right tools, materials, and a little guidance, anyone can successfully complete this project. Not only will you save money by doing it yourself, but you’ll also have the satisfaction of knowing that your gate was crafted with precision and care. So, roll up your sleeves, grab your measuring tape, and let’s get started on creating a stunning wooden fence gate that will elevate the aesthetic appeal and security of your property.
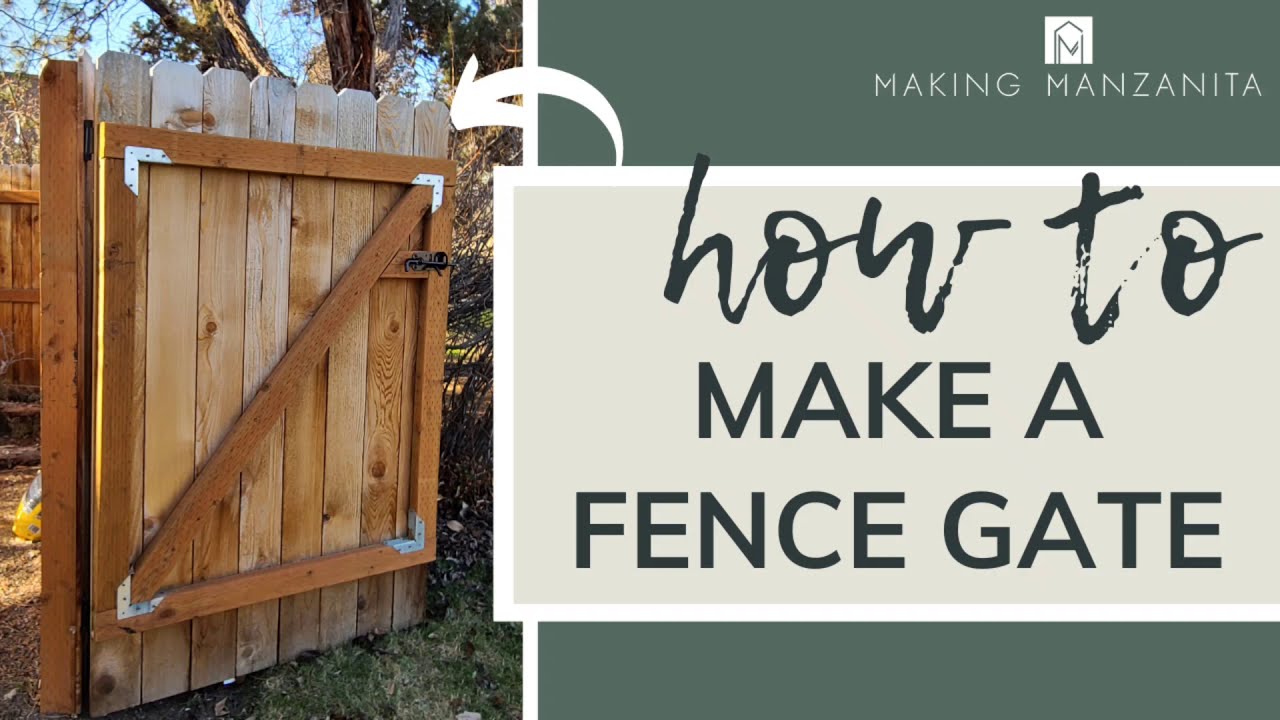
How to build a wooden fence gate:
- Measure and mark the desired gate width.
- Cut the wooden boards to the measured width.
- Attach the boards together using screws or nails.
- Measure and cut diagonal braces for added stability.
- Attach the braces to the gate frame.
- Install hinges on the gate and the fence post.
- Hang the gate on the hinges and check for proper alignment.
- Add a latch or lock for security.
Introduction
Building a wooden fence gate can be a rewarding DIY project that adds both functionality and aesthetic appeal to your property. Whether you’re looking to add a gate to an existing fence or constructing a new fence from scratch, this step-by-step guide will provide you with all the information you need to successfully build a wooden fence gate. With the right tools, materials, and techniques, you can create a sturdy and attractive gate that will enhance the security and privacy of your outdoor space.
Gather the Necessary Tools and Materials
Before you begin building your wooden fence gate, it’s essential to gather all the necessary tools and materials. Here’s a list of what you’ll need:
1. Measuring tape and pencil: These tools will help you accurately measure and mark the dimensions for your gate.
2. Saw: You’ll need a saw to cut the wooden boards to the desired size and shape.

3. Drill and screws: A drill will be used to attach the various components of the gate together, and screws will provide the necessary structural support.
4. Hinges and latch: Hinges will allow the gate to swing open and close, while a latch will keep it securely shut.
5. Wooden boards: Choose high-quality, pressure-treated wooden boards that are suitable for outdoor use. The number of boards you’ll need will depend on the size of your gate.
6. Level and carpenter’s square: These tools will ensure that your gate is properly aligned and square during the construction process.
Measure and Cut the Wooden Boards
The first step in building a wooden fence gate is to measure and cut the wooden boards to the desired size. Start by measuring the width and height of the gate opening, taking into account any additional clearance you may need. Use a measuring tape and pencil to mark the dimensions on the wooden boards, and then use a saw to make the cuts.
When cutting the boards, make sure to wear appropriate safety gear, such as goggles and gloves, and follow proper safety precautions. Take your time to ensure accurate cuts, as any inaccuracies can affect the overall stability and appearance of the gate.
Once you have cut all the necessary boards, use a carpenter’s square to check that the corners are square and make any adjustments if needed. This will help ensure that your gate is properly aligned and functions correctly.
Assemble and Install the Gate
With the wooden boards cut to size, it’s time to assemble the gate. Start by laying out the boards on a flat surface, ensuring they are aligned according to your design. Use a drill and screws to attach the horizontal and vertical boards together, creating a sturdy frame.
Next, attach the hinges to one side of the gate frame, following the manufacturer’s instructions. Make sure to position the hinges at the appropriate height and distance from the top and bottom of the gate. Once the hinges are securely attached, you can then install the gate onto the fence posts or adjoining fence, again following the manufacturer’s instructions.
Finally, install the latch on the opposite side of the gate frame, ensuring it aligns with the corresponding latch receiver on the fence or post. Test the gate to ensure it swings open and closes smoothly, making any necessary adjustments to the hinges or latch if needed.
Finishing Touches and Maintenance
To enhance the longevity and appearance of your wooden fence gate, consider applying a protective finish, such as paint or stain. This will help protect the wood from the elements and maintain its natural beauty. Follow the manufacturer’s instructions for the specific finish you choose, ensuring proper ventilation and application techniques.
Additionally, regular maintenance is essential to keep your wooden fence gate in optimal condition. Inspect the gate periodically for any signs of damage or wear, and make any necessary repairs promptly. Keep the gate clean and free of debris, and consider applying a new coat of finish as needed to protect the wood.
By following these steps and taking proper care of your wooden fence gate, you can enjoy its functionality and beauty for years to come.
Frequently Asked Questions
Here are some commonly asked questions about building a wooden fence gate:
1. How do I determine the size of my wooden fence gate?
When determining the size of your wooden fence gate, you need to consider the width, height, and thickness of the materials you will be using. Measure the opening where the gate will be installed, making sure to account for any clearance needed for hinges and hardware. It’s also essential to factor in the type of fence you have and the overall aesthetic you want to achieve. Remember to check local building codes and regulations to ensure compliance.
Once you have the measurements, you can calculate the size of the gate by deducting the necessary clearances from the opening width and height. It’s crucial to double-check your calculations and make adjustments as needed before proceeding with construction.
2. What tools and materials do I need to build a wooden fence gate?
To build a wooden fence gate, you will need a few essential tools and materials. Tools typically include a tape measure, circular saw, drill, screwdriver, level, hammer, chisel, and a router. You may also need clamps, a jigsaw, and various woodworking accessories.
As for materials, you will need wooden boards for the frame and slats, screws or nails for assembly, hinges, latch hardware, and any decorative elements you wish to add. It’s recommended to use pressure-treated or rot-resistant wood to ensure the longevity of your gate. Don’t forget to gather safety equipment such as gloves, goggles, and a dust mask to protect yourself during construction.
3. What are the essential steps to building a wooden fence gate?
Building a wooden fence gate involves several key steps. First, you need to measure the opening and calculate the gate size, as mentioned earlier. Next, gather all the necessary tools and materials for the project.
Once you have everything ready, start by constructing the frame of the gate using the measured wooden boards. Secure the frame using screws or nails, ensuring it is square and level. Then, attach the slats to the frame, making sure they are evenly spaced and properly aligned. If desired, you can add decorative elements at this stage.
After assembling the gate, attach the hinges to the gate frame and the adjacent fence post or structure. Ensure the hinges are properly aligned and level to allow smooth opening and closing of the gate. Finally, install the latch hardware to secure the gate in the closed position. Take the time to test the gate’s functionality and make any necessary adjustments before completing the project.
4. How do I maintain a wooden fence gate?
Maintaining a wooden fence gate is crucial to prolong its lifespan and keep it looking its best. Regular maintenance tasks include cleaning, inspecting, and refinishing the gate as needed.
To clean your wooden fence gate, use a mild detergent mixed with water and a soft brush or cloth. Gently scrub the surface to remove dirt, grime, and any mildew or mold buildup. Rinse thoroughly with clean water and allow the gate to dry completely before proceeding.
Inspect the gate regularly for any signs of damage, such as rot, loose or missing boards, or loose hardware. Replace or repair any damaged components promptly to prevent further issues.
Over time, the wood may weather and lose its protective finish. To maintain the gate’s appearance and protect it from the elements, consider refinishing it with a suitable wood stain or paint. Follow the manufacturer’s instructions and apply the finish evenly to ensure proper coverage and protection.
5. Are there any safety considerations when building a wooden fence gate?
Yes, there are several safety considerations to keep in mind when building a wooden fence gate. Firstly, always wear appropriate safety gear, including gloves, goggles, and a dust mask, especially when working with power tools or handling chemicals such as wood preservatives or finishes.
Ensure that the gate is sturdy and well-constructed to prevent accidents or injuries. Double-check all connections, such as screws or nails, to ensure they are secure and won’t come loose over time. Additionally, make sure the gate swings freely without any obstructions that could cause it to bind or become difficult to open or close.
Finally, be mindful of the gate’s location and surroundings. Avoid placing the gate near potential hazards such as slopes, stairs, or sharp objects. Consider installing childproof locks or latches if necessary to prevent unauthorized access or accidents involving young children or pets.

How to Build a Wood Fence Gate (Step By Step)
In conclusion, building a wooden fence gate is not only a practical solution to enhance the security and privacy of your property, but it can also add a touch of charm and elegance to your overall landscape. By following the step-by-step guide provided in this article, you can confidently embark on this DIY project and create a gate that stands the test of time. Remember to choose high-quality materials, take accurate measurements, and pay attention to the details to ensure a sturdy and visually appealing gate.
Furthermore, building your own fence gate allows you to customize it to suit your specific needs and preferences. Whether you opt for a traditional or modern design, you have the freedom to select the type of wood, hardware, and finishes that align with your personal style and complement the existing elements of your outdoor space. With patience, careful planning, and a little bit of skill, you can proudly admire your handcrafted wooden fence gate and enjoy the sense of accomplishment that comes with completing a successful DIY project. So, why wait? Start gathering your tools and materials today, and let your creativity and craftsmanship shine through as you embark on this rewarding journey of building a wooden fence gate.
- How to Remove Glue From Wood Floor - April 14, 2024
- How to Dissolve Wood Glue - April 14, 2024
- How to Remove Wood Glue - April 14, 2024