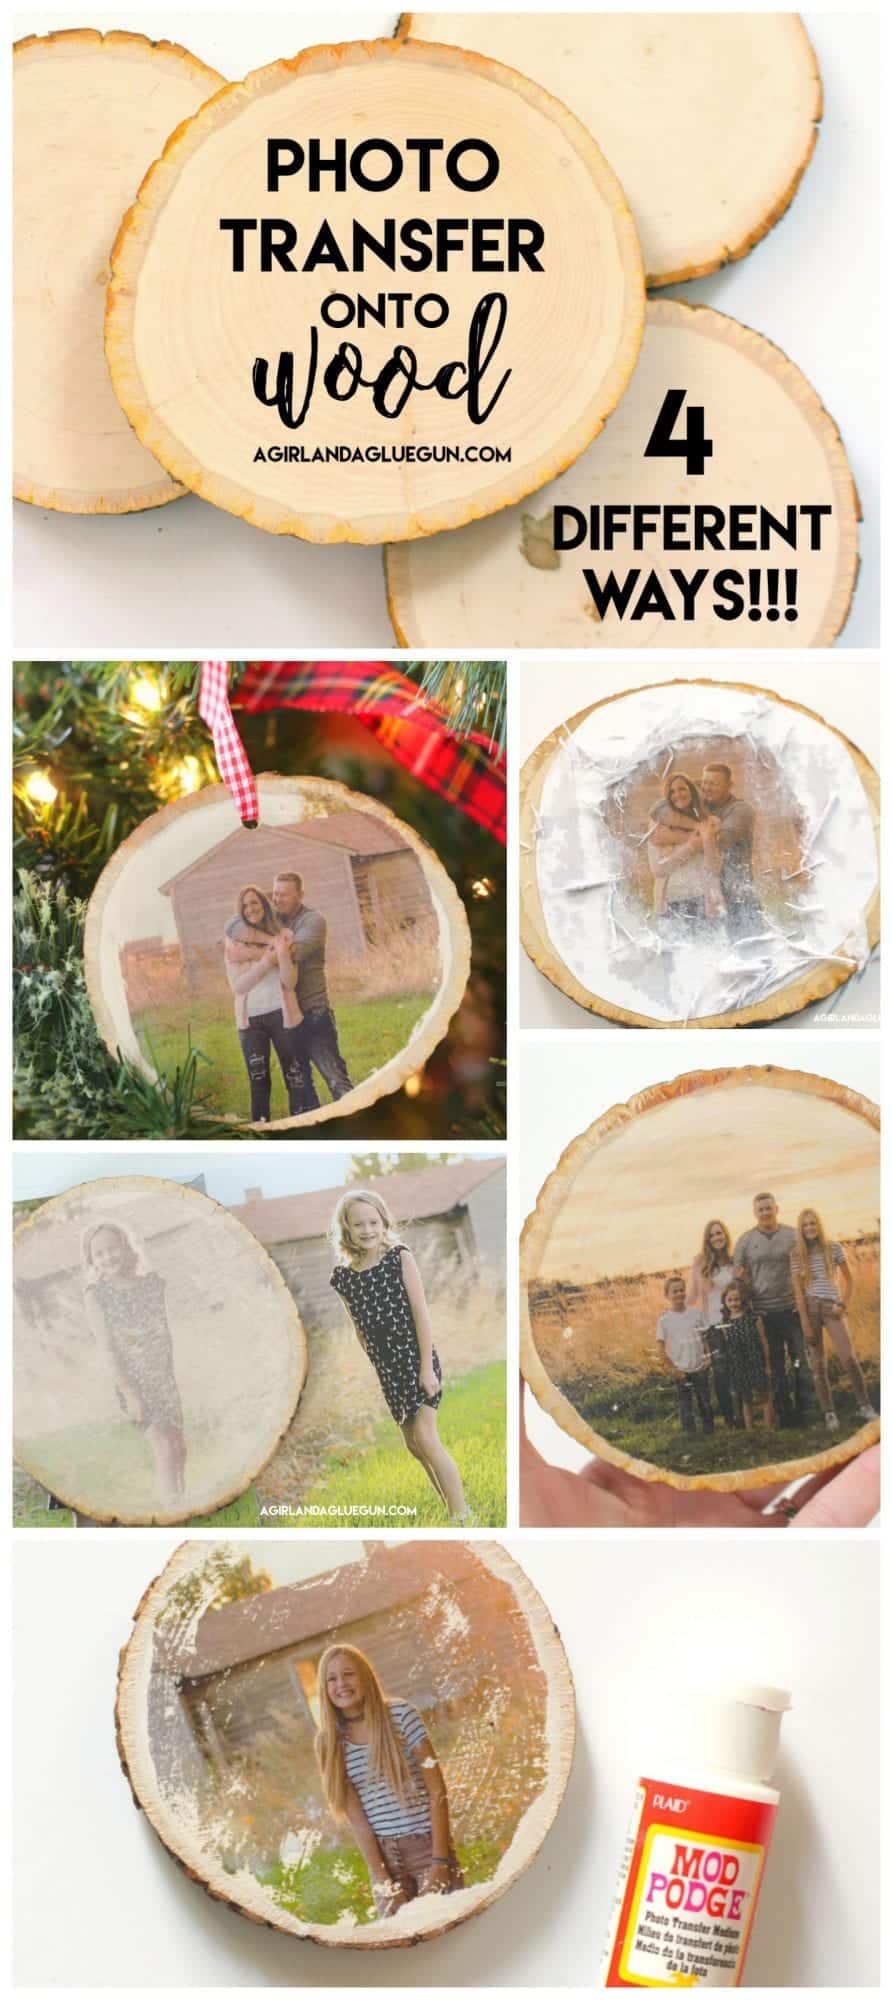
Are you looking to add a touch of creativity and personalization to your home decor? Do you have a favorite photograph that you want to showcase in a unique and eye-catching way? Look no further! In this guide, we will explore the fascinating world of putting pictures on wood. Whether you’re a DIY enthusiast or simply looking for a fun and creative project, this step-by-step tutorial will help you transform an ordinary piece of wood into a stunning display for your cherished memories.
Imagine the warm, rustic charm of a photograph seamlessly blended with the natural beauty of wood grain. By learning how to transfer images onto wood, you can create one-of-a-kind pieces that are sure to be conversation starters. From personalized photo gifts to wall art that exudes character, the possibilities are endless. In this comprehensive guide, we will cover the essential materials and techniques required for successful image transfer onto wood. So, grab your favorite photograph, roll up your sleeves, and let’s dive into the world of transforming ordinary wood into extraordinary works of art.
How to Put Picture on Wood:
- Choose a suitable image and print it on a regular printer.
- Apply a thin layer of gel medium on the wood using a brush.
- Place the printed image face down on the wood and press firmly.
- Smooth out any bubbles or wrinkles using a credit card.
- Let it dry for a few hours or overnight.
- Gently dampen the paper with water and rub it off using your fingers.
- Once the paper is completely removed, seal the image with a clear coat or varnish.
How to Put a Picture on Wood: Step-by-Step Guide
Adding a picture to wood can be a creative way to personalize your belongings or create unique home decor. Whether you want to transfer a cherished photograph or create a custom design, this step-by-step guide will walk you through the process of putting a picture on wood.
Materials Needed
Before you begin, gather the following materials:
- Wooden surface (such as a plaque, sign, or piece of furniture)
- Picture to transfer (printed on regular printer paper)
- Scissors
- Gel medium or Mod Podge
- Paintbrush or foam brush
- Squeegee or credit card
- Clear acrylic sealer
- Sandpaper (optional)
Step 1: Prepare the Wood Surface
Start by preparing the wooden surface. If necessary, sand the surface to ensure it is smooth and free from any imperfections. Wipe away any dust or debris with a clean cloth.
Next, apply a thin layer of gel medium or Mod Podge to the wood. Use a paintbrush or foam brush to spread the medium evenly, covering the entire surface where the picture will be placed. This layer will act as an adhesive for the picture.
Step 2: Cut and Position the Picture

Print the picture you want to transfer onto regular printer paper. Trim the picture to fit the size of the wood surface, leaving a small border if desired.
Place the picture face down onto the prepared wood surface, making sure it is centered and aligned correctly. Smooth out any wrinkles or bubbles in the paper.
Step 3: Transfer the Picture
Using a squeegee or credit card, gently press and smooth the picture onto the wood surface. Start from the center and work your way outwards, ensuring good adhesion between the picture and the wood. Be careful not to tear the paper.
Allow the gel medium or Mod Podge to dry completely. This usually takes a few hours, but you can expedite the process by using a hairdryer on low heat.
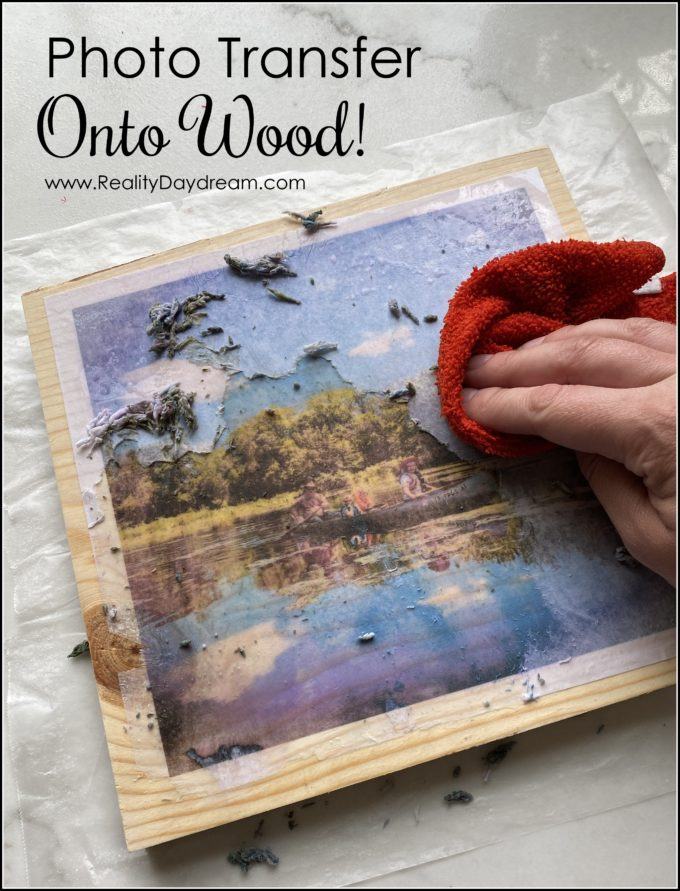
Step 4: Remove the Paper
Once the transfer has dried, it’s time to remove the paper. Moisten a clean cloth or sponge and lightly dampen the surface of the picture. Gently rub the paper in a circular motion, starting from the edges and working towards the center.
Continue rubbing until all the paper fibers are removed, revealing the transferred picture on the wood surface. Be patient and avoid applying too much pressure to prevent damaging the transfer.
Step 5: Seal and Protect
To protect the transferred picture and give it a finished look, apply a clear acrylic sealer. Use a paintbrush or foam brush to apply a thin, even coat. Allow the sealer to dry completely according to the manufacturer’s instructions.
Once the sealer is dry, your picture on wood is ready to be displayed or used as desired.
Step 6: Optional: Add Finishing Touches
If desired, you can further enhance the appearance of the picture on wood by adding finishing touches. Consider sanding the edges for a distressed look or applying a coat of varnish for added protection.
Remember to experiment and have fun with different techniques and materials to achieve the desired result.
Frequently Asked Questions
Here are some commonly asked questions about how to put a picture on wood:
Q: What materials do I need to put a picture on wood?
To put a picture on wood, you will need the following materials:
– A piece of wood, preferably smooth and free of imperfections
– A printed photo or image
– Mod Podge or a similar decoupage medium
– A foam brush
– Sandpaper (optional, for sanding the wood surface)
Q: How do I prepare the wood surface for the picture?
Before applying the picture, it is important to prepare the wood surface. Here’s how:
1. Start by ensuring the wood is clean and free of dust or debris.
2. If the wood has any rough spots or imperfections, you may choose to sand it lightly with sandpaper to create a smoother surface.
3. Wipe away any sawdust or residue from sanding.
By preparing the wood surface properly, you’ll ensure better adhesion and a more professional-looking result.
Q: How do I transfer the picture onto the wood?
There are a few methods to transfer a picture onto wood, but one popular technique is using Mod Podge. Here’s how:
1. Apply a thin layer of Mod Podge onto the wood surface using a foam brush.
2. Place the printed picture face down onto the Mod Podge-coated wood, ensuring it is positioned correctly.
3. Smooth out any air bubbles or wrinkles using a credit card or your fingers, working from the center outwards.
4. Allow the Mod Podge to dry completely according to the manufacturer’s instructions.
Once dry, the picture should be securely adhered to the wood surface.
Q: How can I protect the picture on wood?
To protect the picture on wood and enhance its durability, you can follow these steps:
1. Once the picture is transferred and dry, apply a thin layer of Mod Podge or a similar sealer on top of the picture.
2. Use a foam brush to evenly spread the sealer over the entire surface, making sure to cover the edges of the picture as well.
3. Allow the sealer to dry completely before handling or displaying the wood with the picture.
This protective layer will help prevent fading, moisture damage, and general wear and tear.
Q: Can I hang a picture on wood?
Yes, you can hang a picture on wood. Here’s how:
1. Depending on the size and weight of the wood piece, choose appropriate hanging hardware such as picture wire, sawtooth hangers, or D-rings.
2. Attach the hanging hardware securely to the back of the wood, making sure it is centered and level.
3. Use wall hooks, nails, or screws to hang the wood piece on the desired wall, ensuring it is level and secure.
By properly hanging the picture on wood, you can proudly display your artwork or cherished photos.
Remember, the key to success lies in proper preparation, choosing the right materials, and employing a bit of patience and precision. Whether you opt for transfer techniques, decoupage, or wood burning, each method offers its own charm and possibilities for customization. So, don’t hesitate to experiment and let your creativity shine through as you bring your favorite images to life on a wooden canvas.
Ultimately, putting pictures on wood allows you to combine the warmth and natural beauty of wood with the personal touch of cherished memories or artistic expressions. So, gather your supplies, unleash your creativity, and enjoy the process of transforming ordinary pieces of wood into personalized works of art that will be treasured for years to come. Let your imagination run wild and embark on this exciting journey of turning wood and pictures into a harmonious and visually stunning masterpiece.
- How to Decorate a Living Room With Wood Paneling - May 8, 2024
- How to Paint Wood Paneling - May 8, 2024
- How to Carve Wooden Gnomes - May 8, 2024