When it comes to enhancing the beauty and durability of your outdoor wooden structures, staining pressure treated wood is an essential step. Whether you have a deck, fence, or any other outdoor project made from pressure treated wood, applying a stain can protect it from the elements while adding an appealing aesthetic to your outdoor space. But how exactly do you go about staining pressure treated wood effectively? In this article, we will guide you through the step-by-step process, sharing expert tips and techniques to help you achieve professional-looking results.
Staining pressure treated wood requires a slightly different approach compared to staining other types of wood. This is because pressure treated wood is chemically treated to resist decay and rot, which can make it more challenging for the stain to penetrate the wood fibers. However, with the right preparation and application techniques, you can overcome these challenges and achieve a long-lasting, beautiful finish. In this comprehensive guide, we will cover everything from preparing the wood surface, choosing the right stain, and applying it correctly to ensure your pressure treated wood looks stunning for years to come. So, let’s dive in and discover the secrets to effectively staining pressure treated wood!
- Prepare the wood by cleaning and sanding it.
- Choose a high-quality stain and apply it evenly with a brush or roller.
- Allow the stain to penetrate the wood for the recommended time.
- Wipe off any excess stain with a clean cloth.
- Let the wood dry completely before using or applying a second coat.
How to Stain Pressure Treated Wood
In this article, we will guide you through the step-by-step process of staining pressure treated wood. Pressure treated wood is commonly used for outdoor projects such as decks, fences, and furniture due to its resistance to rot and decay. However, in order to maintain its appearance and protect it from the elements, staining is necessary. Follow these instructions to achieve a professional-looking finish on your pressure treated wood.
Step 1: Preparing the Wood
Before you begin staining, it is important to properly prepare the pressure treated wood. Start by cleaning the surface using a mild detergent and water. Scrub the wood with a brush to remove any dirt, grime, or mold. Rinse thoroughly and allow the wood to dry completely. This step is crucial as it ensures the stain adheres properly to the wood.
Next, inspect the wood for any signs of damage or loose nails. Replace any damaged boards and secure any loose nails or screws. Sand the surface of the wood using a medium-grit sandpaper to smooth out any rough areas or splinters. Be sure to sand along the grain to achieve the best results. Once the wood is clean, dry, and smooth, you are ready to proceed to the next step.
Step 2: Choosing the Right Stain
When selecting a stain for pressure treated wood, it is important to choose one that is specifically formulated for this type of wood. Pressure treated wood contains chemicals that can affect the color and durability of the stain if not properly accounted for. Look for a stain that is labeled as suitable for use on pressure treated wood.
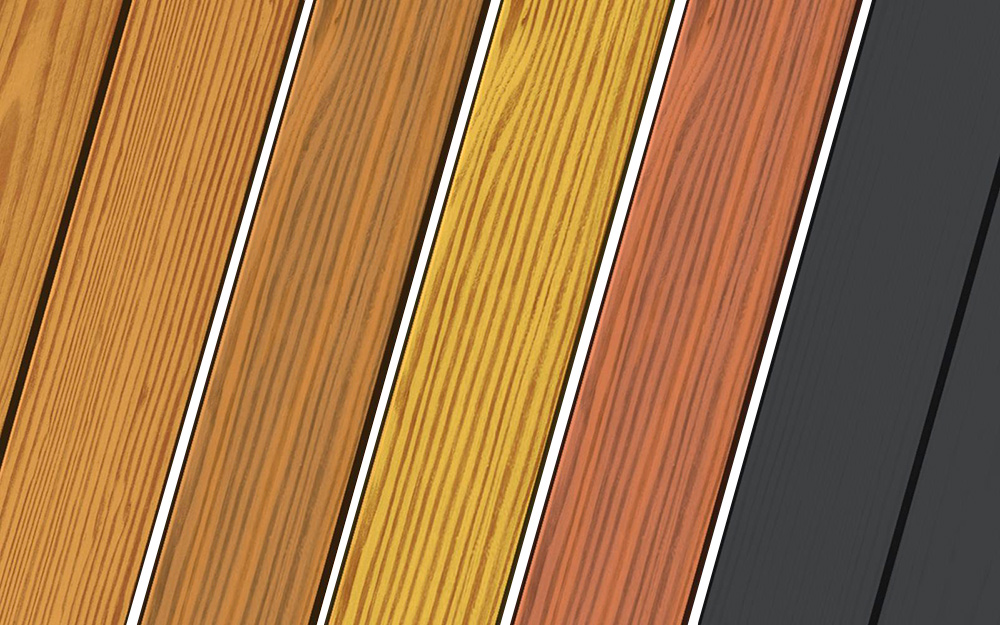
Consider the desired color and finish of your project when selecting a stain. Stains come in a variety of shades, from clear to solid colors. Clear stains allow the natural beauty of the wood to show through, while solid stains provide more coverage and can help mask imperfections. It is also important to choose a stain that offers UV protection to prevent fading caused by the sun’s rays.
Step 3: Applying the Stain

Before you begin staining, make sure you have all the necessary supplies. This includes a paintbrush or stain applicator, a stir stick, and a drop cloth or plastic sheeting to protect the surrounding area from any potential drips or spills.
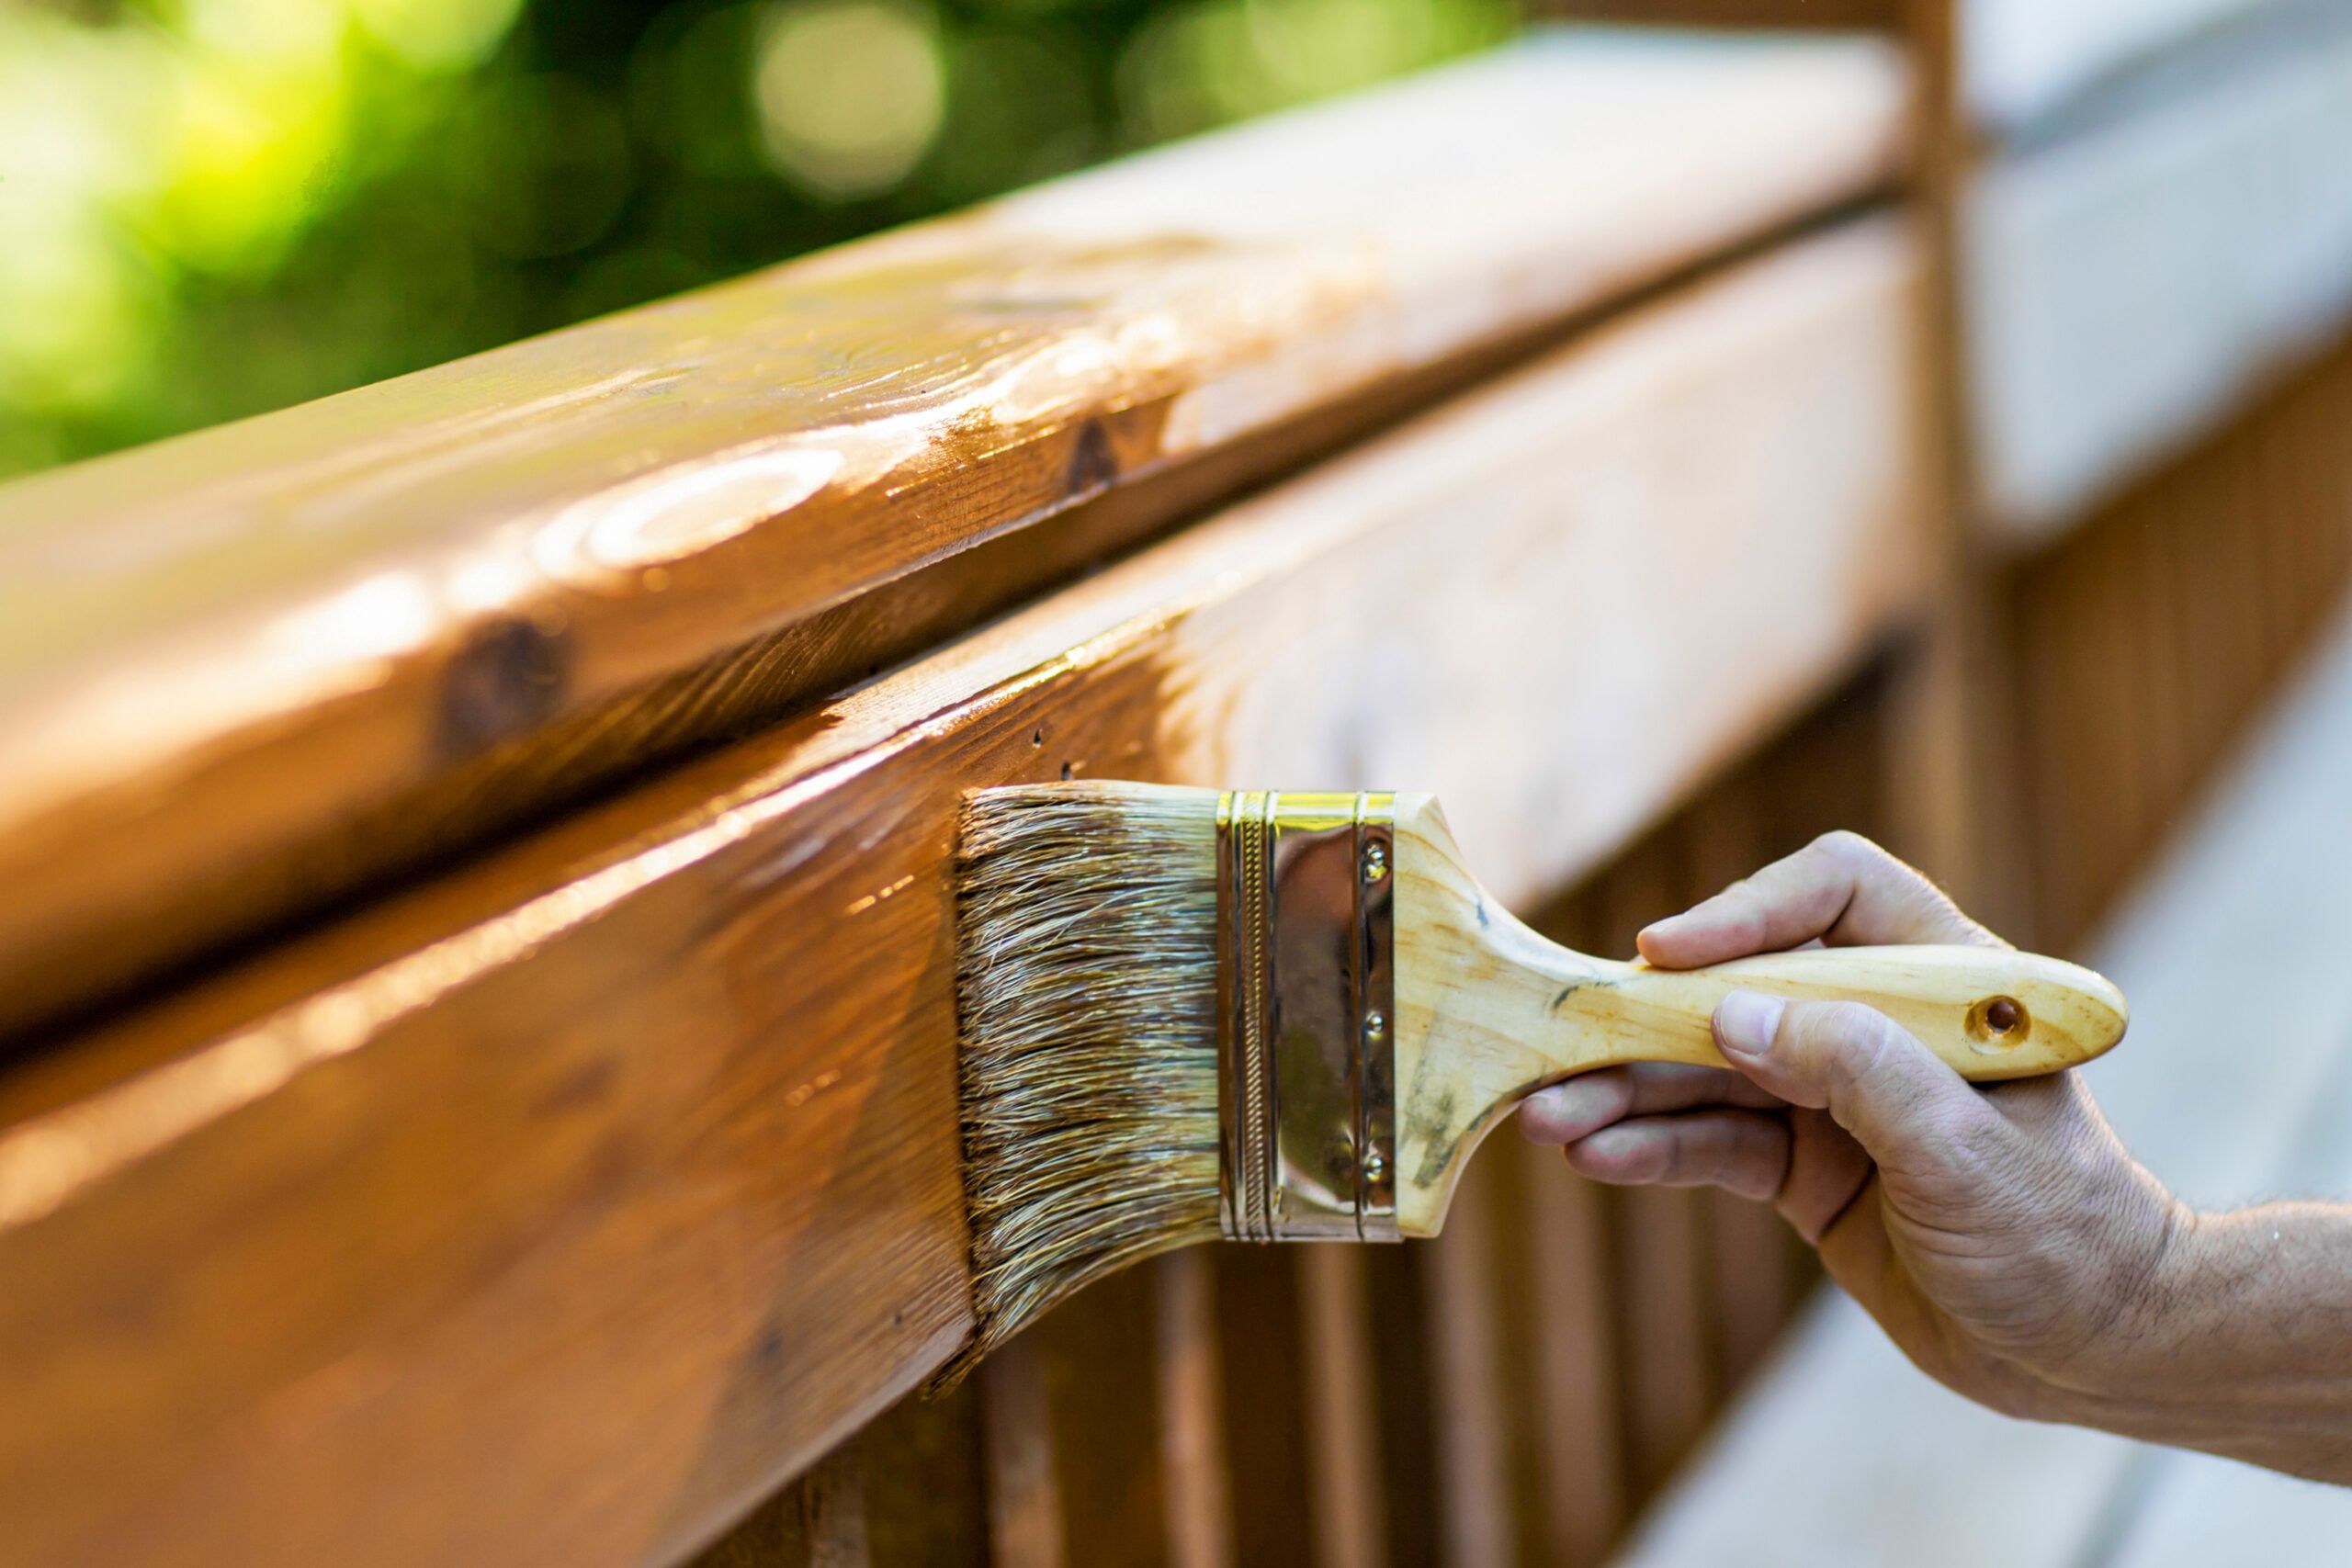
Start by stirring the stain thoroughly to ensure an even color. Begin applying the stain to the pressure treated wood using long, even strokes. Work in small sections, covering the entire surface of the wood. Be sure to follow the manufacturer’s instructions regarding the number of coats and drying times.
After applying the stain, allow it to dry completely before using or exposing the wood to moisture. This typically takes around 24 hours, but can vary depending on the temperature and humidity. Once dry, inspect the wood for any missed spots or uneven coverage. If necessary, apply an additional coat of stain to achieve the desired look.
Step 4: Maintaining the Stained Wood
Proper maintenance is key to ensuring the longevity of your stained pressure treated wood. Regularly inspect the wood for any signs of wear or damage, such as peeling or fading. If necessary, clean the wood using a mild detergent and water, followed by a light sanding. Apply a fresh coat of stain as needed to protect the wood and maintain its appearance.
Additionally, it is important to keep the wood clean and free from debris that could potentially cause damage. Regularly sweep or hose off the wood to remove any dirt or leaves. Avoid using harsh chemicals or abrasive cleaners, as these can strip away the stain and damage the wood.
Step 5: Enjoying Your Stained Wood
Once you have completed the staining process and properly maintained your pressure treated wood, it is time to sit back and enjoy the results. Whether it’s a beautifully stained deck, a stylish fence, or a durable piece of outdoor furniture, your stained pressure treated wood will enhance the aesthetic appeal of your outdoor space while providing protection against the elements.
Remember to periodically inspect and maintain your stained wood to ensure it continues to look its best for years to come. With proper care, your stained pressure treated wood will remain a stunning and functional addition to your outdoor living area.
Frequently Asked Questions
Here are some commonly asked questions about how to stain pressure treated wood:
1. How long should I wait before staining pressure treated wood?
It is recommended to wait at least 6 to 12 months before staining pressure treated wood. This waiting period allows the wood to dry out and reach a moisture content that is suitable for staining. Staining too soon can result in poor adhesion and premature peeling or flaking of the stain.
During the waiting period, it is important to keep the wood clean and free from any debris or dirt that could interfere with the staining process. Regularly inspect the wood to ensure it is ready for staining by performing a “splash test.” If water beads up on the surface, it is not ready for staining yet.
2. How do I prepare pressure treated wood for staining?
Proper preparation is essential for achieving a successful and long-lasting stain on pressure treated wood. Start by cleaning the wood using a mild detergent or wood cleaner and a stiff brush. This will remove any dirt, grime, or mold that may have accumulated on the surface.
After cleaning, rinse the wood thoroughly with water and let it dry completely. Once dry, lightly sand the wood using a fine-grit sandpaper to smooth out any rough areas or splinters. Be sure to remove any sanding dust using a broom or vacuum cleaner before moving on to the staining process.
3. What type of stain should I use for pressure treated wood?
When choosing a stain for pressure treated wood, it is important to select a product specifically designed for use on this type of wood. Look for stains that are labeled as “pressure treated wood stain” or “deck stain for treated wood.”
Additionally, consider whether you want a transparent, semi-transparent, or solid color stain. Transparent stains allow the natural wood grain to show through, while solid color stains provide more coverage and hide the wood grain. Semi-transparent stains offer a balance between transparency and coverage.
4. How should I apply the stain to pressure treated wood?
Before applying the stain, thoroughly mix it according to the manufacturer’s instructions. Use a brush, roller, or sprayer to apply an even coat of stain to the pressure treated wood. Work in small sections, applying the stain in the direction of the wood grain.
Once the stain is applied, use a brush or roller to even out any drips or excess stain. Allow the first coat to dry completely, and then apply a second coat if desired. Be sure to follow the recommended drying time between coats provided by the stain manufacturer.
5. How do I maintain the stain on pressure treated wood?
To maintain the stain on pressure treated wood, regular cleaning and reapplication may be necessary. Clean the wood annually using a mild detergent or wood cleaner to remove any dirt or grime that may have accumulated.
If the stain starts to fade or wear off, it may be time to reapply a fresh coat. Before reapplying, lightly sand the wood to remove any loose or flaking stain. Clean the surface thoroughly and allow it to dry before applying a new coat of stain following the same application process as before.
Can I Stain Pressure Treated Wood? Kreg® How-To
In conclusion, staining pressure treated wood is a crucial step in enhancing its durability, aesthetics, and overall longevity. By following the proper techniques and utilizing the right tools and products, you can achieve remarkable results that will impress both yourself and others. Remember to thoroughly clean and prepare the wood before applying the stain, as this will ensure optimal absorption and adherence. Additionally, take the time to choose a high-quality stain that suits your desired color and level of protection. With patience, attention to detail, and a little bit of creativity, you can transform your pressure treated wood into a stunning and long-lasting addition to your home or outdoor space.
Lastly, it is important to note that staining pressure treated wood is not a one-time task. Over time, weather conditions and wear and tear may cause the stain to fade or deteriorate. Therefore, it is recommended to periodically inspect and reapply the stain as needed to maintain its beauty and protective properties. By consistently caring for your pressure treated wood with proper staining techniques, you can ensure that it remains a striking and resilient feature for many years to come. So, roll up your sleeves, gather your tools, and get ready to enhance the natural beauty of your pressure treated wood with a professional-quality stain.
- How to Frame a Wooden Jigsaw Puzzle - May 12, 2024
- How to Glue a Wooden Jigsaw Puzzle - May 12, 2024
- How to Decoupage Wood - May 12, 2024