Wood glue is a versatile and indispensable tool for any woodworking enthusiast or DIY enthusiast. Whether you’re repairing furniture, building a new project, or simply joining pieces together, wood glue is the secret ingredient that ensures a strong and durable bond. But using wood glue effectively requires more than just applying it haphazardly. In this guide, we will delve into the art of using wood glue to achieve seamless and long-lasting results. So, grab your tools, prepare your workbench, and get ready to unlock the potential of this adhesive wonder!
Firstly, understanding the different types of wood glue is crucial. From yellow glue to polyurethane glue, each variety has its own unique properties and ideal applications. By knowing which glue to use for specific projects, you can ensure optimal results. Additionally, proper surface preparation is essential for a successful bond. From cleaning and sanding to ensuring a tight fit between the pieces, these steps contribute to creating a solid foundation for the glue to work its magic. Throughout this guide, we will explore the step-by-step process of using wood glue, providing you with the knowledge and techniques to achieve professional-level results. So, let’s dive into the world of wood glue and discover the endless possibilities it holds for your woodworking ventures.
How to Use Wood Glue:
- Prepare the surfaces by cleaning and sanding them.
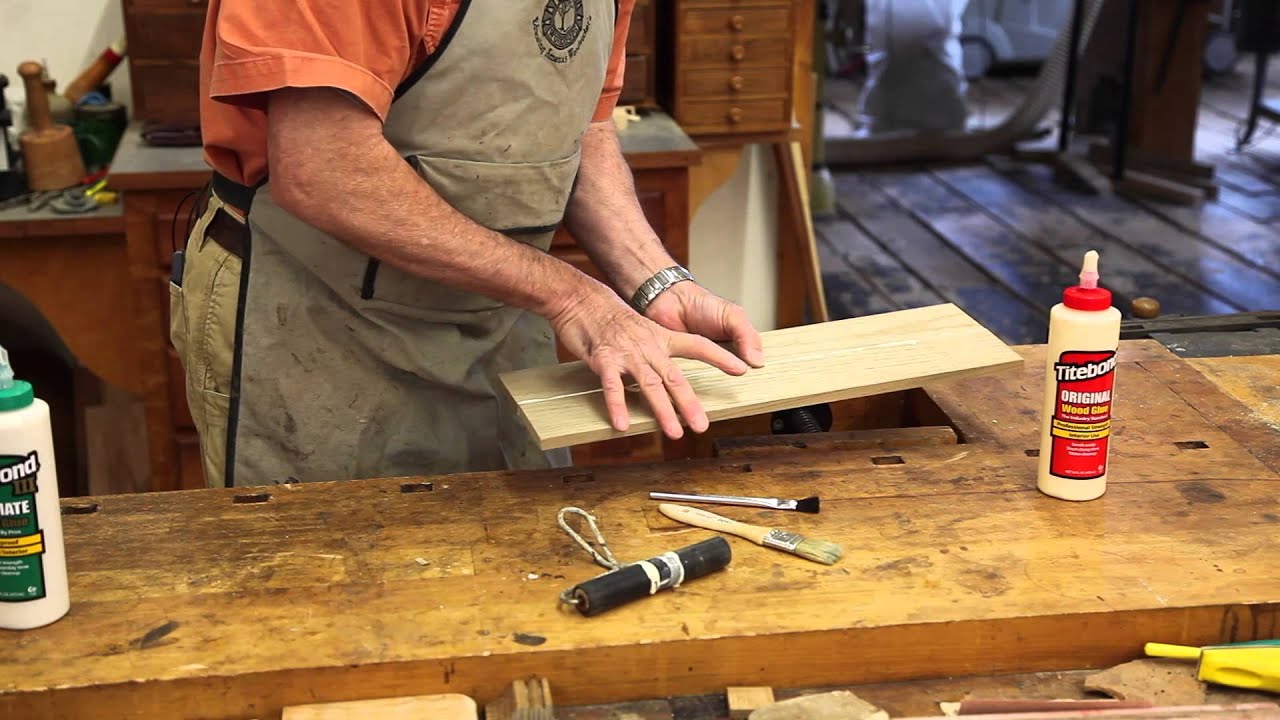
- Apply a thin, even layer of wood glue to one surface.
- Press the two surfaces together firmly.
- Secure the pieces with clamps or weights.
- Allow the glue to dry completely for 24 hours.

How to Use Wood Glue
Wood glue is a versatile adhesive that is commonly used in woodworking projects. Whether you are a professional woodworker or a DIY enthusiast, understanding how to use wood glue correctly is essential for achieving strong and durable bond between wood pieces. In this article, we will provide you with a step-by-step guide on how to use wood glue effectively.
Step 1: Prepare the Surfaces
Before applying wood glue, it is crucial to ensure that the surfaces you want to bond are clean and free from any dust, dirt, or grease. Use a clean cloth or sandpaper to remove any contaminants and create a smooth surface for the glue to adhere to. Additionally, make sure the surfaces are properly aligned and fit together tightly to achieve a tight bond.

Once the surfaces are clean and aligned, it is a good practice to apply a thin coat of water to both sides. This will help the wood absorb the glue and improve the bond strength.
Step 2: Apply the Wood Glue
Using a brush or a nozzle applicator, apply a thin and even layer of wood glue to one of the surfaces. Be careful not to apply too much glue, as excess glue can cause the joint to be weak or messy. It is recommended to apply the glue in a zigzag pattern to ensure proper coverage.
After applying the glue, quickly spread it evenly using a brush or a spreader. Make sure the entire surface is coated with glue, paying extra attention to the edges and corners. Avoid leaving any dry spots, as they can weaken the bond.
Step 3: Join the Surfaces
Once the glue has been applied and spread, carefully bring the two surfaces together. Align them accurately and apply even pressure to ensure a tight bond. You can use clamps or weights to keep the pieces in place while the glue dries. Make sure to wipe off any excess glue that squeezes out during the joining process.
Depending on the type of wood glue you are using, the drying time may vary. Read the instructions on the glue bottle to determine the appropriate drying time. Avoid disturbing or moving the bonded pieces until the glue has fully cured.
Step 4: Clean Up
After the glue has dried and the bond is secure, you can remove any excess glue using a chisel or a scraper. Be cautious while removing the glue to avoid damaging the wood surface. Sanding the area lightly can help smoothen any rough edges or imperfections caused by the glue.
Remember to clean your tools and brushes immediately after use to prevent the glue from hardening and becoming difficult to remove.
Step 5: Finishing Touches
Once the glue has fully cured, you can proceed with any additional finishing steps such as sanding, staining, or painting. The wood glue will provide a strong and durable bond, allowing you to confidently complete your woodworking project.
Always follow the manufacturer’s instructions and safety guidelines when using wood glue, and store it in a cool and dry place to maintain its effectiveness.
Frequently Asked Questions
Here are some commonly asked questions about how to use wood glue:
Question 1: What is wood glue and how does it work?
Wood glue is a type of adhesive specifically designed for bonding wood surfaces together. It works by creating a strong and durable bond between the wood pieces, ensuring they stay securely joined. Wood glue typically contains a combination of synthetic polymers and additives that enhance its adhesive properties and drying time. When applied to the wood surfaces and allowed to dry, the glue forms a bond that can withstand the stresses and strains typically encountered in woodworking projects.
It is important to choose the right type of wood glue for your project, as different formulations are available for various applications. Some common types include PVA (polyvinyl acetate) glue, polyurethane glue, and epoxy glue. The specific instructions and drying times may vary depending on the type of wood glue you are using, so always refer to the manufacturer’s guidelines.
Question 2: How do I prepare the wood surfaces before applying wood glue?
Before applying wood glue, it is essential to ensure that the wood surfaces are clean, dry, and free from any dirt, dust, or contaminants. Start by sanding the surfaces to remove any rough spots or imperfections that could affect the bond. Use sandpaper with a fine grit to achieve a smooth and even surface.
Once the sanding is complete, wipe the surfaces with a clean cloth or brush to remove any residual dust. This step is crucial as it helps to create a clean and optimal bonding surface for the wood glue. Additionally, if the wood surfaces are particularly porous, you may consider applying a wood sealer or primer to enhance the bond and prevent excessive absorption of the glue into the wood fibers.
Question 3: How should I apply wood glue to ensure a strong bond?
When applying wood glue, it is important to achieve a uniform and sufficient coverage on both surfaces that need to be joined. Start by applying a thin and even layer of glue on one of the surfaces. You can use a brush, roller, or even your finger to spread the glue evenly.
After applying the glue, firmly press the two surfaces together, ensuring proper alignment. Apply clamps or use weights to hold the pieces in place until the glue dries. Excess glue that may squeeze out during the clamping process can be wiped away using a damp cloth or sponge. Remember to follow the recommended drying time provided by the manufacturer for the specific type of wood glue you are using.
Question 4: Can I use wood glue for outdoor projects?
While some wood glues are formulated to withstand outdoor conditions, it is essential to check the label or consult the manufacturer’s instructions to determine if the specific wood glue you are using is suitable for outdoor applications. Exposure to moisture, temperature fluctuations, and UV radiation can affect the performance and durability of certain types of wood glue.
If you are working on an outdoor project, consider using a weatherproof or waterproof wood glue that is specifically designed for exterior use. These glues are often more resistant to moisture, heat, and various weather conditions, ensuring a long-lasting and reliable bond in outdoor environments.
Question 5: How should I store wood glue to prolong its shelf life?
To prolong the shelf life of wood glue, it is important to store it properly. Keep the container tightly closed when not in use to prevent air exposure that can cause the glue to dry out. Store the glue in a cool and dry place, away from direct sunlight and extreme temperatures.
Additionally, avoid exposing the glue to freezing temperatures, as this can negatively impact its performance. If the glue shows signs of thickening or becoming clumpy, it may have expired and should be replaced. Always check the expiration date on the container and follow the manufacturer’s recommendations for storage and shelf life.
How To Use Gorilla Wood Glue
In conclusion, mastering the art of using wood glue is essential for any woodworking enthusiast. With its strong bonding capabilities and versatility, wood glue serves as a vital tool in creating durable and beautiful wooden projects. By following the steps outlined in this guide, you can confidently apply wood glue to your projects, ensuring a secure and long-lasting bond.
Remember, practice makes perfect when it comes to using wood glue. Don’t be discouraged if you encounter challenges along the way. With patience and persistence, you will gradually refine your technique and become more adept at applying wood glue effectively. So, go ahead and embrace the world of woodworking, armed with the knowledge and skills to expertly use wood glue to bring your creative visions to life. Happy woodworking!
- How to Operate Wood Burning Fireplace - April 26, 2024
- How to Build Wooden Shed Floor - April 26, 2024
- How to Lay Linoleum on Plywood - April 26, 2024