Are you tired of your old, worn-out gate? Do you dream of a sturdy and stylish wooden gate that will enhance the beauty of your property? Look no further, as I’m here to guide you on how to build a simple wooden gate that will not only provide security but also become a charming addition to your home.
Building a wooden gate may seem like a daunting task, but with the right instructions and a little bit of effort, you can create a gate that will stand the test of time. Whether you’re a seasoned DIY enthusiast or a beginner looking to embark on your first woodworking project, this step-by-step guide will equip you with the knowledge and skills required to build a simple wooden gate that is both functional and visually appealing. From selecting the right type of wood to assembling the gate and adding finishing touches, we’ll cover all aspects of the construction process, ensuring that you feel confident every step of the way. So let’s dive in and bring your vision of a beautiful wooden gate to life!
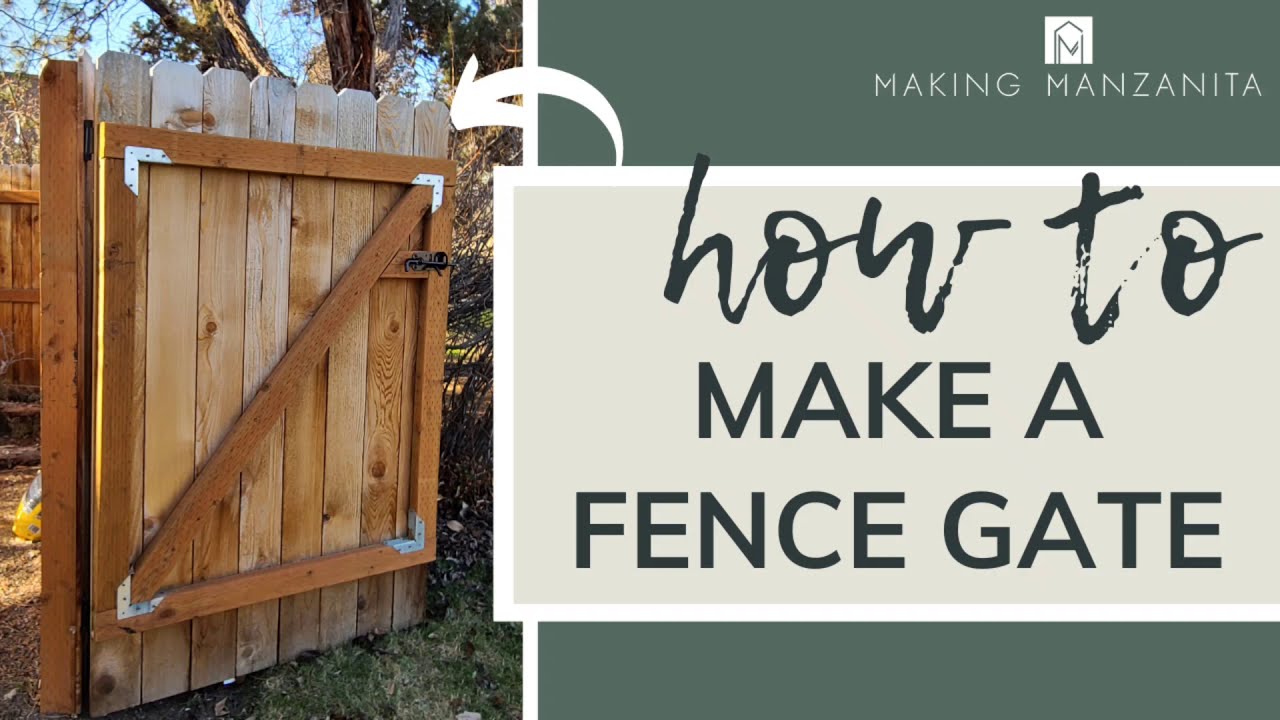
How to Build a Simple Wooden Gate:
- Measure and mark the desired height and width for your gate.
- Cut the wooden boards to the appropriate size.
- Attach the boards together using screws or nails.
- Add hinges to one side of the gate and attach it to the fence or post.
- Install a latch or lock for securing the gate.
Building a Simple Wooden Gate: A Step-by-Step Guide
In this article, we will provide you with a detailed guide on how to build a simple wooden gate. Whether you are new to woodworking or have some experience, this step-by-step tutorial will help you create a functional and aesthetically pleasing gate for your property. With the right tools and materials, you can complete this project in no time.
Step 1: Planning and Measurement
The first step in building a wooden gate is to carefully plan and measure the area where the gate will be installed. Consider the width and height of the gate, as well as the type of wood you want to use. Take accurate measurements to ensure a precise fit.
Once you have the measurements, sketch a rough design of the gate on paper. This will help you visualize the final product and make any necessary adjustments before beginning the construction process.
Step 2: Gathering Materials and Tools
Before you start building, gather all the necessary materials and tools. For a simple wooden gate, you will need:
- Wooden boards (preferably pressure-treated)
- Hinges
- Latch
- Screws
- Drill
- Saw
- Measuring tape
- Pencil
- Sandpaper
- Paint or stain (optional)

Make sure you have everything you need before you begin to avoid unnecessary delays during the construction process.
Step 3: Cutting and Assembling the Frame
Start by cutting the wooden boards to the desired length for the gate frame. Use a saw to make clean and accurate cuts. Once the boards are cut, assemble the frame by attaching the pieces together using screws.
Make sure the frame is square and level before securing it. Use a measuring tape and a level to ensure accuracy. Once the frame is assembled, reinforce the corners with additional screws for added stability.
Step 4: Attaching the Boards
Next, attach the wooden boards to the frame to create the gate’s surface. Measure and cut the boards to fit the frame, leaving a small gap between each board for expansion and contraction.
Secure the boards to the frame using screws. Make sure they are evenly spaced and aligned. Trim any excess board length if necessary. Sand the surface to smooth out any rough edges or splinters.
Step 5: Installing Hinges and Latch
Once the gate is fully assembled, it’s time to install the hinges and latch. Position the gate in the desired location and mark the spots where the hinges will be attached.
Using a drill, screw the hinges onto the gate and then onto the supporting structure (such as a fence post or wall). Make sure the hinges are securely fastened to ensure smooth operation of the gate.
Finally, attach the latch to the gate and the adjacent structure. Test the gate to ensure it opens and closes properly.
Step 6: Finishing Touches
If desired, you can apply a coat of paint or stain to protect the wood and enhance the gate’s appearance. Choose a product specifically designed for outdoor use and follow the manufacturer’s instructions for application.
Allow the paint or stain to dry completely before using the gate. This will prevent any damage to the finish and ensure a long-lasting result.
Step 7: Maintenance and Care
To keep your wooden gate looking its best, regular maintenance is necessary. Inspect the gate periodically for any signs of damage or wear. Repair or replace any damaged boards or hardware as needed.
Clean the gate with a mild detergent and water solution to remove dirt and grime. Avoid using harsh chemicals or abrasive cleaners that could damage the wood. Apply a fresh coat of paint or stain as necessary to maintain its appearance and protect it from the elements.
Step 8: Enjoying Your New Wooden Gate
With proper planning, construction, and maintenance, your simple wooden gate will provide security and add beauty to your property for years to come. Enjoy the satisfaction of having built a functional and visually appealing gate with your own hands.
Conclusion
Building a simple wooden gate may seem like a daunting task, but with the right instructions and tools, it can be a rewarding DIY project. By following our step-by-step guide, you can create a gate that is both functional and aesthetically pleasing. Remember to plan and measure carefully, gather all the necessary materials and tools, and take your time during the construction process. With proper maintenance, your wooden gate will serve you well for years to come.
Frequently Asked Questions
Here are some commonly asked questions about how to build a simple wooden gate:
Q: What materials do I need to build a simple wooden gate?
To build a simple wooden gate, you will need the following materials:
– Pressure-treated lumber for the frame and pickets
– Galvanized screws or nails
– Hinges and a latch
– Measuring tape, level, and pencil
– Saw and drill
– Sandpaper and paint or stain (optional)
Make sure to choose materials that are suitable for outdoor use, as they will be exposed to the elements.
Q: How do I determine the size of my wooden gate?
The size of your wooden gate will depend on the width of the opening where you intend to install it. Measure the distance between the two posts or pillars that will support the gate. Subtract about an inch from this measurement to allow for clearance and ease of operation. This will give you the width of your gate.
For the height of the gate, measure from the bottom of the opening to the desired height of the gate. Typically, a gate is about 4 to 6 feet tall. Make sure to account for any slope in the ground, as this may affect the height of your gate.
Q: How do I build the frame of a wooden gate?
To build the frame of a wooden gate, follow these steps:
1. Cut two horizontal pieces of lumber to the width of your gate, and two vertical pieces to the desired height.
2. Lay the horizontal pieces on a flat surface and position the vertical pieces between them, flush with the edges.
3. Use screws or nails to attach the vertical pieces to the horizontal pieces, creating a rectangular frame.
4. Reinforce the joints with additional screws or nails if necessary.
Make sure the frame is square by measuring diagonally from corner to corner. Adjust as needed before proceeding.
Q: How do I attach pickets to a wooden gate?
Attaching pickets to a wooden gate involves the following steps:
1. Measure and cut the pickets to the desired length, allowing for a small gap between each picket.
2. Position the first picket flush with one side of the gate frame and attach it using screws or nails.
3. Use a level to ensure the picket is plumb, and then attach additional pickets in the same manner, working your way across the gate.
4. Make sure to maintain a consistent gap between each picket for a uniform appearance.
5. Trim any excess length from the pickets if necessary.
Q: How do I install hinges and a latch on a wooden gate?
Installing hinges and a latch on a wooden gate involves the following steps:
1. Position the gate between the two posts or pillars, ensuring that it is level and plumb.
2. Attach the hinges to one side of the gate frame, following the manufacturer’s instructions.
3. Attach the other side of the hinges to the post or pillar, again following the manufacturer’s instructions.
4. Test the gate to ensure it swings freely and aligns properly with the opening.
5. Install the latch on the opposite side of the gate, making sure it aligns with the strike plate on the post or pillar. Adjust as needed for proper operation.
Once everything is securely in place, you can paint or stain the gate, if desired, to protect it from the elements and enhance its appearance.

Not only will building your own wooden gate save you money, but it will also provide a sense of accomplishment and pride in your craftsmanship. As you embark on this project, embrace the opportunity to unleash your creativity and personalize your gate to suit your individual style. Whether you choose to add decorative elements or keep it simple and minimalist, your gate will become a statement piece that adds value and charm to your home. So, pick up your tools and get ready to enjoy the satisfaction of building a beautiful wooden gate that will stand the test of time.
- How to Waterproof Mdf Wood - May 10, 2024
- How to Seal Mdf Wood - May 10, 2024
- How to Waterproof a Plywood Roof - May 10, 2024