Are you a woodworking enthusiast looking to take your craft to the next level? Have you ever wondered how to build a wood kiln, the essential tool for drying and curing wood? Look no further, as we delve into the fascinating world of wood kiln construction.
In this comprehensive guide, we will explore the step-by-step process of building a wood kiln from scratch, providing you with all the necessary knowledge and techniques to successfully complete this rewarding project. Whether you are a seasoned woodworker or a beginner with a passion for creating beautiful, handcrafted pieces, this guide will equip you with the skills and confidence to build your very own wood kiln. So, roll up your sleeves, grab your tools, and let’s embark on this exciting journey of transforming raw lumber into perfectly dried and seasoned boards. Get ready to take your woodworking skills to new heights with the art of wood kiln construction!
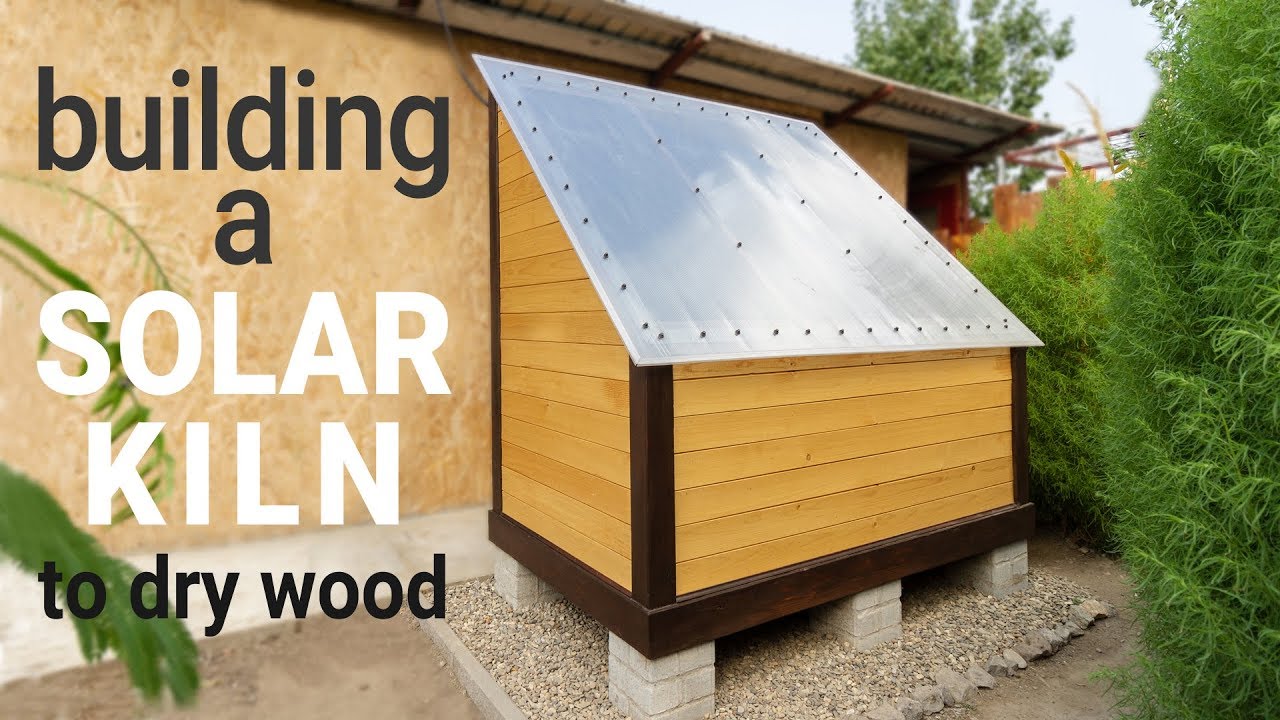
How to Build a Wood Kiln:
- Start by selecting a suitable location for your kiln.
- Gather the necessary materials, such as bricks, cement, and metal sheets.
- Construct the base of the kiln using bricks and cement.
- Build the walls of the kiln using bricks, leaving space for airflow.
- Add a metal sheet roof to protect the kiln from rain.
- Create a door for easy access to the kiln.
- Install a ventilation system to regulate airflow.
- Test the kiln before using it for drying wood.

Introduction
Building a wood kiln is a great way to efficiently dry wood for various woodworking projects. Whether you are a professional woodworker or a hobbyist, having your own wood kiln can save you time and money. In this article, we will provide you with step-by-step instructions on how to build a wood kiln from scratch. Follow these instructions carefully to ensure the successful construction of your wood kiln.
Gather the Materials
Before starting the construction process, it is important to gather all the necessary materials. Here is a list of the materials you will need:
- Concrete blocks
- Refractory bricks
- Fireproof insulation
- Steel plates
- Steel angle bars
- Firebricks for the chimney
- Steel rods
- Steel mesh
- Thermocouple
- Door hinges and latch
Make sure to purchase high-quality materials that are suitable for the high temperatures inside the kiln.
Once you have gathered all the materials, it’s time to start building the wood kiln. Follow the steps below to ensure a successful construction process.
Construct the Foundation

The first step in building a wood kiln is to construct a solid foundation. This will provide stability and support for the entire structure. Start by clearing the area where you plan to build the kiln. Level the ground and mark the dimensions of the foundation using stakes and string.
Next, dig a trench along the marked lines and pour a concrete footing. Use a level to ensure the footing is even and let it cure for at least 48 hours. Once the footing is cured, lay concrete blocks on top of it to create the foundation walls. Make sure the blocks are level and secure them together using mortar.
Continue building the walls until you reach the desired height for your kiln. Leave openings for the chimney and the door. Reinforce the corners and the top of the walls with steel angle bars for added strength. Once the walls are complete, let the mortar dry completely before proceeding to the next step.
Construct the Kiln Chamber
With the foundation in place, it’s time to construct the kiln chamber. Start by laying refractory bricks on the floor of the kiln. These bricks are designed to withstand high temperatures and will provide a solid base for your wood. Use fireproof insulation to fill any gaps between the bricks and create a smooth and even surface.
Next, build the walls of the kiln chamber using refractory bricks. These bricks should be arranged in a staggered pattern to create a strong and stable structure. Secure the bricks together using refractory mortar. Leave a small gap between the bricks for ventilation purposes.
Once the walls are complete, reinforce the structure by placing steel plates on top of the walls. These plates will distribute the weight evenly and prevent the walls from collapsing under the pressure. Use steel rods and mesh to further strengthen the structure.
Finally, install the chimney and the door. The chimney will allow the smoke and gases to escape, while the door will provide easy access to the wood inside the kiln. Attach door hinges and a latch to ensure the door is secure.
That’s it! You have successfully built your own wood kiln. Remember to follow safety precautions when operating the kiln and always monitor the temperature using a thermocouple. Now you can start drying your wood efficiently and enjoy the benefits of having your own wood kiln.
Frequently Asked Questions
Here are some commonly asked questions about building a wood kiln:
How does a wood kiln work?
A wood kiln is a type of kiln used to dry and cure wood. It operates by burning wood in a separate chamber, which produces hot gases. These gases are then directed into the kiln chamber where the wood is placed. As the hot gases pass through the kiln, they heat the wood, causing the moisture within to evaporate. This process effectively dries the wood and prepares it for various applications, such as woodworking or construction.
Building a wood kiln requires careful design and planning to ensure proper airflow and heat distribution. It is essential to create an efficient system that allows for consistent and controlled drying of the wood.
What materials are needed to build a wood kiln?
To build a wood kiln, you will need the following materials:
– Bricks or cinder blocks for constructing the kiln walls and floor
– Firebricks for the kiln chamber interior
– Metal sheets or a metal barrel for the combustion chamber
– Insulation material, such as ceramic fiber or perlite, to line the kiln walls
– Metal pipes or ducts for directing the hot gases into the kiln chamber
– A chimney to allow for proper ventilation and smoke release
– High-temperature mortar or refractory cement for securing the bricks and firebricks together
– Various tools, including a saw, hammer, trowel, and measuring tape
It is important to ensure that the materials you choose can withstand high temperatures and are suitable for the purpose of a wood kiln.
What is the ideal size for a wood kiln?
The ideal size for a wood kiln depends on your specific needs and the volume of wood you intend to dry. However, a common guideline is to build a kiln that can accommodate the maximum length and width of the wood you plan to dry, with extra space for airflow. It is also important to consider the height of the kiln to allow for proper stacking of the wood and efficient heat distribution.
Keep in mind that larger kilns require more materials and can be more challenging to heat and control. It is advisable to start with a smaller kiln if you are a beginner and gradually scale up as you gain experience.
What are the key factors to consider when designing a wood kiln?
When designing a wood kiln, there are several key factors to consider:
– Insulation: Proper insulation is crucial for maintaining consistent and efficient heat within the kiln. Choose appropriate insulation materials and ensure they are properly installed.
– Airflow: Good airflow is necessary for uniform drying. Design the kiln with vents and ducts that allow for proper air circulation.
– Heat source: Decide on the type of heat source you will use, whether it is direct combustion or indirect heating using hot water or steam.
– Control system: Consider incorporating a control system to monitor and regulate temperature, humidity, and ventilation within the kiln.
– Safety measures: Ensure the kiln design includes safety features such as fire extinguishers, smoke detectors, and proper ventilation to prevent accidents.
By carefully considering these factors, you can create a well-designed wood kiln that meets your specific requirements.
Are there any safety precautions to keep in mind when using a wood kiln?
Yes, there are several safety precautions to keep in mind when using a wood kiln:
– Always follow proper operating procedures and guidelines to ensure safe and effective operation.
– Use appropriate personal protective equipment, such as gloves, goggles, and a dust mask, when handling wood or working with the kiln.
– Monitor the kiln closely for any signs of malfunction or overheating, and take immediate action if necessary.
– Keep flammable materials away from the kiln and ensure there is sufficient clearance around it.
– Regularly clean and maintain the kiln to prevent the buildup of combustible materials.
– Have a fire extinguisher nearby and know how to use it in case of emergencies.
– Ensure proper ventilation to prevent the accumulation of harmful gases and smoke.
Following these safety precautions will help ensure a safe working environment when using a wood kiln.
Remember, building a wood kiln requires careful planning, attention to detail, and adherence to safety guidelines. It is crucial to take the necessary precautions, such as wearing protective gear and working in a well-ventilated area, to ensure a safe and successful construction process. With dedication and perseverance, you can create a wood kiln that will enhance your woodworking projects and provide you with a valuable tool for years to come.
So, why wait? Start gathering the materials and get ready to embark on this exciting woodworking journey. Building a wood kiln will not only enhance your craftsmanship but also empower you to take your woodworking skills to the next level. Get ready to experience the satisfaction of drying and curing your own wood, as you create beautiful and functional pieces that will stand the test of time. Happy woodworking!
- How to Know Wood Is Dry - May 4, 2024
- How to Season Wood Uk - May 4, 2024
- How to Make Good Wood - May 4, 2024