Are you looking to unleash your inner craftsman and create something functional and beautiful? Look no further than building a wooden box! Whether you’re a seasoned woodworker or a complete novice, this step-by-step guide will help you master the art of constructing a wooden box from scratch. From selecting the perfect wood to mastering essential woodworking techniques, this project is sure to ignite your passion for woodworking and leave you with a stunning finished piece.
Imagine the satisfaction of holding a handmade wooden box, carefully constructed to your specifications. Not only will you gain valuable woodworking skills, but you’ll also have a practical item that can be used for storage, organizing, or even as a beautiful display piece. With the right tools, materials, and a little bit of patience, you’ll be amazed at what you can create. So, roll up your sleeves, grab your tools, and let’s dive into the world of building a wooden box – a journey that promises both creativity and craftsmanship. Get ready to embark on a woodworking adventure that will leave you with a sense of fulfillment and pride in your newfound abilities.
How to Build a Wooden Box:
- Measure and cut the wood pieces to desired dimensions.
- Assemble the box by attaching the sides to the base using nails or screws.
- Add a lid by attaching hinges to one side of the box.
- Sand the box to smooth the edges and surfaces.
- Apply a wood finish or paint to protect and enhance the box’s appearance.
How to Build a Wooden Box
In this step-by-step guide, we will walk you through the process of building a wooden box. Whether you’re a beginner or an experienced DIY enthusiast, this article will provide you with all the information you need to successfully complete this project.
1. Gather the Materials
Before you start building your wooden box, collect all the necessary materials. You will need:
- Wood boards
- Nails or screws
- Hammer or screwdriver
- Saw
- Measuring tape
- Sandpaper
- Wood glue
Make sure to choose high-quality wood that is suitable for your desired box size and purpose.
2. Measure and Cut the Wood
Begin by measuring and marking the dimensions of your wooden box on the wood boards. Use a measuring tape to ensure accuracy. Once marked, carefully cut the boards using a saw. Remember to double-check your measurements before cutting to avoid any mistakes.

After cutting, use sandpaper to smooth out any rough edges or splinters on the wood boards. This will provide a clean and polished finish to your box.
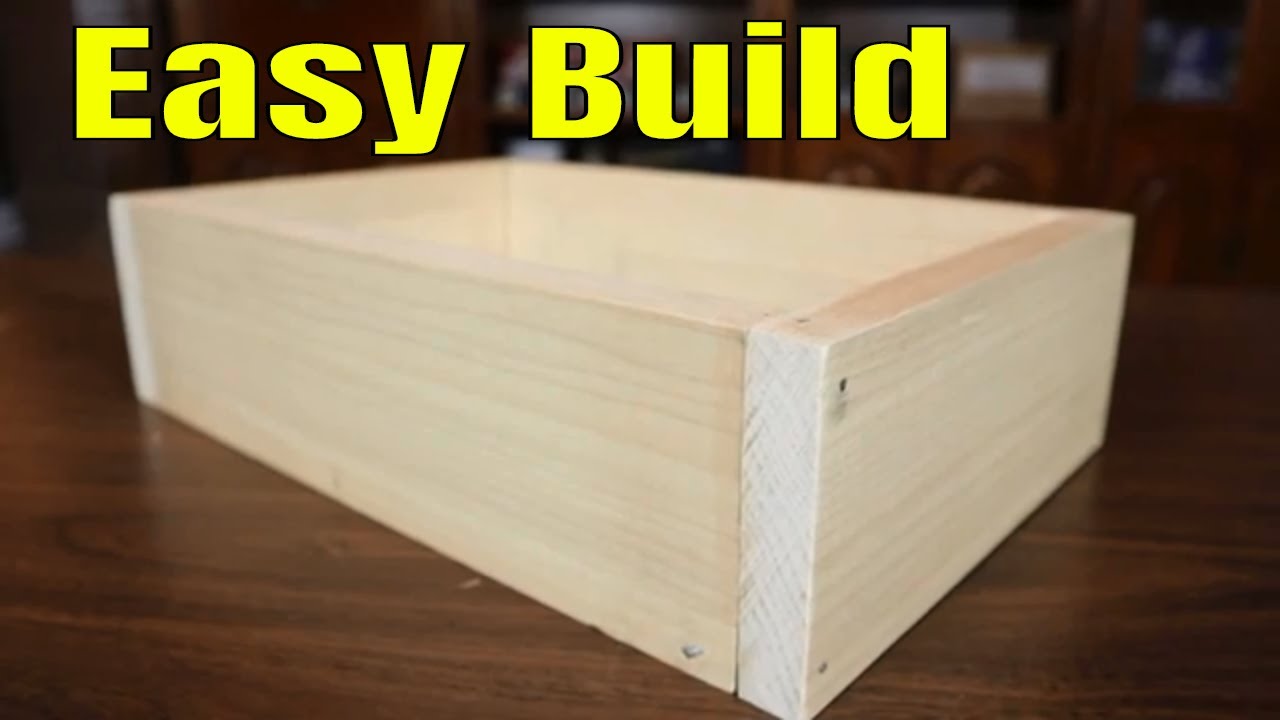
3. Assemble the Box
Now it’s time to assemble the wooden box. Apply wood glue to the edges of the boards that will be joined together. Use clamps or weights to hold the boards in place while the glue dries. Alternatively, you can use nails or screws to secure the boards together.
Ensure that the corners are square and the box is sturdy. Make any necessary adjustments before proceeding to the next step.
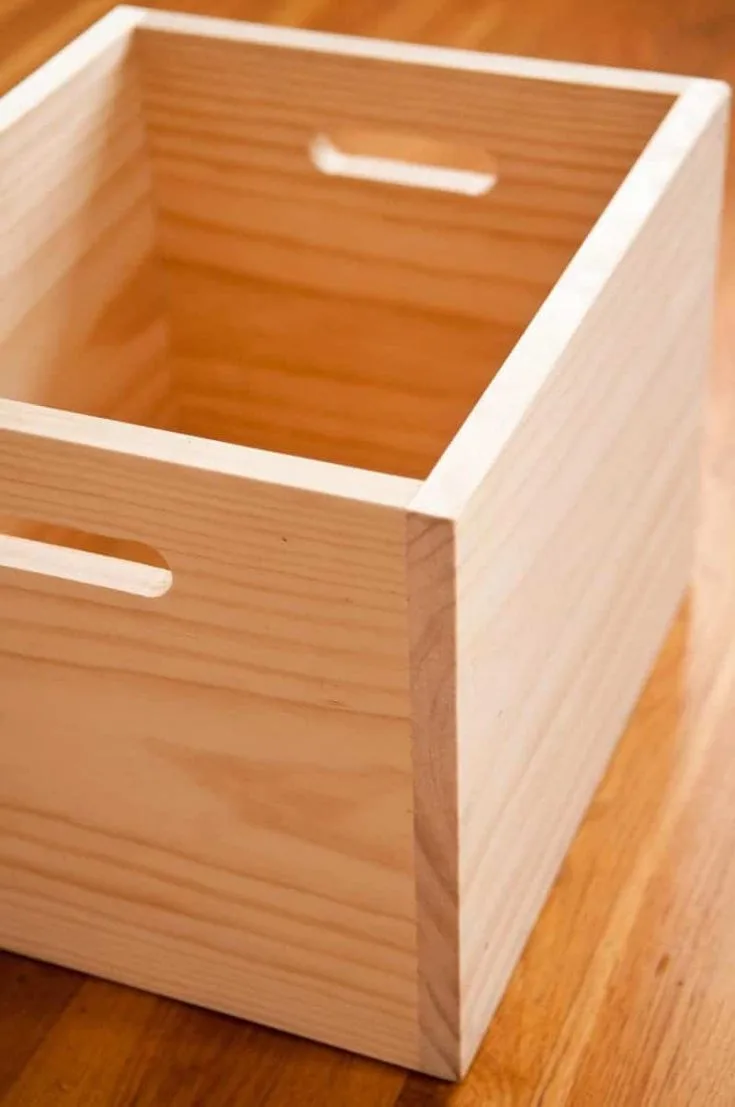
4. Add a Lid or Bottom
If you want your wooden box to have a lid, measure and cut a piece of wood that matches the dimensions of the box. Attach it to the top using hinges or a similar mechanism.
If you prefer a box without a lid, you can add a bottom by cutting a piece of wood and attaching it to the base of the box. This will provide stability and support to the structure.
5. Finishing Touches
Once the box is assembled, you can apply a finish or paint to enhance its appearance. Consider using wood stain, varnish, or a coat of paint that matches your aesthetic preferences.
Allow the finish to dry completely before using the wooden box. This will prevent any damage to the surface and ensure a longer lifespan for your creation.
6. Personalize and Enjoy
Finally, you can add personal touches to your wooden box, such as decorative elements or engraved designs. These details will make the box truly unique and reflect your own style.
Now that you have successfully built your wooden box, you can use it for storage, as a gift box, or any other purpose you desire. Enjoy your new creation!
Frequently Asked Questions
Here are some common questions about building a wooden box:
Question 1: What materials do I need to build a wooden box?
To build a wooden box, you will need the following materials:
– Wood boards or plywood for the sides, bottom, and lid of the box
– Screws or nails to hold the box together
– Wood glue to reinforce the joints
– Sandpaper or a sander to smooth the surfaces
– Optional: hinges, handles, and a latch for the lid
Question 2: What tools do I need to build a wooden box?
To build a wooden box, you will need the following tools:
– Tape measure or ruler to measure the dimensions
– Saw to cut the wood to size
– Drill or hammer to secure the joints
– Screwdriver or nail gun to insert screws or nails
– Sandpaper or a sander to smooth the surfaces
Question 3: How do I plan the dimensions of my wooden box?
Before starting the construction of your wooden box, it is important to plan the dimensions. Consider the following:
– Purpose of the box: Determine what you will be storing or using it for.
– Size requirements: Measure the items you plan to store in the box to determine the appropriate dimensions.
– Proportions: Consider the overall aesthetics of the box and ensure that the dimensions are visually appealing.
– Ease of use: Plan for easy access and handling of the box based on its intended use.
Question 4: What are the steps to construct a wooden box?
The basic steps to construct a wooden box are as follows:
1. Cut the wood pieces to the desired dimensions for the sides, bottom, and lid of the box.
2. Sand the surfaces of the wood pieces to smooth any rough edges.
3. Assemble the sides of the box using wood glue and secure them with screws or nails.
4. Attach the bottom of the box using the same method.
5. Attach the lid of the box using hinges, and add handles and a latch if desired.
6. Sand the entire box to ensure a smooth finish.
7. Optionally, apply a wood finish or paint to protect and enhance the appearance of the box.
Question 5: How can I personalize my wooden box?
To personalize your wooden box, you can consider the following options:
– Decorative finishes: Apply paint, stain, or varnish to add color and protect the wood.
– Woodburning or carving: Add intricate designs or personal initials using a woodburning tool or carving techniques.
– Unique hardware: Choose decorative hinges, handles, or a latch that align with your style or theme.
– Lining: Line the interior of the box with fabric, velvet, or foam to protect delicate items or add a touch of luxury.
How to make a basic box. And why you need to know how. | Woodworking BASICS.
In conclusion, building a wooden box is a rewarding and fulfilling project that can be enjoyed by both beginners and experienced woodworkers. By following the step-by-step instructions outlined in this guide, you can create a beautiful and functional wooden box that showcases your craftsmanship and creativity. Remember to choose the right type of wood, measure accurately, and use the appropriate tools to ensure a sturdy and durable construction.
Not only does building a wooden box provide a sense of accomplishment, but it also offers endless possibilities for personalization and customization. Whether you plan to use your box for storage, gifting, or simply as a decorative piece, the skills and techniques you learn during the process can be applied to future woodworking projects. So, gather your materials, embrace the joy of working with wood, and embark on this exciting journey of building your very own wooden box. Happy woodworking!
- How to Dry Wood in Oven - May 3, 2024
- How to Preserve Wood Slices With Bark - May 3, 2024
- How to Dry Wood Without Cracking - May 3, 2024