Are you tired of staring at those unsightly holes in your wooden furniture or walls? Don’t fret! In this guide, we will walk you through the step-by-step process of filling holes in wood, ensuring a seamless and professional-looking finish. Whether you are a seasoned DIY enthusiast or a novice homeowner, this comprehensive tutorial will equip you with the knowledge and techniques needed to tackle this common home improvement task with ease.
From small nail holes to larger gouges, knowing how to effectively fill holes in wood is an essential skill that every homeowner should possess. Not only does it restore the aesthetic appeal of your wooden surfaces, but it also helps to maintain their structural integrity. With the right tools and materials at your disposal, you’ll be amazed at how simple and satisfying this process can be. So grab your putty knife and let’s dive into the world of wood hole filling, where we’ll explore different types of fillers, proper preparation techniques, and foolproof tips to achieve a flawless finish.
How to Fill Holes in Wood
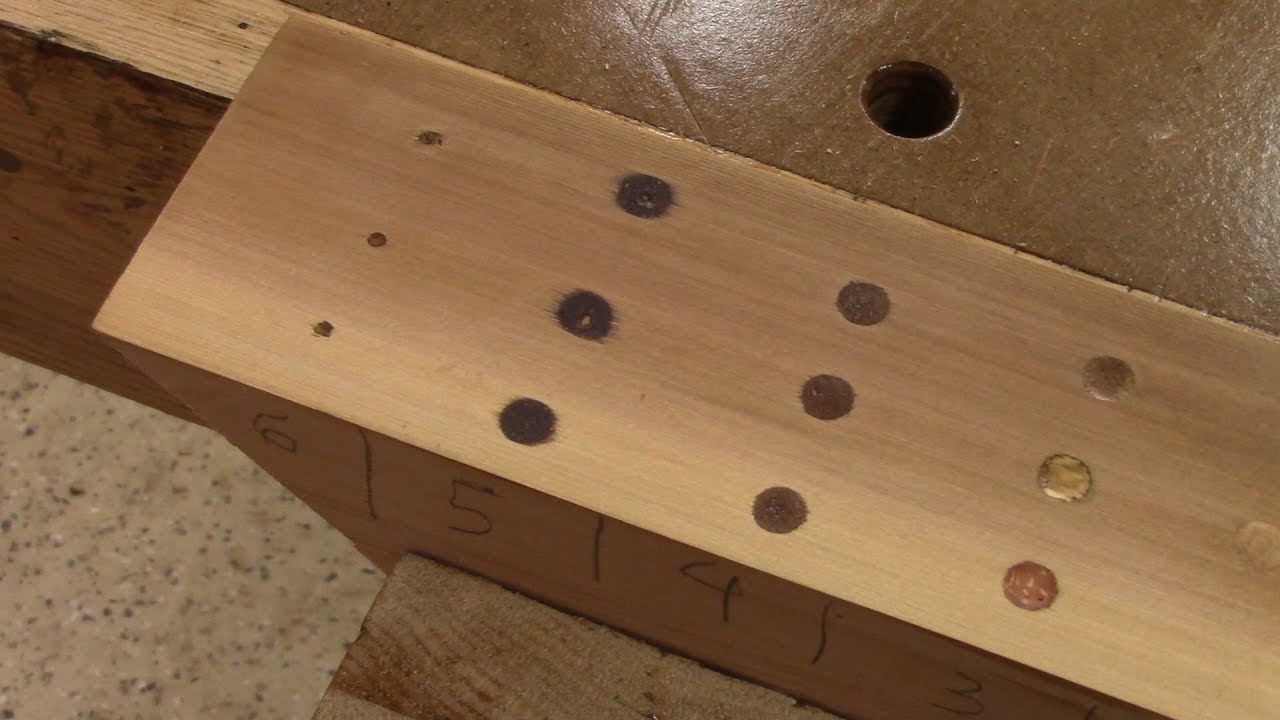
- Start by cleaning the hole and removing any debris or loose wood particles.
- If the hole is small, use wood filler or putty to fill it in. Apply the filler with a putty knife, smooth it out, and let it dry.
- For larger holes, use a wooden dowel or plug that fits snugly in the hole. Apply wood glue to the dowel, insert it into the hole, and let it dry.
- Once the filler or dowel has dried, sand the area to make it smooth and even with the surrounding wood.
- Lastly, finish by painting or staining the repaired area to match the rest of the wood.

Introduction
Filling holes in wood is a common task that may be required when working on woodworking projects or repairing furniture. The process involves using a filler material to fill in the holes and then sanding it down to create a smooth surface. In this article, we will provide step-by-step instructions on how to fill holes in wood effectively.
Gather the necessary materials
Before starting, it is important to gather all the materials you will need to fill the holes in wood. This includes:
- Wood filler: Choose a wood filler that matches the color of the wood you are working with.
- Putty knife: You will need a putty knife to apply the wood filler smoothly.
- Sandpaper: Different grits of sandpaper will be necessary for sanding down the filled holes.
- Cloth: A cloth will be useful for wiping away any excess wood filler.
- Paint or stain: If you plan on painting or staining the wood, make sure you have the necessary supplies.
Once you have gathered all the materials, you can proceed with the following steps.
Prepare the wood surface
Before filling the holes, it is important to prepare the wood surface properly. Start by cleaning the area around the holes using a damp cloth to remove any dust or debris. If the wood has a finish, gently sand the surface around the holes to create a better adhesion for the wood filler.
Next, use a putty knife to apply the wood filler to the holes. Press the filler firmly into the holes, ensuring they are completely filled. Scrape off any excess filler using the putty knife, making sure the surface is level and smooth. Allow the filler to dry according to the manufacturer’s instructions.
Sand and finish the filled holes

Once the wood filler is dry, it is time to sand down the filled holes. Start with a coarse-grit sandpaper and gradually move to a finer-grit sandpaper. Sand in a circular motion, blending the filled areas with the surrounding wood until the surface is smooth and even.
After sanding, wipe away any dust using a cloth. If you plan on painting the wood, apply a primer before painting to ensure better adhesion. If you prefer to stain the wood, choose a stain that matches the color of the surrounding wood and apply it according to the manufacturer’s instructions.
And there you have it! By following these steps, you can effectively fill holes in wood and achieve a professional-looking result. Remember to take your time, follow the instructions carefully, and practice on a small inconspicuous area before working on more visible parts of the wood.
Additional Tips
Here are some additional tips to keep in mind when filling holes in wood:
- Always read and follow the instructions provided by the manufacturer of the wood filler.
- If the holes are deep, you may need to apply multiple layers of wood filler, allowing each layer to dry before applying the next.
- For larger holes or damaged wood, consider using wood plugs or epoxy fillers for a more durable repair.
- If you are unsure about matching the color of the wood filler to the surrounding wood, test it on a scrap piece of wood before applying it to the project.
- Take your time when sanding to achieve a smooth and seamless finish.
With these tips and the step-by-step instructions provided, you should be well-equipped to fill holes in wood effectively and achieve professional results in your woodworking projects and furniture repairs.
Frequently Asked Questions
Here are some commonly asked questions about how to fill holes in wood:
Question 1: What are the materials needed to fill holes in wood?
Answer: To fill holes in wood, you will need the following materials:
1. Wood filler or putty: This is a paste-like substance specifically designed for filling holes in wood. It comes in various colors to match the wood’s shade.
2. Sandpaper: You will need sandpaper to smooth out the filled holes and make them flush with the surrounding wood surface.
Question 2: How do I prepare the wood surface before filling the holes?
Answer: Before filling the holes, it’s important to prepare the wood surface properly. Follow these steps:
1. Clean the area: Remove any dust, dirt, or debris from the wood surface using a soft cloth or brush.
2. Sand the area: Use fine-grit sandpaper to gently sand the area around the holes. This will create a smooth surface for the filler to adhere to.
Question 3: How do I fill small holes in wood?
Answer: Small holes in wood can be easily filled using the following steps:
1. Apply the filler: Using a putty knife or a small spatula, apply the wood filler to the hole, ensuring it is slightly overfilled.
2. Smooth the surface: Use the putty knife or spatula to level the filler with the surrounding wood surface. Remove any excess filler.
Question 4: How do I fill large holes in wood?
Answer: Filling large holes in wood requires a slightly different approach. Here’s what you need to do:
1. Prepare the hole: Clean the hole and remove any loose debris. If the hole is too large, you may need to use a chisel or a router to create a clean, defined shape.
2. Use wooden dowels: Cut wooden dowels to fit the hole and apply wood glue to the dowels. Insert them into the hole, making sure they are flush with the wood surface.
3. Apply filler: Fill the remaining space around the dowels with wood filler, using a putty knife or spatula. Smooth the surface and let it dry.
Question 5: How do I finish and paint the filled holes?
Answer: Once the filled holes have dried, you can finish and paint them to match the surrounding wood. Here’s how:
1. Sand the filled area: Use fine-grit sandpaper to smooth the filled holes and make them level with the surrounding wood surface.
2. Apply a finish: If desired, apply a wood finish or stain to the filled holes to match the existing wood. Follow the manufacturer’s instructions for application.
3. Paint the area: If the wood needs to be painted, use a brush or roller to apply a coat of paint to the filled holes. Allow the paint to dry completely before applying additional coats, if needed.
Beginner Wood Filling Mistakes | How to Fill Cracks and Gaps
In conclusion, learning how to fill holes in wood can be a valuable skill for any homeowner or DIY enthusiast. By following the step-by-step techniques and using the appropriate materials, you can restore the integrity and beauty of wooden surfaces, ensuring they withstand the test of time. Whether it’s a small nail hole or a larger gap, taking the time to properly fill and repair these imperfections not only improves the aesthetic appeal of the wood, but also prevents further damage and deterioration.
Remember, practice makes perfect, so don’t be discouraged if your first attempts don’t yield flawless results. Experiment with different fillers and techniques to find what works best for your specific project. With patience, precision, and the knowledge gained from this guide, you’ll be well-equipped to tackle any hole in wood with confidence, transforming worn-out surfaces into stunning masterpieces. So go ahead, pick up your tools, and let your creativity and craftsmanship shine as you breathe new life into your wooden furniture, floors, or walls. Happy filling!
- How to Remove Mold From Plywood - April 18, 2024
- How to Get Rid of Green Mold on Wood - April 18, 2024
- How to Prevent Mold on Wood - April 18, 2024