Are you someone who enjoys working with their hands and creating beautiful and functional objects? If so, you’re in the right place! In this guide, we will explore the art of woodworking and delve into the fascinating world of building a wood box. Whether you’re a seasoned woodworker looking to expand your skills or a beginner eager to learn the craft, this step-by-step tutorial will equip you with the knowledge and techniques needed to create your very own wooden masterpiece.
Building a wood box is not only a practical endeavor but also a creative one. The process of selecting the perfect wood, measuring and cutting each piece with precision, and assembling them to form a sturdy and aesthetically pleasing box brings a sense of satisfaction and accomplishment. Throughout this guide, we will cover everything from choosing the right materials and tools, to mastering essential woodworking techniques, and finally, adding those finishing touches that truly make your wood box stand out. So, roll up your sleeves, grab your tools, and let’s embark on this exciting journey of building a wood box together!
- Measure and cut the wood pieces to the desired dimensions.
- Apply wood glue to the edges and join the pieces together.
- Secure the joints with screws or nails.
- Add a bottom piece to the box and secure it.
- Sand the box for a smooth finish.
- Apply a coat of wood stain or paint for added protection and aesthetics.
How to Build a Wood Box
In this step-by-step guide, we will walk you through the process of building a wood box. Whether you are a beginner or have some experience with woodworking, this informative article will provide you with the necessary information to successfully complete your project. By following these instructions, you will be able to create a sturdy and functional wood box that can be used for storage or as a decorative piece in your home.
Step 1: Gather the Materials
The first step in building a wood box is to gather all the necessary materials. You will need the following:
- 1/2-inch thick wood boards
- Saw
- Measuring tape
- Sandpaper
- Wood glue
- Clamps
- Nails or screws
- Hammer or screwdriver
- Paint or stain (optional)
- Paintbrush or sponge
Once you have gathered all the materials, you are ready to move on to the next step.
Step 2: Measure and Cut the Wood
Using a measuring tape, measure and mark the dimensions for your wood box on the wood boards. Make sure to account for the thickness of the boards when measuring. Once you have marked the dimensions, use a saw to cut the boards according to your measurements. Take your time and ensure that the cuts are straight and accurate.
After cutting the wood, use sandpaper to smooth out any rough edges or surfaces. This will give your wood box a polished and professional look.
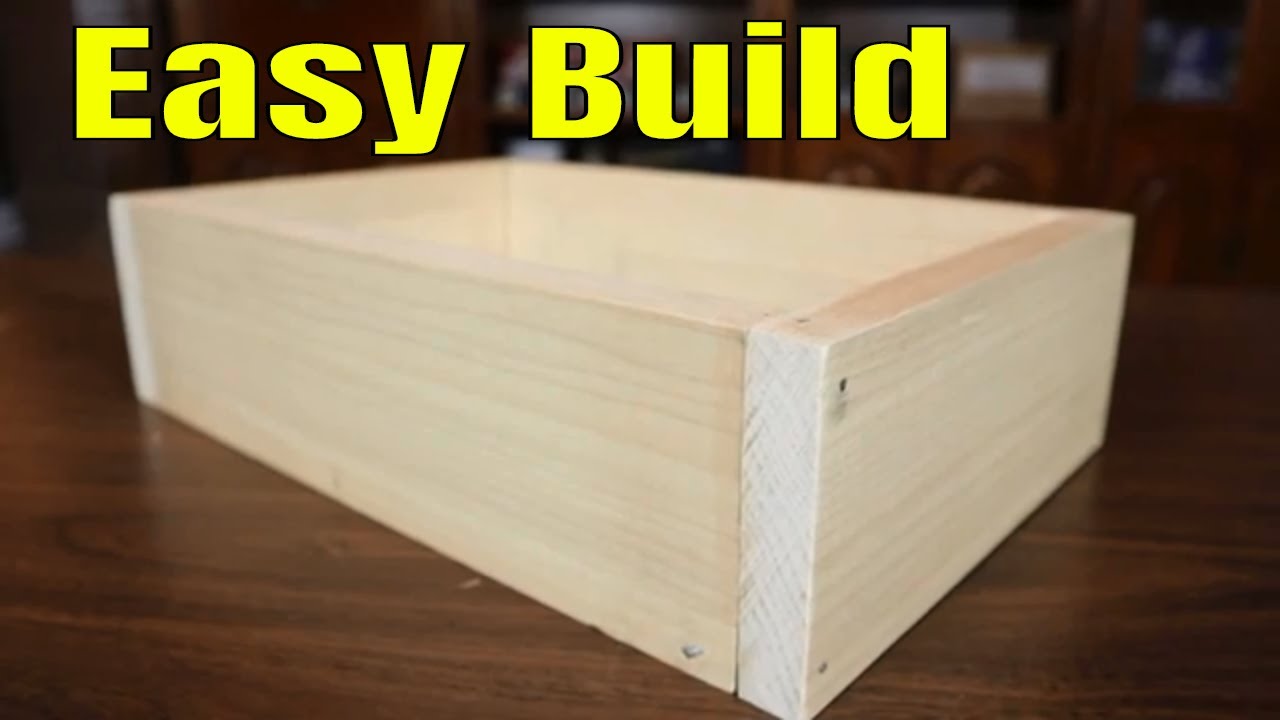
Step 3: Assemble the Box

Now that you have your cut and sanded wood boards, it’s time to assemble the box. Start by applying wood glue to the edges of the boards that will be joined together. Use clamps to hold the boards in place while the glue dries. If necessary, you can also reinforce the joints with nails or screws for added stability.
Once the glue has dried and the box is securely held together, remove the clamps. Your wood box is now ready to be used as is or you can proceed to the optional step of painting or staining it to match your desired aesthetic.
Step 4: Optional Finishing Touches
If desired, you can paint or stain your wood box to enhance its appearance. Choose a paint or stain color that complements your decor or personal preference. Apply the paint or stain using a paintbrush or sponge, making sure to cover all surfaces evenly. Allow the paint or stain to dry according to the manufacturer’s instructions before handling or using the box.
Once the paint or stain has dried, your wood box is complete! You can now use it for storing items, displaying decorative pieces, or even as a gift box. The possibilities are endless, and you can be proud of your woodworking skills and the beautiful wood box you have created.
Frequently Asked Questions
Here are some commonly asked questions about building a wood box:
1. What materials do I need to build a wood box?
To build a wood box, you will need the following materials:
– Wood boards or plywood for the sides, bottom, and lid of the box
– Screws or nails to fasten the pieces together
– A saw to cut the wood to the desired dimensions
– Sandpaper to smooth the surfaces
– A drill or screwdriver to attach the hardware, such as hinges or handles
2. How do I choose the right type of wood for my box?
When selecting wood for your box, consider factors such as:
– Strength and durability: Choose a hardwood like oak or maple for a sturdy box.
– Appearance: If you want a natural look, consider using a wood species with an attractive grain pattern.
– Cost: Softwoods like pine or cedar are more affordable options.
– Availability: Check with your local hardware store or lumberyard to see what types of wood they carry.
3. What are the basic steps to build a wood box?
Here are the basic steps to build a wood box:
– Measure and cut the wood pieces to the desired dimensions.
– Sand the surfaces of the wood to smooth out any rough edges.
– Assemble the sides, bottom, and lid of the box using screws or nails.
– Attach any desired hardware, such as hinges or handles, using a drill or screwdriver.
– Apply a finish, such as paint or stain, to protect and enhance the appearance of the wood.
4. How can I ensure the box is sturdy and secure?
To ensure the box is sturdy and secure, follow these tips:
– Use appropriate fasteners, such as screws or nails, to securely attach the wood pieces together.
– Reinforce the corners of the box with additional wood blocks or brackets.
– Consider adding corner braces or metal hardware to provide extra stability.
– Test the box for stability by gently shaking it or applying light pressure to the sides.
5. Can I customize the design of my wood box?
Yes, you can customize the design of your wood box in various ways:
– Choose different wood species or finishes to achieve the desired look.
– Add decorative elements, such as carved details or inlays, to enhance the aesthetics.
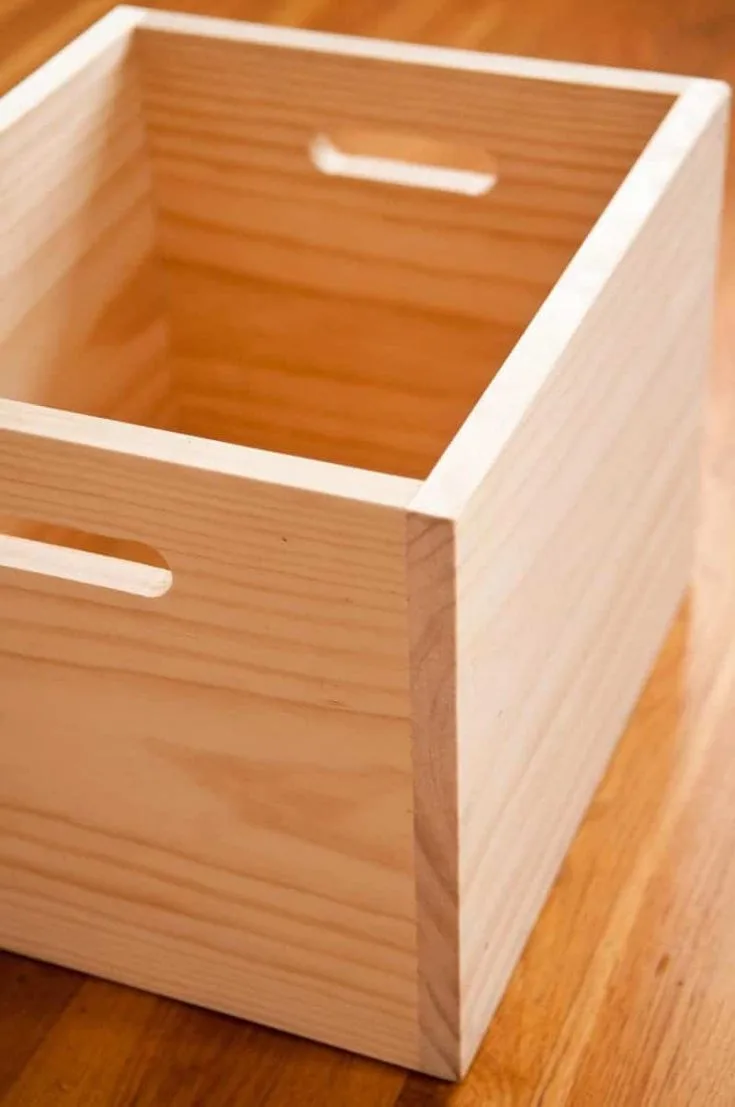
– Experiment with different box shapes, such as square, rectangular, or even curved designs.
– Incorporate compartments or dividers inside the box to organize its contents.
How to make a basic box. And why you need to know how. | Woodworking BASICS.
In conclusion, building a wood box is a rewarding and fulfilling project that anyone can undertake. By following the step-by-step instructions outlined in this guide, you can confidently create a beautiful and functional piece that adds both aesthetic value and practicality to your space. Remember to choose the right type of wood, gather the necessary tools, and take accurate measurements for a successful build. Additionally, don’t hesitate to customize your wood box with unique designs or finishes to truly make it your own.
Building a wood box not only allows you to develop your woodworking skills, but it also provides a sense of accomplishment and satisfaction. As you see your project come together, you will gain a deeper appreciation for the craftsmanship and effort that goes into creating such a piece. Whether you use it for storage, decoration, or as a gift, your wood box will serve as a reminder of your ability to create something beautiful and functional with your own hands. So, don’t hesitate to embark on this woodworking journey and enjoy the process of building a wood box that will stand the test of time.
- How to Use Osburn Wood Stove - April 28, 2024
- How to Heat Wood - April 28, 2024
- How to Burn Wood Efficiently - April 28, 2024