Are your once-beautiful wood floors now marred with unsightly scratches? Don’t worry, you’re not alone. Over time, even the most well-maintained hardwood floors can fall victim to scratches and scuffs. But fear not, because I’m here to share with you the secrets of restoring your wood floors to their former glory. In this comprehensive guide, we will explore the most effective methods to fix scratched wood floors, giving you the confidence and know-how to tackle this common issue head-on.
Wood floors are not only a stunning addition to any home but also a significant investment. However, daily wear and tear can take a toll on their appearance, leaving them looking worn and tired. That’s where our expertise comes in. Whether you have minor scratches or deep gouges, this guide will equip you with the knowledge and techniques to repair your wood floors like a professional. From simple DIY remedies to more advanced restoration methods, we will cover it all, ensuring that your wood floors regain their luster and maintain their value. So, let’s dive in and discover how to fix those pesky scratches, giving your wood floors a new lease on life.
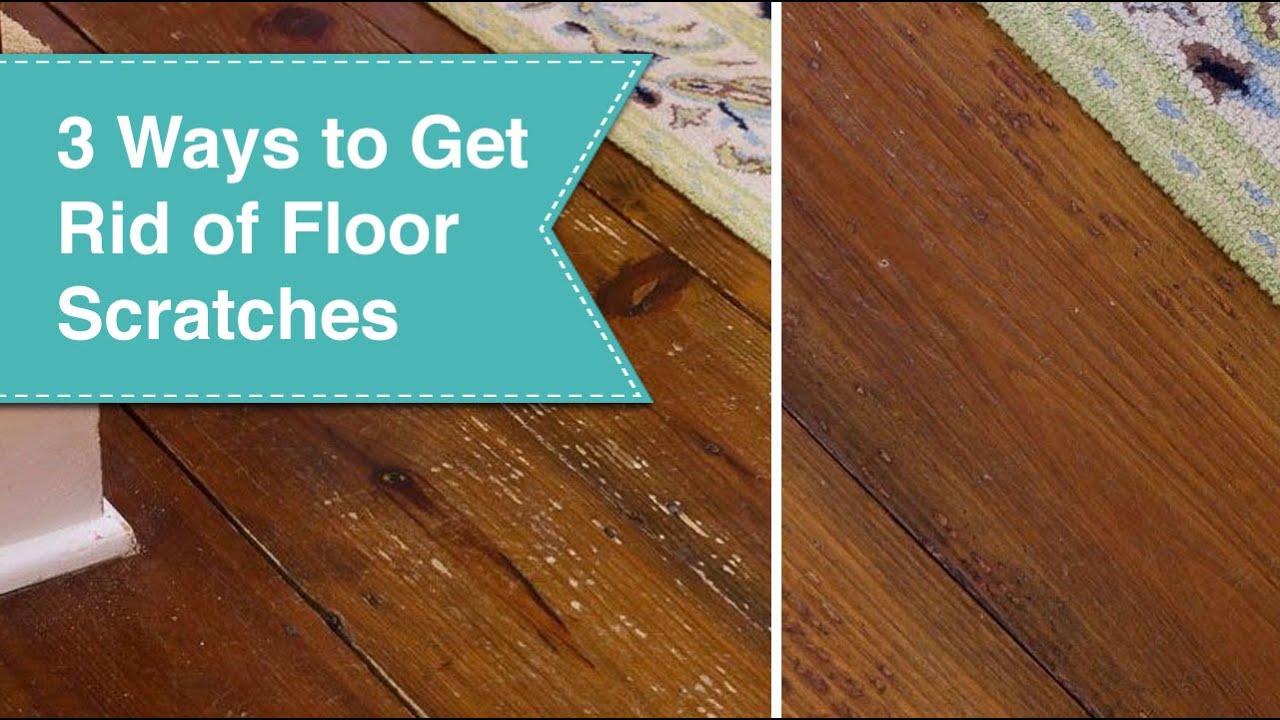
How to fix scratched wood floors:
- Assess the depth of the scratches.
- Clean the affected area with a wood cleaner.
- Fill shallow scratches with wood filler and let it dry.
- Sand the filled area carefully.
- Apply a matching wood stain to the sanded area.
- Seal the repaired section with a clear polyurethane finish.
How to Fix Scratched Wood Floors
Wood floors can bring a touch of elegance and warmth to any space. However, over time, they can become scratched and worn, detracting from their beauty. Fortunately, there are steps you can take to fix scratched wood floors and restore their original luster. In this article, we will guide you through the process, providing step-by-step instructions and helpful tips along the way.
Assess the Damage
Before you begin fixing your scratched wood floors, it’s important to assess the extent of the damage. This will help you determine the best course of action and the materials you will need. Start by examining the scratches closely. Are they minor surface scratches or deep gouges? Minor surface scratches can often be fixed with a simple repair, while deep gouges may require more extensive measures.
Once you have assessed the damage, gather the necessary materials. For minor surface scratches, you will need fine-grit sandpaper, wood stain, and a soft cloth. For deeper scratches, you may also need wood putty or filler that matches the color of your floor. Additionally, have a vacuum cleaner and a mop or soft-bristle broom on hand to clean up the dust and debris.
Repairing Minor Surface Scratches
If you are dealing with minor surface scratches, follow these steps to repair your wood floors:
- Start by cleaning the scratched area. Use a vacuum cleaner to remove any dirt or debris. Then, dampen a soft cloth with warm water and gently wipe the scratched surface to remove any residue.
- Next, take the fine-grit sandpaper and gently sand the scratched area in the direction of the wood grain. Be careful not to apply too much pressure or sand too aggressively, as this can further damage the floor.
- After sanding, wipe away the dust with a clean cloth or a mop. Ensure that the area is completely clean before proceeding.
- Apply a small amount of wood stain to the scratched area using a soft cloth. Rub the stain gently into the scratch, following the direction of the wood grain. Allow the stain to dry completely before applying a second coat, if necessary.
- Once the stain is dry, inspect the repaired area. If the scratch is still visible, you may need to repeat the process or consider seeking professional assistance.
Repairing Deep Gouges

If your wood floors have deep gouges, the process of repair is slightly different. Follow these steps to fix deeper scratches:
- Begin by cleaning the scratched area thoroughly. Use a vacuum cleaner to remove any dirt or debris, and wipe the surface with a damp cloth to ensure it is free from residue.
- Take the wood putty or filler that matches your floor color and apply it to the deep gouge using a putty knife. Smooth the putty or filler to ensure it is level with the surrounding floor surface. Allow it to dry according to the manufacturer’s instructions.
- Once the putty or filler is dry, use fine-grit sandpaper to gently sand the repaired area. Sand in the direction of the wood grain until the surface is smooth and even.
- Clean away the dust and debris with a cloth or a mop, ensuring the area is thoroughly clean.
- Finally, apply a matching wood stain to the repaired area using a soft cloth. Rub the stain gently into the scratch, following the direction of the wood grain. Allow the stain to dry completely before inspecting the repaired area.
Maintaining and Preventing Future Scratches
Once you have successfully repaired your wood floors, it’s essential to take steps to maintain their beauty and prevent future scratches. Regularly sweep or vacuum your floors to remove dirt and debris that can cause scratches. Place felt pads or area rugs under furniture to prevent scratches from moving objects. Avoid wearing shoes with high heels or sharp edges on your wood floors. Additionally, consider using protective coatings, such as polyurethane, to provide an extra layer of defense against scratches.
By following these steps and taking preventive measures, you can keep your wood floors looking their best for years to come.
Frequently Asked Questions
Here are some commonly asked questions about how to fix scratched wood floors:
1. How can I fix minor scratches on my wood floors?
To fix minor scratches on your wood floors, you can start by cleaning the affected area with a mild wood cleaner and a soft cloth. Once the area is clean, you can try using a wood marker or a crayon that matches the color of your floor to fill in the scratch. Gently rub the marker or crayon over the scratch, following the grain of the wood. Afterward, use a clean cloth to buff the area and remove any excess marker or crayon.
If the scratch is still visible, you can try using a wood filler specifically made for repairing scratches. Apply the filler to the scratch, following the manufacturer’s instructions. Allow it to dry completely before sanding the area lightly with fine-grit sandpaper. Finally, apply a matching wood stain or finish to blend the repaired area with the rest of the floor.
2. What should I do if the scratches on my wood floor are deeper?
If the scratches on your wood floor are deeper, you may need to use a more advanced repair method. Start by cleaning the area and removing any dirt or debris. Then, use a fine-grit sandpaper to sand the scratched area gently, following the direction of the grain. Be careful not to sand too aggressively, as this can damage the surrounding wood.
After sanding, you can apply a wood filler that is specifically designed for deep scratches. Fill the scratch with the wood filler, ensuring it is level with the surrounding floor. Allow the filler to dry completely before sanding the area lightly and applying a matching stain or finish. Remember to follow the manufacturer’s instructions for the filler and the stain or finish to achieve the best results.
3. Can I use household items to fix scratches on my wood floors?
Yes, there are some household items that you can use to fix scratches on your wood floors. One option is to use a mixture of vinegar and olive oil. Combine equal parts of white vinegar and olive oil in a spray bottle and shake well. Spray the mixture onto the scratched area and let it sit for a few minutes. Then, use a soft cloth to gently rub the mixture into the scratch, following the grain of the wood. Wipe away any excess mixture and buff the area with a clean cloth.
Another household item that can be used is a walnut. Simply rub the meat of a walnut over the scratch, following the grain of the wood. The natural oils in the walnut can help mask the scratch. Afterward, use a clean cloth to buff the area and remove any residue. Keep in mind that these household remedies may not work for deep scratches and are best suited for minor surface scratches.
4. Are there any preventative measures to avoid scratches on wood floors?
Yes, there are several preventative measures you can take to avoid scratches on your wood floors. Place doormats or rugs at entryways to help trap dirt and debris that can cause scratches. Use furniture pads or felt protectors on the legs of chairs, tables, and other furniture to prevent them from scratching the floor when moved. Avoid wearing shoes with high heels or shoes that have sharp or abrasive soles on your wood floors. Regularly sweeping or vacuuming your wood floors can also help prevent dirt and debris from causing scratches.
Additionally, consider using area rugs or runners in high traffic areas to provide an extra layer of protection for your wood floors. When moving heavy furniture or appliances, use sliders or lift them instead of dragging them across the floor. By taking these preventative measures, you can minimize the risk of scratches and keep your wood floors looking their best.
5. When should I consider hiring a professional for wood floor scratch repair?
If you have deep scratches that require extensive sanding, filling, or refinishing, it may be best to hire a professional for wood floor scratch repair. Professionals have the expertise and specialized equipment to handle more complex repairs and ensure that the finished result blends seamlessly with your existing floor. Additionally, if you are unsure about the proper methods and materials to use for DIY repairs, consulting a professional can give you peace of mind and help avoid further damage to your wood floors.
Furthermore, if you have a valuable or antique wood floor, it is wise to consult a professional to ensure that the repair process does not devalue or damage the floor’s integrity. Professional wood floor scratch repair services can provide tailored solutions and advice based on the specific type and condition of your wood floor.

By taking the time to fix scratched wood floors, you are not only preserving the value of your home but also creating a more welcoming and visually appealing space. It is essential to remember that every scratch tells a story, and with the right techniques, you can bring new life to your wooden floors while maintaining their unique character. So, roll up your sleeves, gather the necessary tools, and embark on this fulfilling journey of restoring the natural beauty of your wood floors. With a little effort and determination, you can achieve remarkable results and enjoy the stunning transformation of your living space for years to come.
- How to Use Osburn Wood Stove - April 28, 2024
- How to Heat Wood - April 28, 2024
- How to Burn Wood Efficiently - April 28, 2024