Are you tired of staring at those unsightly scratches on your beautiful wood floors? Well, worry no more! In this guide, we will walk you through the step-by-step process of fixing wood floor scratches, so you can restore the natural beauty of your floors and bring back that warm and inviting atmosphere to your home.
Wood floors are a timeless and elegant choice for any home, but they are not immune to wear and tear. Over time, scratches, scuffs, and dents can accumulate, leaving your floors looking worn and dull. But don’t despair! With the right knowledge and a little bit of elbow grease, you can easily repair these imperfections and make your wood floors look as good as new. Whether you are dealing with minor surface scratches or deeper gouges, we have got you covered. So, let’s roll up our sleeves and get ready to transform your floors from drab to fab!
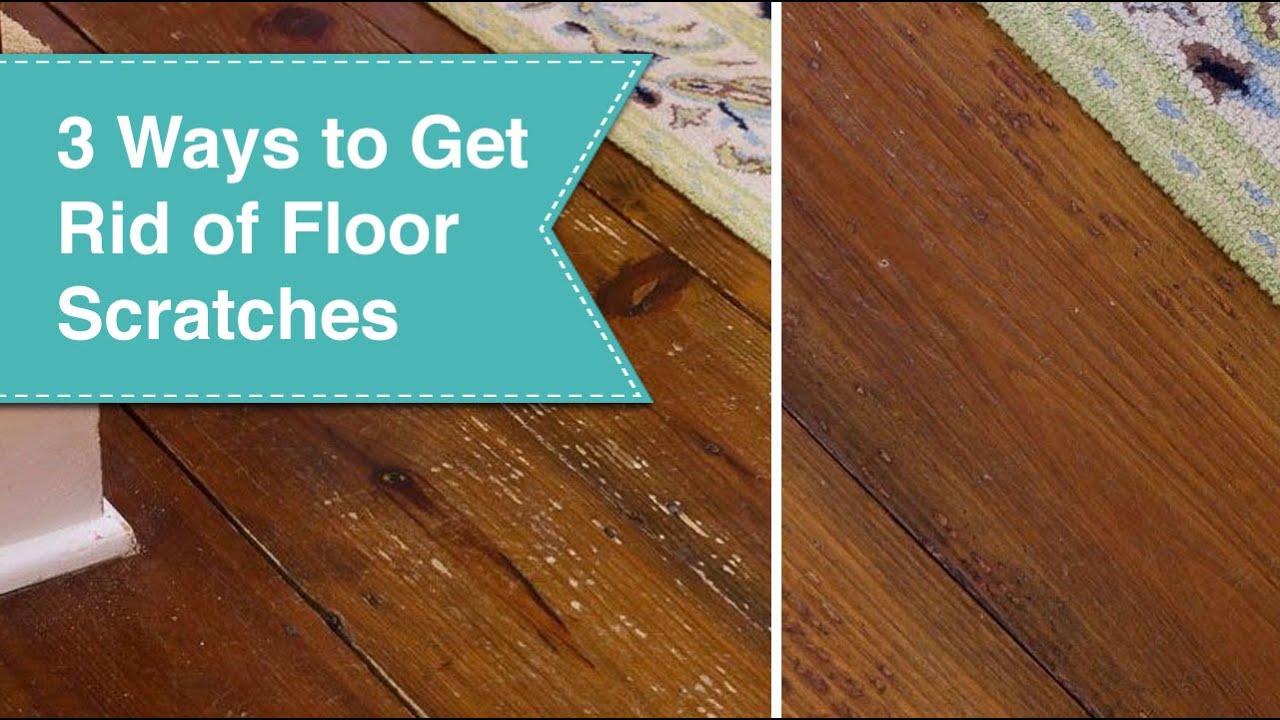
- Gently clean the scratched area with a soft cloth and wood cleaner.
- Fill the scratch with wood putty that matches the color of your floor.
- Smooth the putty with a putty knife and let it dry completely.
- Lightly sand the area with fine-grit sandpaper until it is smooth.
- Apply a wood floor finish that matches the rest of your floor, using a brush or roller.
- Allow the finish to dry according to the manufacturer’s instructions.
How to Fix Wood Floor Scratches: A Step-by-Step Guide
In this guide, we will walk you through the process of fixing scratches on your wood floor. Whether you have minor surface scratches or deeper gouges, following these steps will help restore the beauty of your floor and extend its lifespan. With some patience and the right tools, you can easily repair these imperfections and have your wood floor looking as good as new.
Materials You Will Need
Before you begin, gather the following materials:
- Wood filler
- Putty knife
- Sandpaper (multiple grits: coarse, medium, and fine)
- Soft cloth
- Wood stain (optional)
- Clear wood finish or wax
- Paintbrush or foam applicator
Step 1: Clean the Area
Start by cleaning the scratched area using a soft cloth and a mild wood cleaner. This will remove any dirt or debris that could interfere with the repair process. Ensure the area is completely dry before proceeding to the next step.
Step 2: Fill the Scratch
To fill the scratch, choose a wood filler that matches the color of your floor. Apply a small amount of filler to the scratch using a putty knife, ensuring it is level with the surrounding wood. Allow the filler to dry according to the manufacturer’s instructions.
Step 3: Sand the Filled Area

Once the wood filler is dry, use sandpaper to smooth the filled area. Start with a coarse grit sandpaper to level the filler with the floor surface, then switch to medium and fine grits to achieve a smooth finish. Sand in the direction of the wood grain to avoid creating additional scratches.
Step 4: Blend the Color (Optional)
If the filled area stands out from the rest of the floor, you may choose to blend the color for a more seamless finish. Apply a matching wood stain to the filled area using a paintbrush or foam applicator, following the manufacturer’s instructions. Allow the stain to dry completely before proceeding.
Step 5: Apply a Finish
To protect the repaired area and ensure a uniform appearance, apply a clear wood finish or wax over the entire floor. Follow the instructions on the product label, applying an even coat using a paintbrush or foam applicator. Allow the finish to dry completely before walking on the floor.
Repeat these steps for each scratch on your wood floor, adjusting the amount of filler and sanding required based on the depth of the scratches. With a little time and effort, you can restore the beauty of your wood floor and enjoy its natural elegance for years to come.
Frequently Asked Questions
Here are some commonly asked questions about fixing wood floor scratches:
Question 1: How can I repair minor scratches on my wood floor?
To repair minor scratches on your wood floor, you can start by cleaning the scratched area with a soft cloth and a mild cleaner. Once the area is clean, you can use a wood filler or a touch-up pen that matches the color of your floor to fill in the scratch. Apply the filler or pen carefully, following the grain of the wood, and wipe away any excess. Allow it to dry and then gently sand the area with fine-grit sandpaper until it is smooth. Finally, apply a layer of wood finish or wax to blend the repaired area with the rest of the floor.
Question 2: How do I fix deeper scratches that have penetrated the wood?
If you have deeper scratches that have penetrated the wood, you may need to take additional steps to repair them. Start by cleaning the scratched area and removing any dirt or debris. Next, use a wood filler that matches the color of your floor to fill in the scratch. Apply the filler generously and smooth it out using a putty knife. Allow it to dry completely and then sand the area using fine-grit sandpaper until it is level with the surrounding floor. Finish by applying a layer of wood finish or wax to protect the repaired area.
Question 3: Can I use household items to repair minor scratches on my wood floor?
Yes, there are some household items that you can use to repair minor scratches on your wood floor. One option is to use a mixture of olive oil and vinegar. Simply mix equal parts of olive oil and vinegar in a small bowl and apply the mixture to the scratched area using a soft cloth. Rub the mixture gently into the scratch and allow it to sit for a few minutes. Wipe away any excess and buff the area with a clean cloth. Another option is to use a walnut or pecan nut. Rub the nut over the scratch, following the grain of the wood, and the natural oils from the nut will help to minimize the appearance of the scratch.
Question 4: How can I prevent future scratches on my wood floor?
To prevent future scratches on your wood floor, there are a few steps you can take. Start by placing mats or rugs in high-traffic areas to help protect the floor from dirt and debris. Use furniture pads or felt pads on the bottom of chairs, tables, and other furniture to prevent them from scratching the floor when moved. Avoid wearing shoes with high heels or shoes that can easily scuff the floor. Trim your pet’s nails regularly to minimize the risk of scratches. Finally, be cautious when moving heavy furniture or objects across the floor, using sliders or lifting instead of dragging.
Question 5: When should I consider hiring a professional to repair my wood floor scratches?
If you have extensive or deep scratches on your wood floor, or if you are unsure about your ability to repair them yourself, it may be best to hire a professional. A professional can assess the damage and determine the best course of action to repair the scratches effectively and restore the appearance of your wood floor. Additionally, if your wood floor has a specialized finish or if the scratches are in a highly visible area, a professional can ensure that the repair work is done properly to maintain the integrity and beauty of your floor.

Remember, prevention is the key to maintaining the longevity of your wood floors. Taking simple precautions such as using furniture pads, regularly sweeping and cleaning, and avoiding high heels or dragging heavy objects can significantly reduce the likelihood of scratches. However, if scratches do occur, don’t panic. With a little patience and the guidance provided here, you can effectively fix and restore your wood floors to their original luster. So roll up your sleeves and give your wood floors the TLC they deserve – you’ll be amazed at the difference it can make in the overall aesthetics and value of your home.
- How to Know Wood Is Dry - May 4, 2024
- How to Season Wood Uk - May 4, 2024
- How to Make Good Wood - May 4, 2024