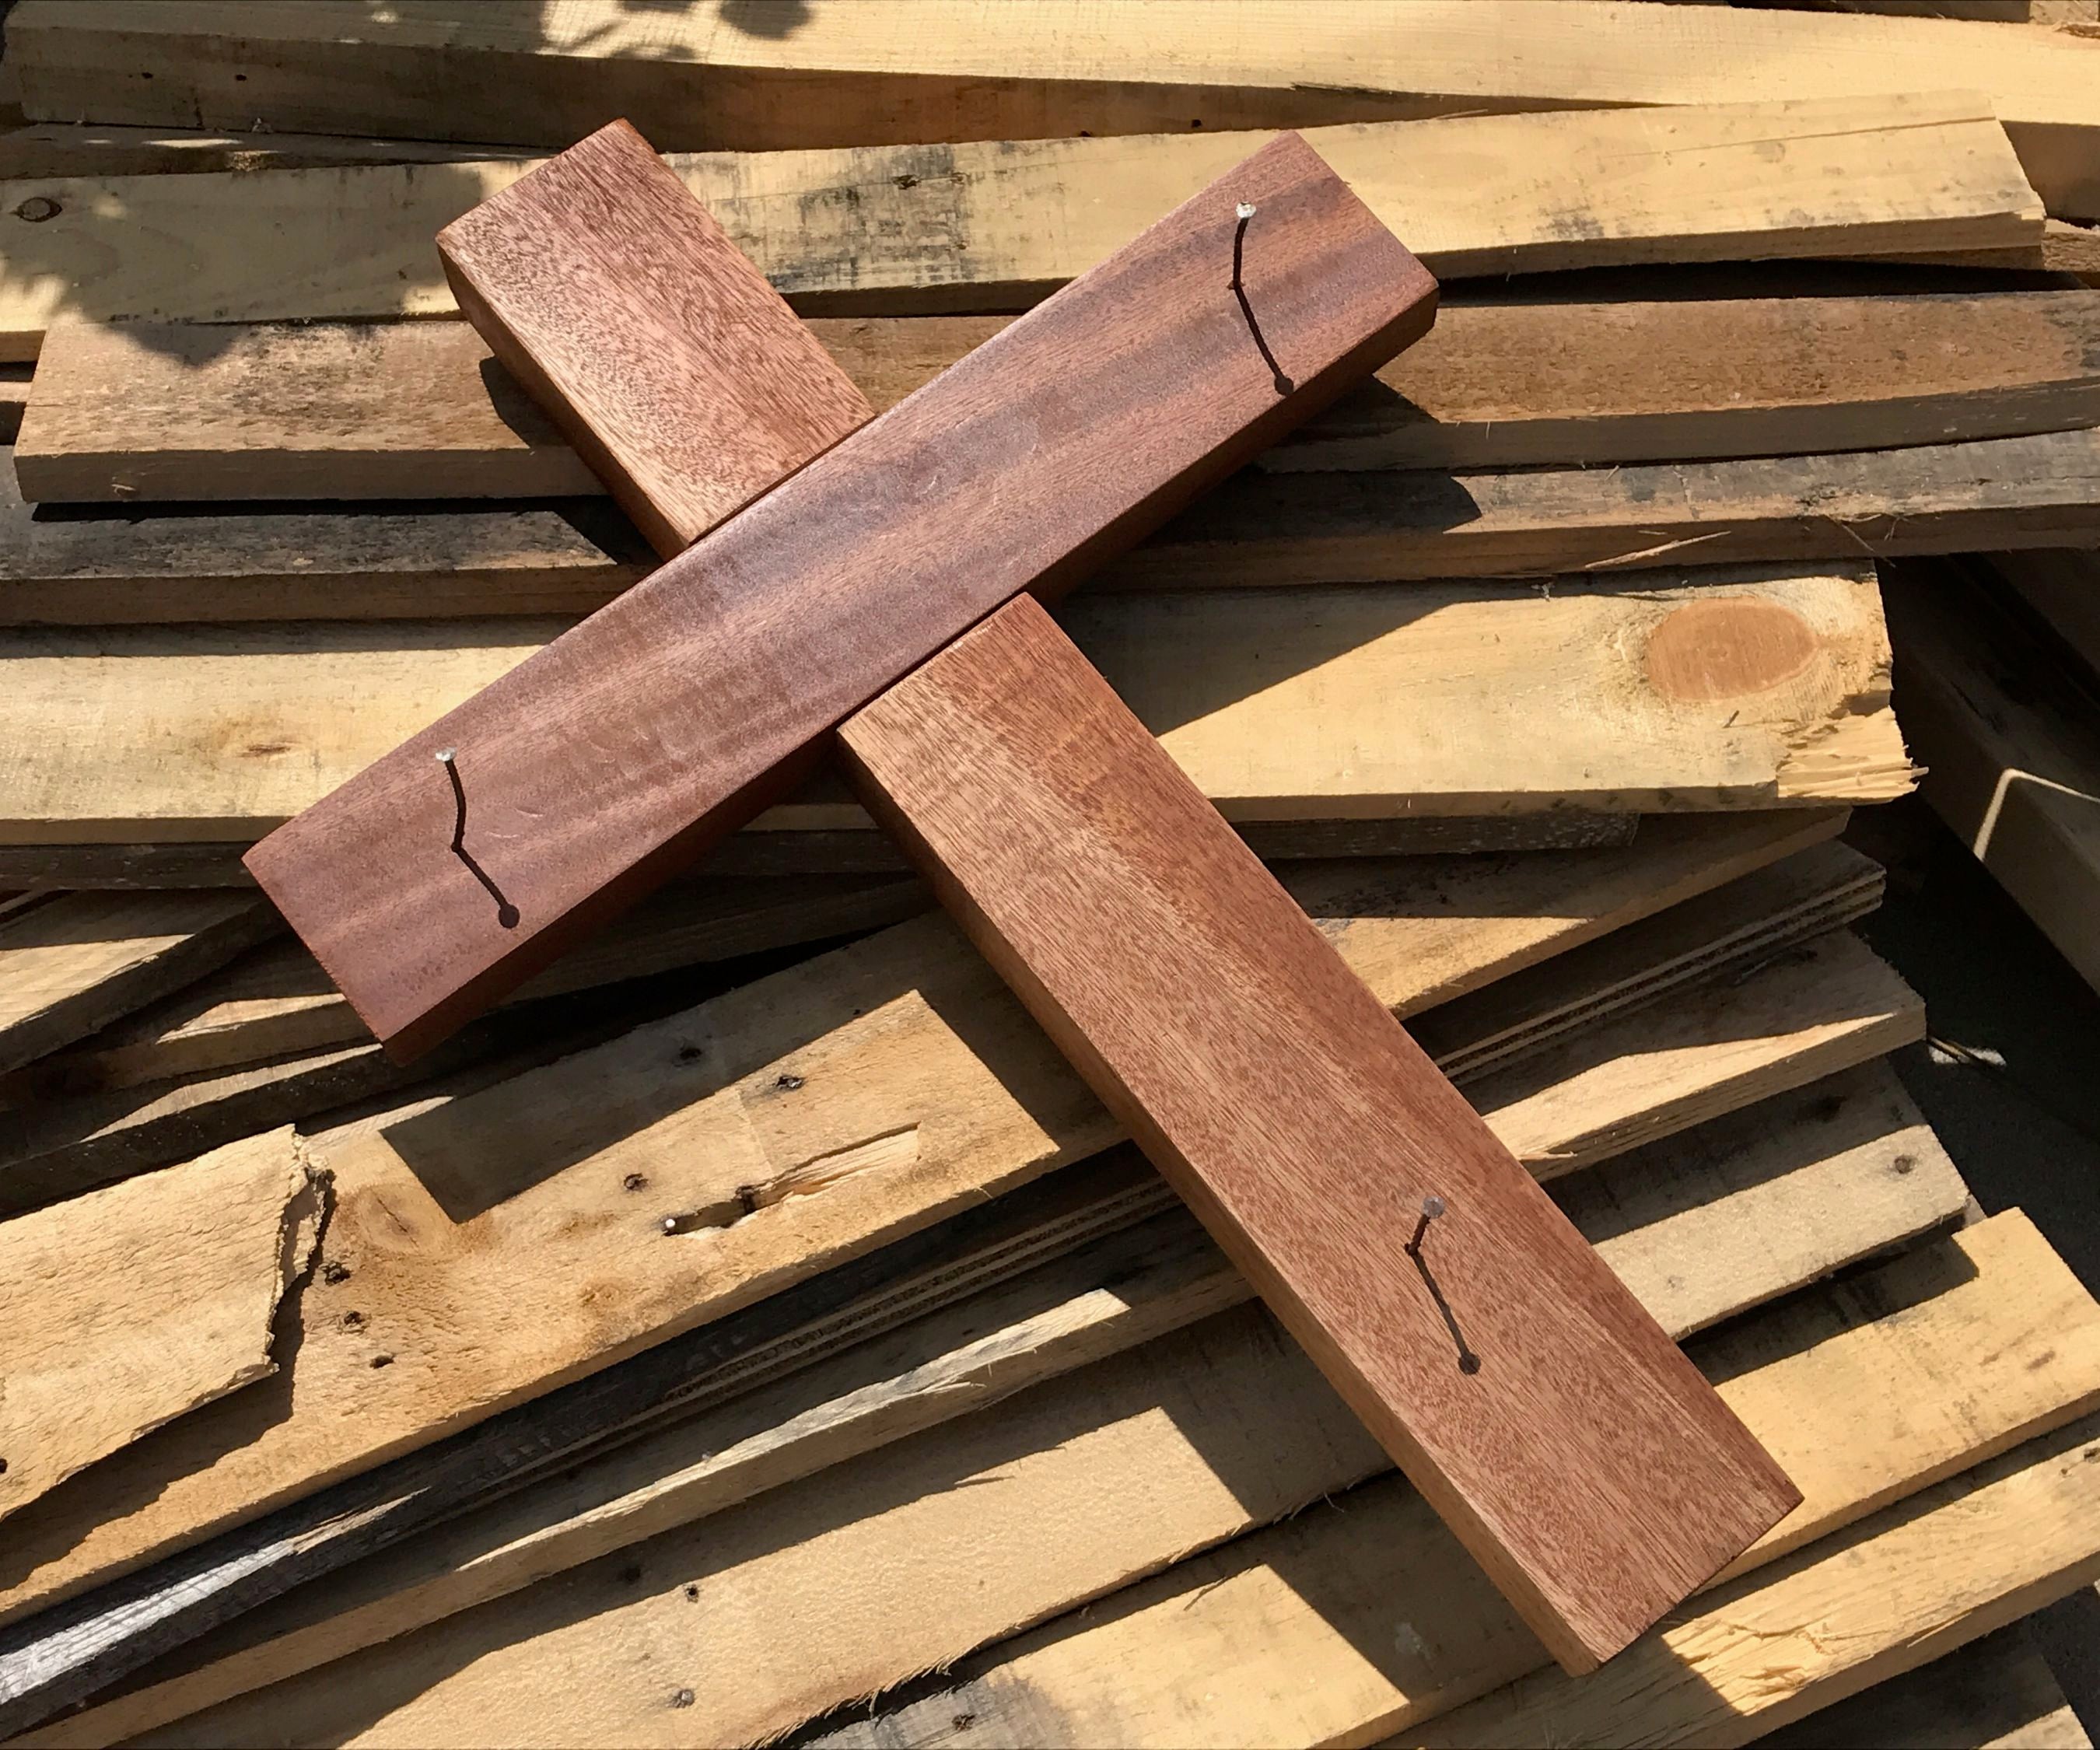
Woodworking is an age-old craft that allows us to unleash our creativity and create beautiful, functional objects. Among the many projects one can undertake, crafting a wooden cross holds a special significance. Whether you want to create a spiritual symbol for your home or gift it to a loved one, making a cross from wood is a rewarding endeavor that combines skill, precision, and passion.
In this guide, we will explore the art of making a wooden cross, providing step-by-step instructions and expert tips to help you achieve stunning results. From selecting the right type of wood to mastering the essential woodworking techniques, we will delve into every aspect of this project. So, whether you are a seasoned woodworker looking for a new challenge or a beginner eager to embark on a creative journey, join us as we dive into the world of woodworking and learn how to make a cross from wood that will leave a lasting impression.
How to Make a Cross from Wood:
- Measure and mark the desired length for the cross on a wooden plank.
- Cut the plank along the marked lines using a saw.
- Sand the cut edges to smoothen them.
- Draw a diagonal line from one corner to the opposite corner of the cross, and mark the center point.
- Carve or etch decorative patterns or designs onto the wood, if desired.
- Apply wood stain or paint to the cross for a finished look.
- Allow the cross to dry completely before using or displaying it.
How to Make a Cross from Wood
In this step-by-step guide, we will explain how to create a beautiful wooden cross. Whether you want to make a religious symbol or a decorative piece for your home, this project will provide you with detailed instructions to help you bring your vision to life.
Materials Needed
Before you begin, gather the following materials:
- Wood plank (desired size and thickness)
- Saw
- Sandpaper (various grits)
- Wood glue
- Clamps
- Chisel
- Wood stain or paint (optional)
- Paintbrush (if using stain or paint)
- Protective finish (varnish or sealant)
- Cloth or brush for applying finish
Step 1: Design and Measurements
The first step is to decide on the size and design of your wooden cross. Consider the intended purpose and the available space. Once you have a clear idea, measure and mark the dimensions on your wood plank using a pencil and ruler. It’s essential to be precise to ensure a symmetrical and visually appealing cross.
Next, use a saw to cut the plank according to the marked measurements. Take your time and make smooth, controlled cuts to avoid any splintering or uneven edges.
Step 2: Sanding and Smoothing

After cutting the wood, it’s crucial to sand and smooth the surfaces for a professional finish. Start with coarse-grit sandpaper to remove any rough edges or imperfections. Gradually progress to finer-grit sandpaper, ensuring that you sand evenly in the direction of the wood grain. This step will give your cross a polished and refined appearance.
Take extra care to sand the edges and corners, as they should be soft and rounded. Use a chisel if necessary to achieve the desired shape and smoothness. Once you are satisfied with the overall smoothness, wipe away any dust with a clean cloth.
Step 3: Assembly and Gluing
Now it’s time to assemble your wooden cross. Apply a generous amount of wood glue to the joints where the two pieces of wood intersect. Make sure the pieces fit snugly together and align properly. Use clamps to hold the pieces in place while the glue dries. Follow the manufacturer’s instructions for the drying time of the glue.
Once the glue is fully dried, remove the clamps and check the stability of the cross. If any gaps or unevenness are visible, you can use wood filler to fill them in and sand again for a seamless appearance.
Step 4: Finishing Touches
Now that your wooden cross is assembled, you can choose to add a personal touch by staining or painting it. Apply the stain or paint evenly, following the instructions on the product. Allow it to dry completely before proceeding.
Finally, protect your wooden cross with a protective finish such as varnish or sealant. Apply the finish with a cloth or brush, making sure to cover all surfaces. This step will enhance the durability and longevity of your cross, as well as add a beautiful sheen.
Step 5: Display or Gift
Congratulations! You have successfully created a wooden cross. Now you can decide how you want to display it or gift it to someone special. Whether you hang it on a wall, place it on a shelf, or give it as a meaningful present, your wooden cross is sure to bring beauty and inspiration wherever it is showcased.
Step 6: Maintenance
To ensure the longevity of your wooden cross, it’s essential to take proper care of it. Dust it regularly using a soft cloth or feather duster, and avoid exposing it to excessive moisture or direct sunlight. With proper maintenance, your wooden cross will continue to be a cherished item for years to come.
Frequently Asked Questions
Here are some commonly asked questions regarding how to make a cross from wood:
Question 1: What materials do I need to make a wooden cross?
To make a wooden cross, you will need the following materials:
– A piece of wood: Choose a sturdy and thick piece of wood that is at least 1 inch thick.
– Measuring tape or ruler: For accurate measurements.
– Pencil or marker: To mark your measurements on the wood.
– Saw: To cut the wood to the desired shape and size.
– Sandpaper: To smooth out any rough edges or surfaces.
– Wood glue: To secure the pieces of the cross together.
– Clamps: To hold the pieces together while the glue dries.
Question 2: How do I shape the wood into a cross?
To shape the wood into a cross, follow these steps:
– Measure and mark the desired length and width of the cross on the wood.
– Use a saw to carefully cut along the marked lines, creating the vertical and horizontal pieces of the cross.
– Smooth out any rough edges or surfaces using sandpaper.
– Once the pieces are cut and sanded, place them in the shape of a cross to ensure they fit together properly.
– Apply wood glue to the ends of the crosspieces and attach them to the vertical piece, forming the cross shape.
– Use clamps to hold the pieces together while the glue dries.
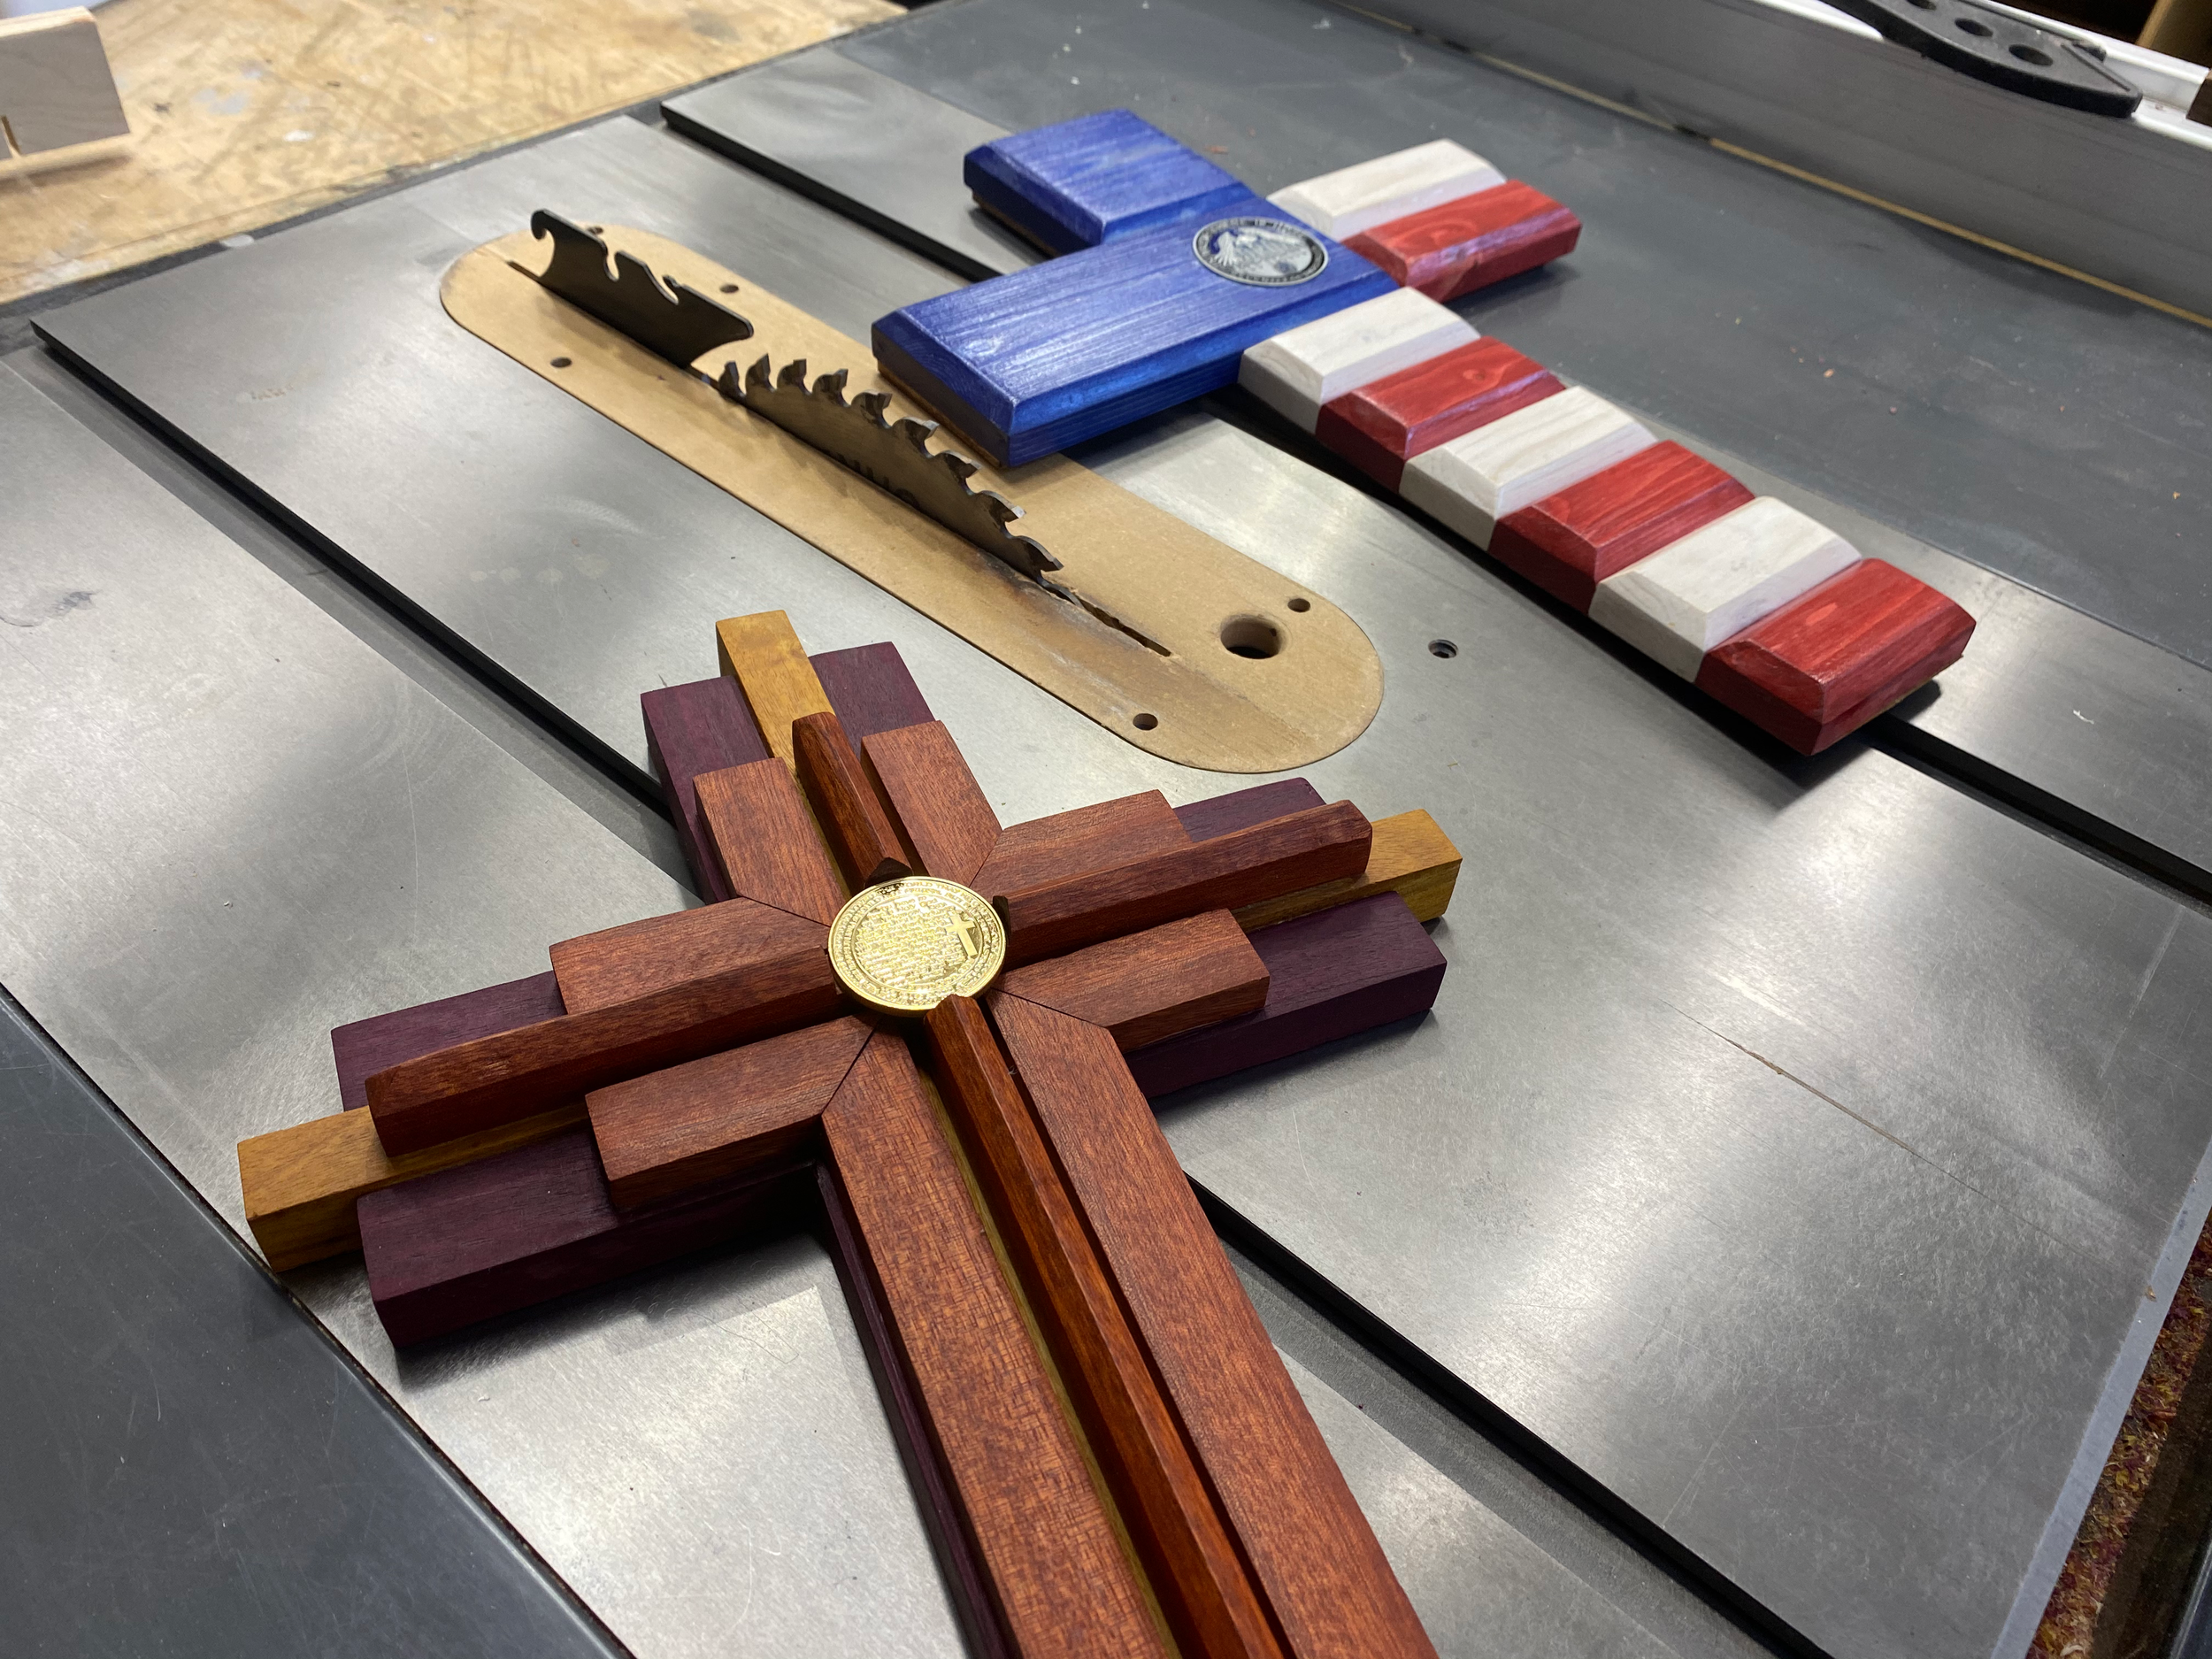
Question 3: How can I decorate my wooden cross?
There are various ways to decorate a wooden cross. Here are a few suggestions:
– Paint: You can paint the cross using your preferred colors. Consider using acrylic paint for a durable finish.
– Stain: Apply wood stain to enhance the natural beauty of the wood and give it a polished look.
– Carving: If you have the skills, you can carve intricate designs or patterns onto the surface of the cross.
– Embellishments: Add decorative elements such as beads, shells, or metal accents to enhance the overall appearance of the cross.
– Personalization: Consider adding names, quotes, or meaningful symbols to make the cross unique and personalized.
Question 4: How do I finish and protect my wooden cross?
To finish and protect your wooden cross, you can follow these steps:
– Sand any rough surfaces or edges and wipe off any dust.
– Apply a wood finish or sealer of your choice to protect the wood from moisture, UV rays, and wear.
– Use a brush or cloth to evenly spread the finish, following the manufacturer’s instructions.
– Allow the finish to dry completely before handling or displaying the cross.
– For added protection, you can apply multiple coats of the finish, sanding lightly between each coat.
Question 5: How can I hang or display my wooden cross?
There are several ways to hang or display a wooden cross:
– Wall mounting: Attach a picture hanging bracket or keyhole hangers to the back of the cross for easy wall mounting.
– Stand or easel: Place the wooden cross on a stand or easel for tabletop or shelf display.
– Ribbon or twine: Attach a decorative ribbon or twine to the top of the cross and hang it from a hook or nail on the wall.
– Display case: Consider placing the wooden cross in a display case or shadow box to protect it and showcase it more prominently.
– Outdoor display: If the cross is intended for outdoor use, make sure to apply a weather-resistant finish and use appropriate mounting hardware.
Remember, patience and precision are key when working with wood. Take the time to carefully measure and cut your pieces, ensuring they fit together seamlessly. Don’t be afraid to experiment with different finishes and embellishments to personalize your cross and make it truly unique. Whether you choose to display it in your home or give it as a heartfelt gift, the process of making a wooden cross is a testament to the power of craftsmanship and dedication. So why not embark on this woodworking journey and see where it takes you? Let your creativity soar as you craft a beautiful wooden cross that will serve as a constant reminder of faith and love.
- How to Make Wood Look Weathered - May 14, 2024
- How to Solve Wooden Egg Puzzle - May 14, 2024
- How to Decoupage on Wood With Pva Glue - May 14, 2024