Are you tired of spending money on expensive picture frames that don’t quite fit your style? Look no further! In this guide, we will show you how to make a stunning picture frame with wood, allowing you to customize it to your exact specifications. Whether you’re a seasoned DIY enthusiast or a beginner looking for a fun project, this step-by-step tutorial will give you the skills and confidence to create a beautiful frame that will showcase your favorite memories in style.
Picture frames are not only functional but can also be a work of art in themselves. By using wood as the main material, you can achieve a timeless and elegant look that complements any decor. With just a few basic tools and materials, you’ll be able to bring your vision to life and create a personalized frame that perfectly frames your cherished photographs or artwork. So, roll up your sleeves, unleash your creativity, and let’s dive into the world of woodworking as we guide you through the process of making a picture frame with wood.
- Measure and cut the wood to the desired frame size.
- Using a miter saw, cut 45-degree angles at each end of the wood pieces.
- Apply wood glue to the mitered ends and join the pieces together.
- Secure the corners with clamps and let the glue dry.
- Sand the frame to smooth out any rough edges.
- Apply a wood finish or paint to the frame for a desired look.
- Attach a hanging wire or hooks at the back of the frame for wall mounting.
- Insert the picture into the frame and secure with frame clips or tape.
Introduction
In this informative article, we will guide you step by step on how to make a picture frame with wood. Creating your own picture frame not only allows you to showcase your creative skills but also provides a personalized touch to your photographs or artwork. With the right tools and materials, you can easily craft a beautiful and sturdy picture frame that will enhance the visual appeal of your cherished memories.
Step 1: Gather the necessary materials
Before you begin making a picture frame, it is essential to gather all the required materials. You will need:
- Wood boards (preferably hardwood) of desired length and width
- Miter saw or miter box and a backsaw
- Wood glue
- Clamps
- Sandpaper (various grits)
- Measuring tape
- Pencil
- Ruler or combination square
- Screws or nails
- Hammer or screwdriver
Once you have gathered these materials, you are ready to move on to the next step.
Step 2: Measure and cut the wood
Start by measuring the size of the picture or artwork you wish to frame. Add an extra 1/4 inch to each dimension to allow for the frame’s overlap. Use a measuring tape, pencil, and ruler to mark the measurements on the wood boards.
Next, using a miter saw or a miter box and a backsaw, carefully cut the wood boards at a 45-degree angle. Ensure that the angles are precise and the lengths of the boards match your measurements. It is advisable to use a clamp to secure the wood in place while cutting.
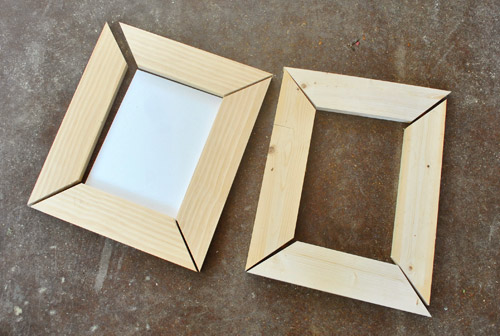
Step 3: Assemble the frame

Apply a thin layer of wood glue to the cut edges of the wood boards and join them together to form the frame. Use clamps to hold the joints tightly in place while the glue dries. Wipe off any excess glue with a damp cloth.
Once the glue has dried, reinforce the corners of the frame by inserting screws or nails. Make sure to countersink the fasteners to ensure they do not protrude from the wood surface. This will give your frame a clean and professional look.
Step 4: Sand and finish the frame
Use sandpaper to smooth the surface of the frame, starting with a coarser grit and gradually moving to finer grits for a polished finish. Pay attention to the edges and corners to achieve a uniform look.
After sanding, wipe away any dust and apply a wood finish of your choice. This could be a clear varnish, stain, or paint. Follow the manufacturer’s instructions for the application process and allow the finish to dry completely.
Step 5: Mount the picture
Once the frame is dry, insert the picture or artwork into the frame. Secure it in place using small screws or framing hardware. Ensure that the picture is centered and straight within the frame.
Finally, hang your newly made wooden picture frame on the wall or display it on a tabletop to showcase your cherished memories in style.
Step 6: Optional customization
If desired, you can further customize your wooden picture frame by adding decorative elements such as wood carvings, paint designs, or embellishments. Let your creativity shine and make the frame truly unique.
Step 7: Maintenance and care
To ensure the longevity of your wooden picture frame, periodically check for any loose screws or nails and tighten them if necessary. Avoid placing the frame in direct sunlight or areas with high humidity to prevent warping or discoloration.
With proper care, your handmade wooden picture frame will continue to add beauty and charm to your photographs or artwork for years to come.
Frequently Asked Questions
Here are some common questions about how to make a picture frame with wood:
Question 1: What materials do I need to make a picture frame with wood?
To make a picture frame with wood, you will need the following materials:
– Wood boards or planks
– Measuring tape
– Saw
– Sandpaper
– Wood glue
– Clamps
– Nails or screws
– Hammer or screwdriver
– Picture frame hardware (such as hanging wire or hooks)
Question 2: How do I measure and cut the wood for a picture frame?
To measure and cut the wood for a picture frame, follow these steps:
1. Measure the dimensions of your picture or artwork.
2. Add an extra 1/4 inch to each side for the frame overlap.
3. Use a measuring tape and mark the measurements on the wood boards.
4. Use a saw to carefully cut the wood along the marked lines.
5. Sand the cut edges to smooth them out.
Question 3: How do I assemble the wood pieces to make a picture frame?
To assemble the wood pieces for a picture frame, follow these steps:
1. Apply wood glue to the mitered edges of the wood pieces.
2. Join the corners together to form a square or rectangle shape.
3. Use clamps to hold the corners in place while the glue dries.
4. Once the glue is dry, reinforce the corners with nails or screws.
5. Sand any rough edges or excess glue.
Question 4: How do I finish and paint the picture frame?
To finish and paint the picture frame, follow these steps:
1. Use sandpaper to smooth out the entire frame surface.
2. Wipe away any dust or debris with a clean cloth.
3. Apply a primer to the frame to help the paint adhere better.
4. Let the primer dry, then apply your desired paint color.
5. Allow the paint to dry completely before handling or hanging the frame.
Question 5: How do I add picture frame hardware for hanging?
To add picture frame hardware for hanging, follow these steps:
1. Measure and mark the desired location for the hardware on the frame.
2. Use a screwdriver or drill to attach the hardware securely.
3. If using hanging wire, thread it through the hardware and secure it tightly.
4. Double-check that the hardware is securely attached before hanging the frame.
5. Hang the picture frame on a wall using appropriate hooks or nails.
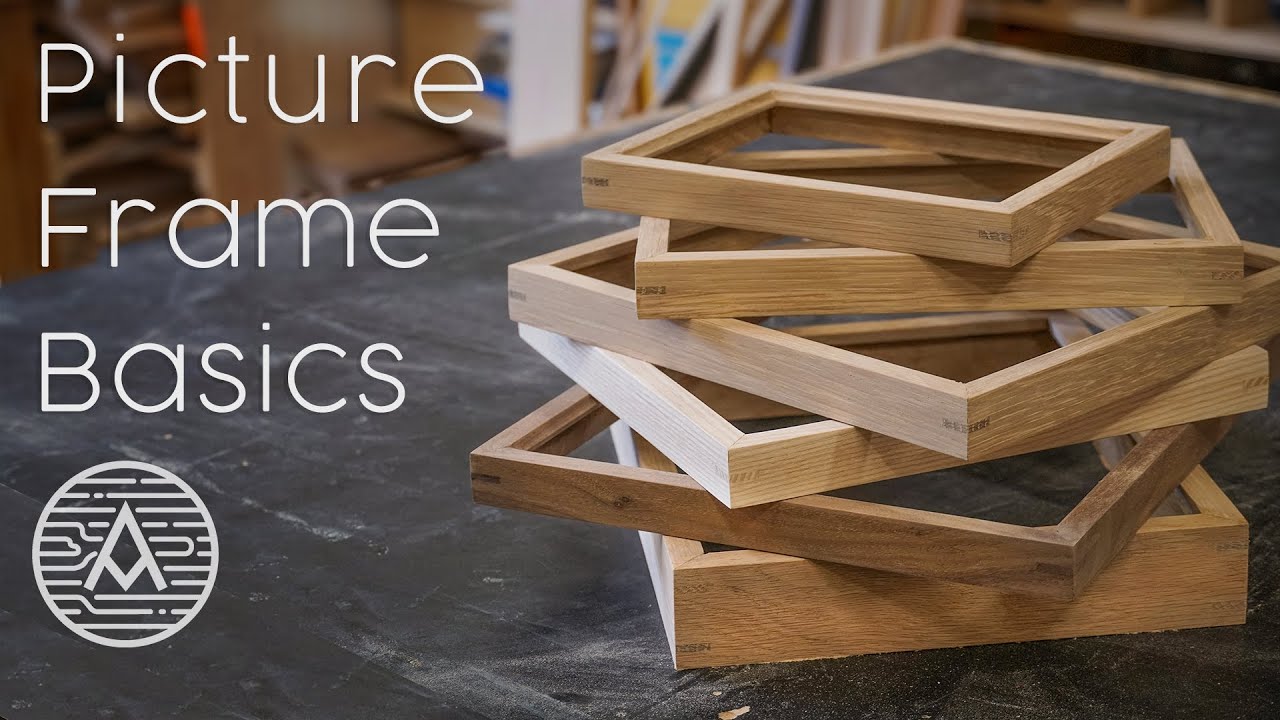
How to Make a Picture Frame 3 Ways | DIY Woodworking
In conclusion, creating a picture frame with wood is a rewarding and creative endeavor that allows you to showcase your personal style while preserving cherished memories. By following the steps outlined in this guide, you can confidently embark on this DIY project, knowing that you have the knowledge and skills necessary to produce a beautiful and professional-looking picture frame. Remember to carefully select the type of wood, consider the dimensions and design of the frame, and utilize the appropriate tools and techniques. Whether you are a seasoned woodworker or a beginner, this project is a fantastic way to unleash your creativity and add a personal touch to your home or gift-giving.
As you embark on your journey to create a picture frame with wood, remember that practice makes perfect. Don’t be discouraged if your first attempt doesn’t turn out exactly as planned. Embrace the learning process, and with each frame you make, you will gain valuable experience and refine your technique. Additionally, don’t hesitate to experiment with different finishes, stains, and embellishments to truly make each frame unique and reflective of your personal style. With dedication, patience, and a passion for craftsmanship, you will soon be creating stunning picture frames that will not only enhance your photographs but also serve as beautiful works of art in their own right. So go ahead, grab your tools, and let your creativity soar as you embark on the journey of making a picture frame with wood.
- How to Know Wood Is Dry - May 4, 2024
- How to Season Wood Uk - May 4, 2024
- How to Make Good Wood - May 4, 2024