Have you ever found yourself in the kitchen, grasping for the perfect tool to stir a pot of soup or mix a batch of cookie dough? Look no further than the humble wooden spoon. With its classic design and versatility, a wooden spoon is a must-have in any culinary arsenal. But have you ever wondered about the process of how to make one yourself? In this article, we will delve into the art of crafting a wooden spoon, step by step, providing you with all the knowledge and inspiration you need to create your very own kitchen masterpiece.
Crafting a wooden spoon is a journey that combines age-old techniques with a touch of modern creativity. From selecting the right type of wood to carving and shaping it into a functional utensil, each step holds its own charm and satisfaction. Whether you are a seasoned woodworker or a beginner looking to try your hand at a new craft, this guide will walk you through the process, offering tips and tricks along the way. So, roll up your sleeves, grab your tools, and let’s embark on this woodworking adventure together as we uncover the secrets behind the art of making a wooden spoon.
How to Make a Wooden Spoon:
- Start by selecting a suitable piece of wood, such as hardwood or fruitwood.
- Use a saw to cut the wood into a rough shape of the spoon, leaving extra length for the handle.
- Use a carving knife or spoon gouge to shape the spoon bowl and carve out the handle.
- Sand the spoon smooth using sandpaper or a sanding block.
- Apply a food-safe finish, such as mineral oil or beeswax, to protect the wood.
Introduction
Are you looking to add a touch of craftsmanship to your kitchen utensils? Making your own wooden spoon can be a rewarding and fulfilling project. In this step-by-step guide, we will take you through the process of crafting a wooden spoon from scratch. Whether you are a beginner or an experienced woodworker, this article will provide you with all the information you need to create a beautiful and functional wooden spoon.
Step 1: Choose the Right Wood
The first step in making a wooden spoon is selecting the right type of wood. Hardwoods such as maple, cherry, or walnut are ideal for this project as they are durable and resistant to cracking. Avoid softwoods like pine or fir, as they may not hold up well to the demands of everyday use.
Once you have chosen your wood, make sure it is properly seasoned and free from any knots or defects. You can purchase pre-cut spoon blanks or use a bandsaw or coping saw to shape your own blank from a larger piece of wood.
Step 2: Shape the Blank
Now that you have your wooden blank, it’s time to shape it into the desired spoon form. Start by marking the outline of the spoon on the blank using a pencil or a template. Then, using a bandsaw or coping saw, carefully cut along the outline, removing any excess wood.

Next, use a rasp or a file to refine the shape of the spoon. Pay attention to the curve of the handle and the bowl of the spoon, ensuring they are both comfortable to hold and functional. Take your time and make small adjustments until you are satisfied with the shape.
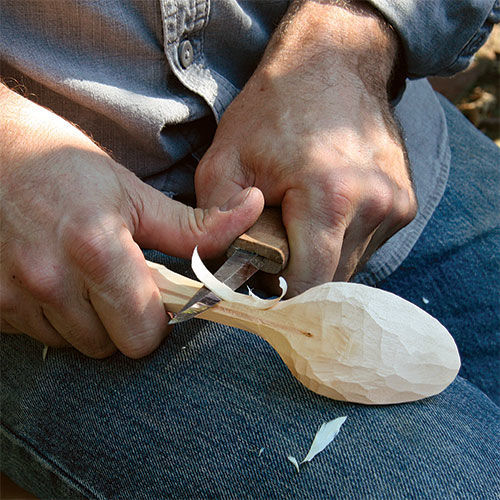
Step 3: Carve the Bowl
With the basic shape of the spoon complete, it’s time to carve out the bowl. Use a carving knife or a spoon gouge to carefully hollow out the bowl, working from the center towards the edges. Take your time and remove small amounts of wood at a time to avoid any mistakes.
Ensure that the bowl is deep enough to hold a sufficient amount of liquid or food, but not too deep that it becomes difficult to use. Smooth out any rough edges or tool marks using sandpaper or a sanding block, gradually progressing to finer grits for a smooth finish.
Step 4: Sand and Finish
Once you are satisfied with the shape and smoothness of your spoon, it’s time to sand and finish it. Start by using a medium-grit sandpaper to remove any remaining tool marks or imperfections. Then, progress to finer grits to achieve a silky-smooth surface.
After sanding, wipe away any dust and apply a food-safe finish to protect the wood and enhance its natural beauty. Beeswax, mineral oil, or a combination of both are popular choices for wooden utensils. Apply the finish following the manufacturer’s instructions and allow it to dry completely before using your wooden spoon.
Step 5: Maintain and Enjoy
Now that you have successfully made your own wooden spoon, it’s important to take care of it to ensure its longevity. Avoid soaking the spoon in water for extended periods and never put it in the dishwasher. Instead, hand wash it with a mild dish soap and warm water, and dry it thoroughly after each use.
Periodically reapply a food-safe finish to keep the wood protected and looking its best. With proper care, your handmade wooden spoon will continue to serve you well in the kitchen for years to come.
Frequently Asked Questions
Here are some common questions about how to make a wooden spoon:
Q: What tools do I need to make a wooden spoon?
To make a wooden spoon, you will need a few essential tools. These include a carving knife or spoon carving gouge, a coping saw or bandsaw, sandpaper or sanding blocks of different grits, and a wood rasp or file. Additionally, you may find it helpful to have a vise or clamps to secure the wood while you work, and a carving mallet to assist with shaping the spoon. It’s important to use sharp and well-maintained tools for safe and efficient woodworking.
When selecting your tools, it’s best to choose ones that are specifically designed for woodworking and carving. This will ensure that you have the proper control and precision needed to create a beautiful and functional wooden spoon.
Q: What type of wood should I use to make a wooden spoon?
The type of wood you choose for your wooden spoon can greatly impact its durability and appearance. Hardwoods such as cherry, maple, walnut, or beech are commonly used for making spoons due to their strength and resistance to wear. These woods also have a pleasing grain pattern that adds to the visual appeal of the finished spoon.
It’s important to select wood that is free from knots, cracks, or other defects that could weaken the spoon. Additionally, it’s recommended to use sustainably sourced wood to minimize the impact on the environment. Remember to always wear protective gear such as gloves and goggles when working with wood.
Q: How do I shape the wooden spoon?
Shaping the wooden spoon involves several steps. First, you’ll need to mark out the desired shape and size of the spoon on the wood using a pencil or marker. Next, use a coping saw or bandsaw to roughly cut out the spoon shape, leaving some extra material around the edges.
Once you have the rough shape, you can start refining it using a carving knife or spoon carving gouge. Gradually remove material to create the desired contours, making sure to take your time and work slowly. Use a wood rasp or file to smooth out any rough areas, and finish off with sandpaper of different grits to achieve a smooth and polished surface.
Q: How do I finish the wooden spoon?
Finishing the wooden spoon is an important step to protect the wood and enhance its appearance. First, ensure that the surface is smooth and free from any imperfections by sanding it with a fine grit sandpaper. You can then apply a food-safe finish such as beeswax, mineral oil, or walnut oil to seal and protect the wood.
Apply the chosen finish evenly using a clean cloth or brush, following the manufacturer’s instructions. Allow the finish to dry completely before using the spoon. It’s recommended to periodically reapply the finish to maintain the spoon’s beauty and prolong its lifespan.
Q: Are there any safety precautions I should take when making a wooden spoon?
Yes, there are several safety precautions to consider when making a wooden spoon. Always wear safety goggles to protect your eyes from flying wood chips or dust. It’s also important to use sharp tools as dull ones can slip and cause accidents. Keep your fingers and hands away from the cutting edge of the tools, and use a vise or clamps to secure the wood to prevent it from moving while you work.
Additionally, work in a well-ventilated area to avoid inhaling wood dust, and use a dust mask if necessary. Take breaks if you feel fatigued to maintain focus and prevent accidents. Remember, woodworking can be a rewarding and enjoyable hobby, but safety should always be a top priority.
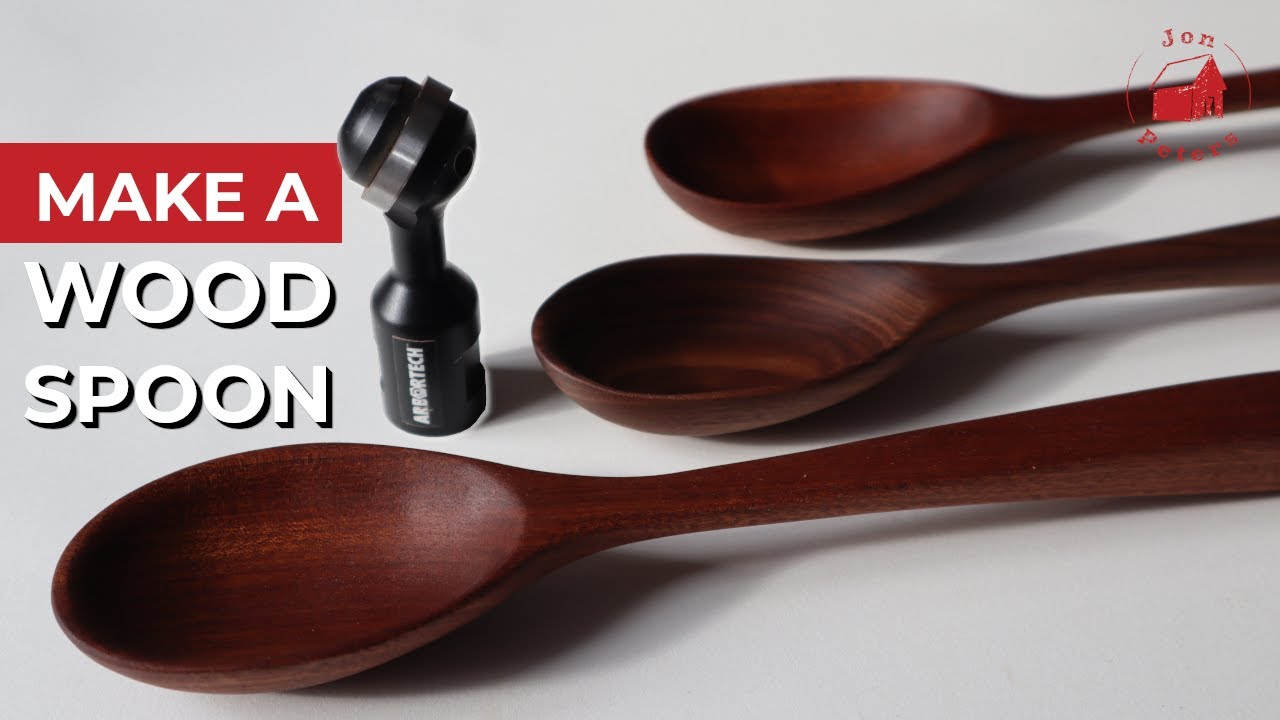
2 Ways To Make Wooden Spoons
In conclusion, learning how to make a wooden spoon is not only a practical skill but also a rewarding experience. By following the step-by-step process outlined in this guide, you can create a unique and functional kitchen utensil that showcases your craftsmanship. From selecting the right type of wood to carving and refining the shape, each stage of the process offers an opportunity for creativity and personalization. Whether you are a beginner or an experienced woodworker, making a wooden spoon is a project that can be enjoyed by anyone.
Furthermore, the act of making a wooden spoon connects us to a rich historical tradition that dates back centuries. While modern kitchen utensils are often mass-produced and lack character, a handcrafted wooden spoon carries with it a sense of authenticity and artistry. By taking the time and effort to create something with your own hands, you are preserving an age-old craft and adding a touch of warmth and beauty to your daily cooking routine. So why settle for store-bought spoons when you can enjoy the satisfaction of using a handcrafted masterpiece? Start your journey into woodworking today and discover the joy of making your own wooden spoon.
- How to Frame a Wooden Jigsaw Puzzle - May 12, 2024
- How to Glue a Wooden Jigsaw Puzzle - May 12, 2024
- How to Decoupage Wood - May 12, 2024