Wood burning, also known as pyrography, is an ancient art form that has stood the test of time. With roots dating back to prehistoric times, this intricate technique involves using a heated object to create designs and patterns on wood surfaces. Whether you are a seasoned artist looking to expand your skill set or a beginner eager to dive into the world of pyrography, this guide will provide you with the essential steps and techniques to create stunning wood burning masterpieces.
In the realm of art, wood burning offers a unique blend of creativity and craftsmanship. It allows you to transform a simple piece of wood into a canvas for your imagination to run wild. From intricate designs inspired by nature to bold and abstract patterns, the possibilities are endless. However, mastering the art of wood burning requires patience, practice, and a deep understanding of the tools and techniques involved. In this comprehensive guide, we will walk you through the fundamentals of wood burning, from selecting the right materials to mastering different shading and texture techniques. So, grab your wood burning tool and let’s embark on a journey of creativity and self-expression through the ancient art of pyrography.
- Choose a design or pattern for your wood burning project.
- Prepare your wood surface by sanding it smooth and removing any dirt or debris.
- Trace or transfer your design onto the wood using carbon paper or a pencil.
- Heat up your wood burning tool and select the appropriate tip for your design.
- Begin burning your design into the wood, using slow and steady strokes.
- Take breaks as needed to prevent overheating of the tool and to rest your hand.
- Once your design is complete, let the wood cool down before handling it.
- Apply a finish or sealant to protect your wood burning artwork.
How to Do Wood Burning: A Step-by-Step Guide
Wood burning, also known as pyrography, is a creative and rewarding craft that involves using heated tools to burn designs onto wood surfaces. Whether you’re a beginner or an experienced artist, this guide will walk you through the process of wood burning, from choosing the right materials to creating intricate designs.
Step 1: Gather Your Materials
Before you begin wood burning, you’ll need to gather the necessary materials. Here’s what you’ll need:
- A wood-burning pen or tool with interchangeable tips
- A piece of wood (preferably a smooth, untreated surface)
- A pencil for sketching your design
- A carbon paper for transferring your design onto the wood
- A sandpaper for preparing the wood surface
- A heat-resistant mat or surface to work on
- A mask and goggles for safety
Once you have all the materials ready, you can move on to the next step.
Step 2: Prepare the Wood Surface
Preparing the wood surface is an important step to ensure that the wood burns evenly and smoothly. Start by sanding the wood with a fine-grit sandpaper to create a smooth and even surface. Remove any dust or debris using a clean cloth.
Next, use a pencil to sketch your design directly onto the wood. If you’re not confident in your drawing skills, you can use a printed template or trace the design using carbon paper. This will help guide your wood burning process and ensure accuracy.
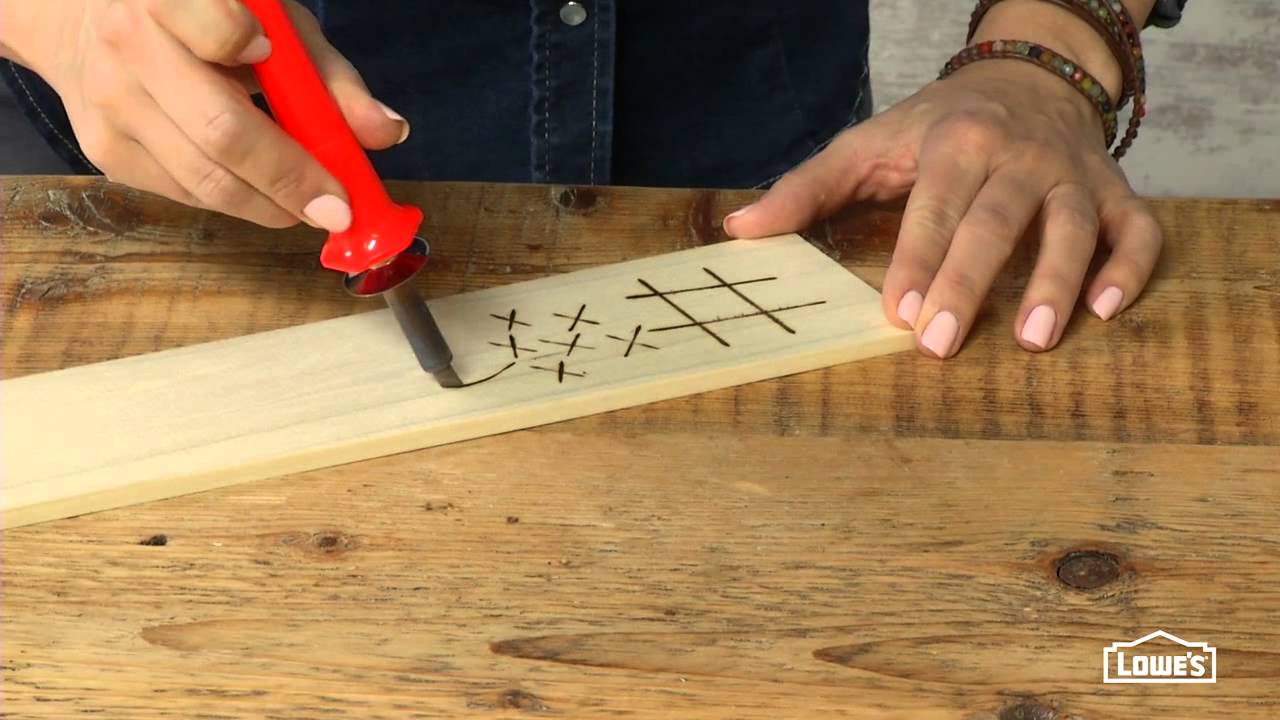
Step 3: Start Wood Burning

Now it’s time to put your wood-burning tool to use. Plug in the tool and let it heat up according to the manufacturer’s instructions. Once the tool is hot, hold it like a pen and begin tracing over the lines of your design. Apply gentle and consistent pressure to create the desired burn depth.
Remember to work slowly and take breaks if needed, as wood burning can be a time-consuming process. Experiment with different tip shapes and sizes to achieve various effects and textures. Practice on a scrap piece of wood before working on your final project to get familiar with the tool and its heat settings.
Step 4: Finishing Touches
After you’ve completed your wood burning design, allow the wood to cool down completely before handling it. Use a soft cloth to remove any residual ash or debris. If desired, you can apply a protective finish to enhance the appearance and durability of your wood art.
Remember to clean and store your wood-burning tool properly after each use to prolong its lifespan. With practice and patience, you’ll be able to create beautiful wood burning art that showcases your creativity and craftsmanship.
Conclusion
Wood burning is a versatile and enjoyable craft that allows you to create unique designs on wood surfaces. By following the step-by-step guide outlined above and practicing regularly, you’ll develop the skills and techniques necessary to become a proficient wood burner. So, gather your materials, prepare your wood surface, start wood burning, and don’t forget to add your personal touch to each project. Happy wood burning!
Frequently Asked Questions
Welcome to our FAQ section on how to do wood burning! Here, we have compiled some common questions and answers to help you get started with this creative and satisfying craft.
What is wood burning?
Wood burning, also known as pyrography, is a technique of decorating wood surfaces using a heated tool. The tool, often called a pyrography pen or wood burning pen, has a metal tip that heats up, allowing you to create intricate designs, patterns, or even write words on the wood.
It’s a versatile art form that can be used to personalize wooden items, create beautiful artwork, or even make practical items such as signs or coasters.
What tools do I need for wood burning?
To get started with wood burning, you will need a few essential tools:
1. Wood burning pen: This is the main tool you will use for the actual burning. Choose a pen with adjustable temperature settings and interchangeable tips for different effects.
2. Wood: Select a smooth and untreated piece of wood as your canvas. Popular choices include basswood, birch plywood, or even gourds.
3. Sandpaper: Use sandpaper to smooth the wood surface before beginning your project.
4. Design transfer paper: This special paper allows you to transfer your design onto the wood surface easily.
How do I prepare the wood surface for wood burning?
Before you start wood burning, it’s important to prepare the wood surface properly:
1. Sand the wood: Use sandpaper to smooth the surface of the wood. This will ensure that the pen glides smoothly and evenly across the surface.
2. Wipe off dust: After sanding, wipe off any dust or debris from the wood surface. This will prevent it from interfering with your design or getting trapped under the burn marks.
What are some beginner-friendly wood burning techniques?
If you’re new to wood burning, here are a few techniques to get you started:
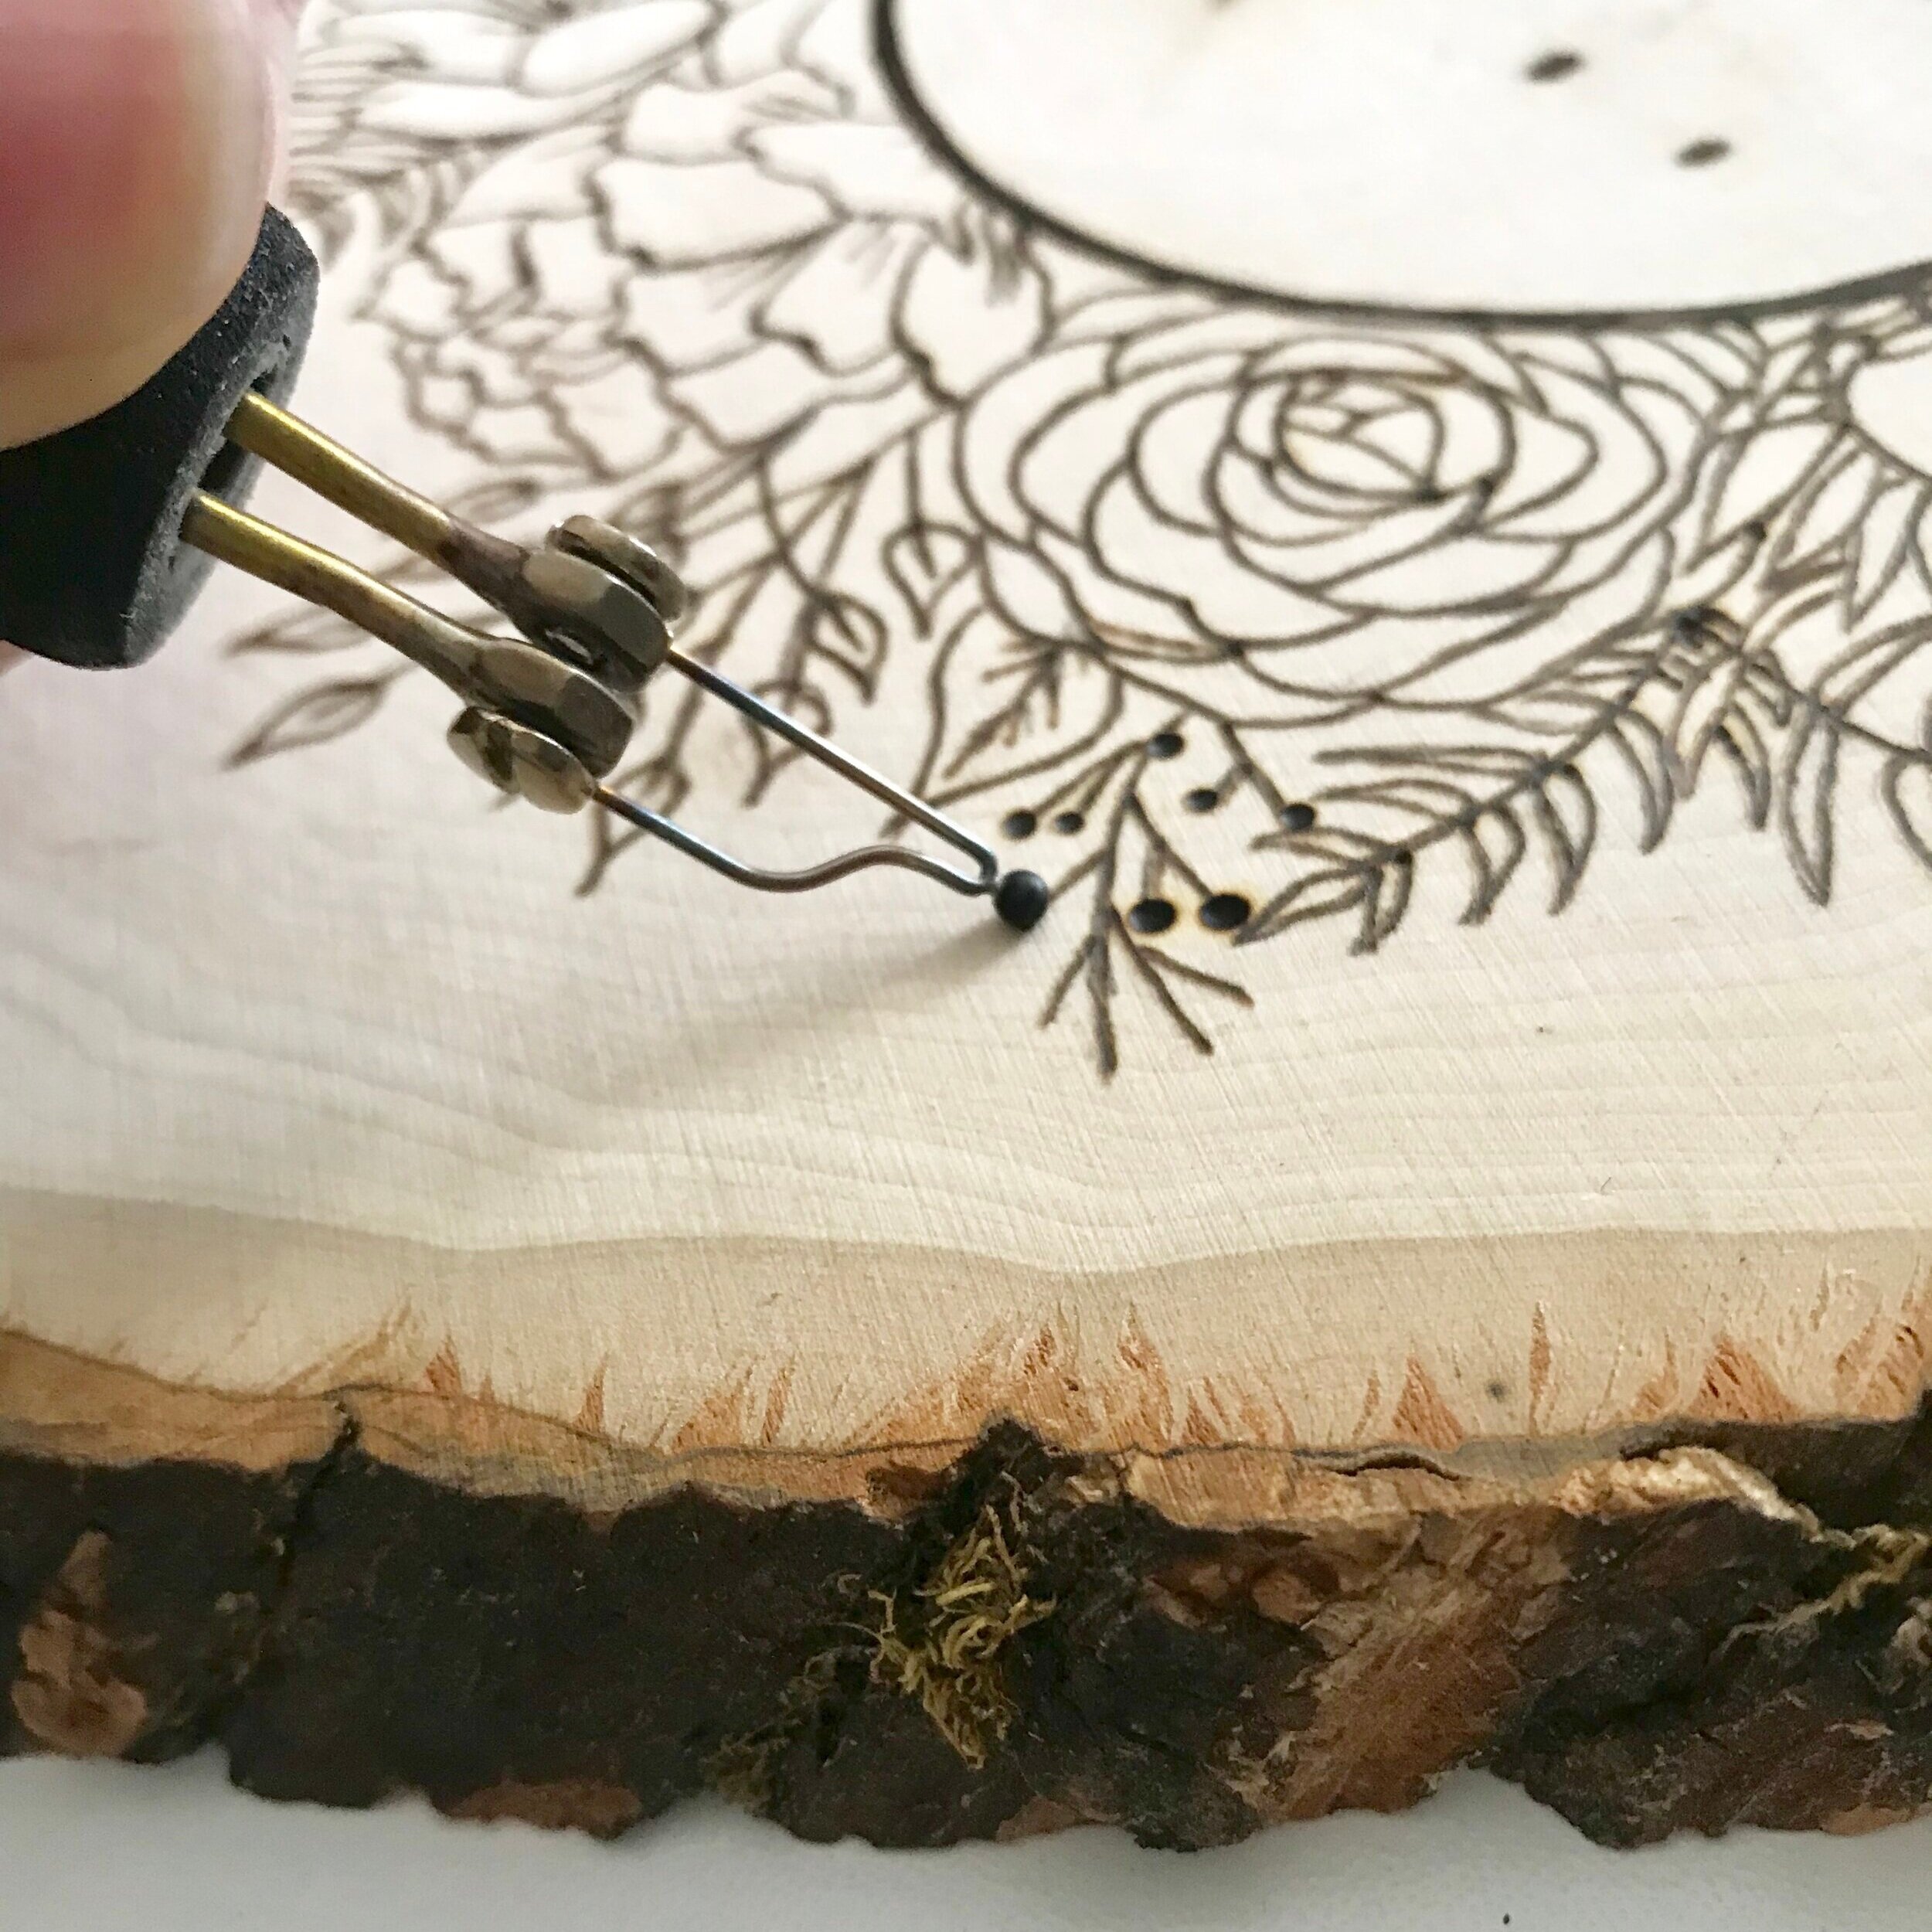
1. Outlining: Start by outlining your design with light burn strokes. This will serve as a guide for filling in the details later.
2. Shading: Experiment with different shading techniques to add depth and dimension to your artwork. You can achieve shading by varying the pressure and speed of the pen.
3. Cross-hatching: Cross-hatching involves creating a series of parallel lines and then adding another set of lines in the opposite direction. This technique can create interesting textures and patterns.
Are there any safety precautions I should take while wood burning?
Yes, it’s important to prioritize safety when working with a wood burning pen:
1. Use protective gear: Wear heat-resistant gloves to protect your hands from accidental burns. Additionally, consider using a mask to avoid inhaling any fumes or dust particles.
2. Work in a well-ventilated area: Ensure that the area where you’re working has good airflow to minimize the accumulation of fumes.
3. Unplug when not in use: Always unplug the wood burning pen when you’re not actively using it to prevent accidents.
4. Be cautious with the hot pen: The pen tip can get extremely hot, so be careful not to touch it directly or leave it unattended on flammable surfaces.
We hope these FAQs have provided you with useful information on how to get started with wood burning. Happy crafting!
Learn How to Wood Burn in 5 Minutes
In conclusion, wood burning is a captivating art form that allows individuals to unleash their creativity and bring life to their projects. With the right tools, techniques, and a bit of practice, anyone can master the art of wood burning. The process of transferring designs onto wood and creating intricate patterns can be both challenging and rewarding, providing a sense of accomplishment and satisfaction with each completed piece.
Not only does wood burning offer a creative outlet, but it also provides a unique way to personalize gifts, home decor, and even furniture. Whether you’re a beginner or an experienced artist, the possibilities with wood burning are endless. So, gather your tools, choose your design, and embark on a journey that will ignite your passion for this timeless art form. By following the tips and techniques outlined in this guide, you can unlock your artistic potential and create stunning pieces that will leave a lasting impression on anyone who sees them. So, don’t hesitate to explore the world of wood burning and let your imagination run wild on the canvas of wood.
- How to Make Wooden Pyramid Puzzle - May 13, 2024
- How to Solve Wooden Pyramid Puzzle - May 13, 2024
- How to Wooden Puzzle - May 13, 2024