Are you looking to add a touch of elegance and spirituality to your home decor? Perhaps you’ve been searching for a unique and meaningful gift for a loved one. Look no further than the timeless beauty of a wooden cross. Crafting your own wooden cross not only allows you to create a personalized and custom piece, but it also provides a fulfilling and therapeutic experience. In this guide, we will explore the art of making a wooden cross, step by step, ensuring that you have all the knowledge and tools necessary to create a stunning and symbolic masterpiece.
Woodworking has long been revered as a craft that combines craftsmanship, creativity, and functionality. With the right materials and techniques, you can transform a simple piece of wood into a profound symbol of faith and artistry. Whether you are a seasoned woodworker or a beginner looking to embark on a new hobby, this guide will take you through the process of making a wooden cross with clarity and precision. From selecting the perfect wood to carving and finishing techniques, you will gain the skills and confidence needed to create a wooden cross that will be cherished for generations to come. So, gather your tools and let’s dive into the world of woodworking, as we unlock the secrets to crafting a stunning wood cross.
How to Make a Wood Cross:
- Measure and cut a piece of wood to your desired size for the cross.
- Sand the edges and surfaces of the wood to smoothen it.
- Use a pencil to draw the shape of a cross on the wood.
- Using a saw, carefully cut along the drawn lines to create the cross shape.
- Sand the cross again to remove any rough edges.
- Apply a wood stain or paint to the cross for a desired finish.
- Let it dry completely before handling or displaying.
How to Make a Wood Cross: A Step-by-Step Guide
Creating a wood cross can be a meaningful and fulfilling project for both beginners and experienced woodworkers. Whether you want to make a decorative piece for your home or a religious symbol, this step-by-step guide will provide you with all the information you need to create a beautiful wood cross.
Before starting the project, gather all the necessary materials and tools. You will need a piece of wood, preferably hardwood, measuring approximately 12 inches in length and 6 inches in width. Additionally, you will require a saw, sandpaper, wood glue, clamps, and a drill with various-sized drill bits for adding decorative elements.
Step 1: Prepare the Wood
Begin by cutting the wood to the desired length and width for your cross. Ensure the edges are smooth and even using sandpaper. This will provide a clean and professional finish to your project. Once the wood is cut and sanded, wipe away any dust or debris.
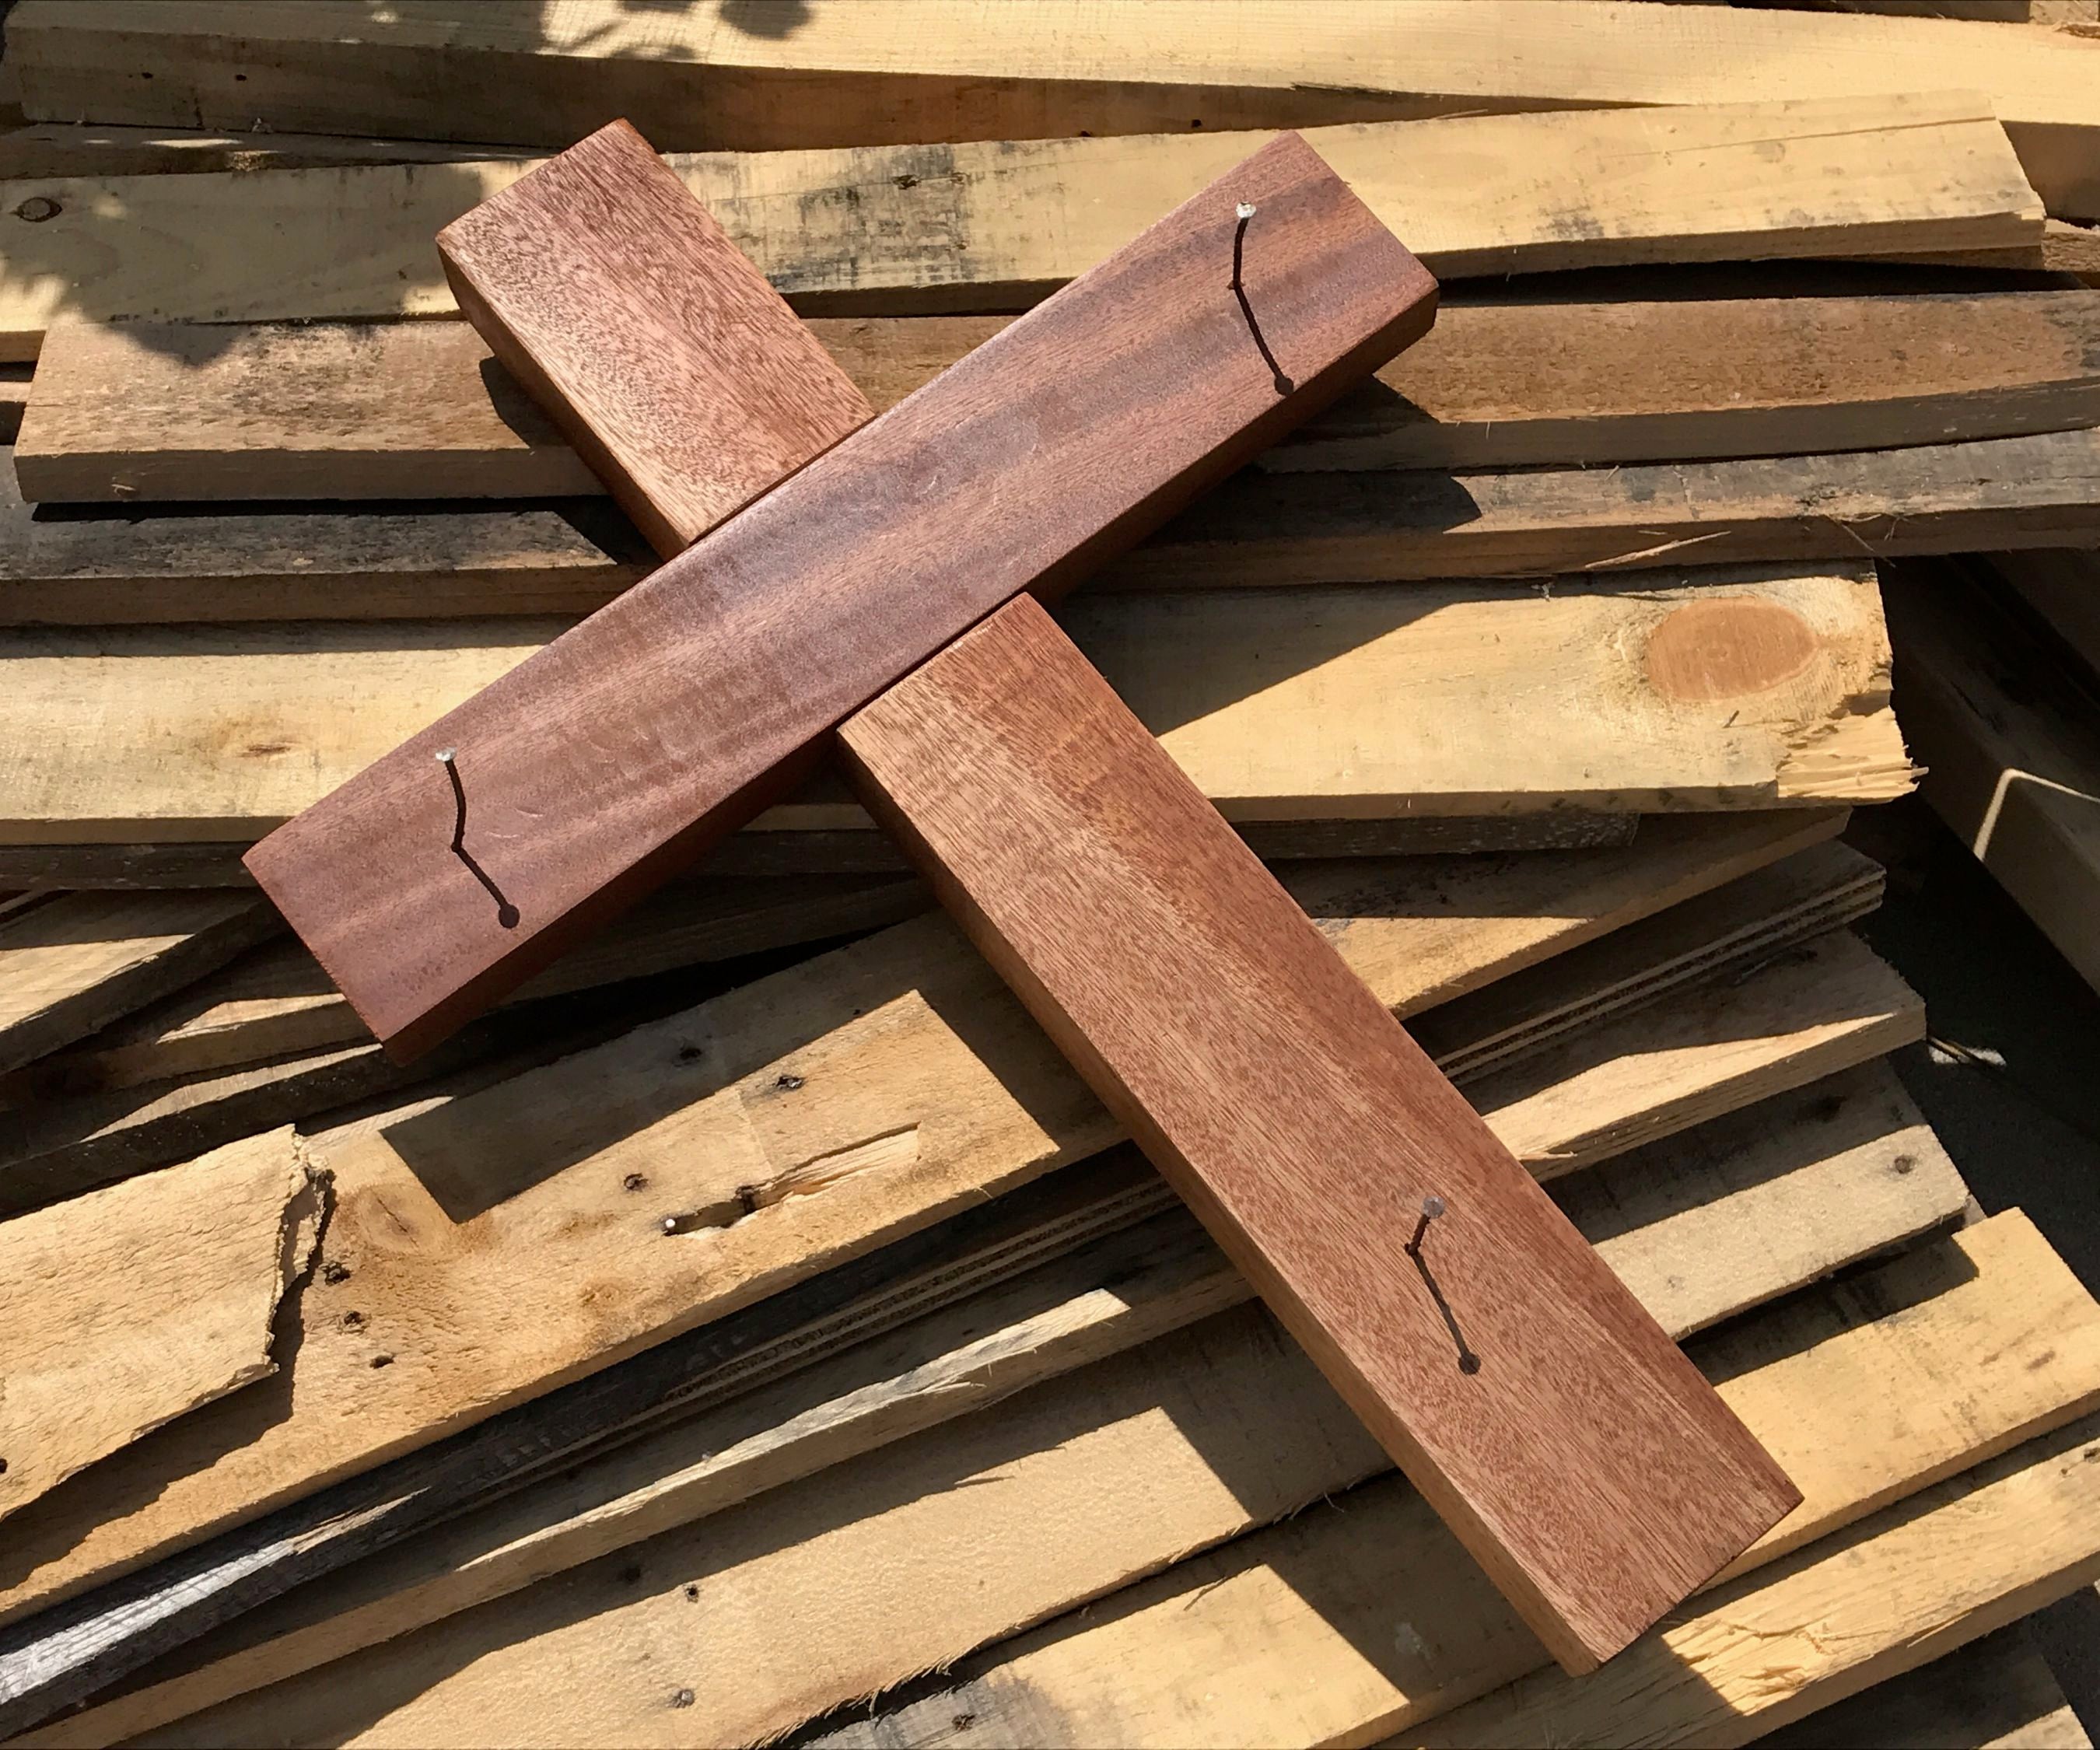
Next, decide on the thickness you want for the cross. Use a saw to carefully cut the wood into two equal pieces, creating the vertical and horizontal sections of the cross. Sand the newly cut edges to match the smoothness of the rest of the wood.
Step 2: Assemble the Cross

Apply wood glue to one end of the vertical piece of wood. Align it with the center of the horizontal piece, forming a cross shape. Use clamps to hold the pieces together firmly. Allow the glue to dry according to the manufacturer’s instructions.
For added strength and stability, you can also drill pilot holes and insert screws to secure the pieces together. This step is optional but recommended, especially if you plan to hang or display the wood cross.
Step 3: Add Decorative Elements
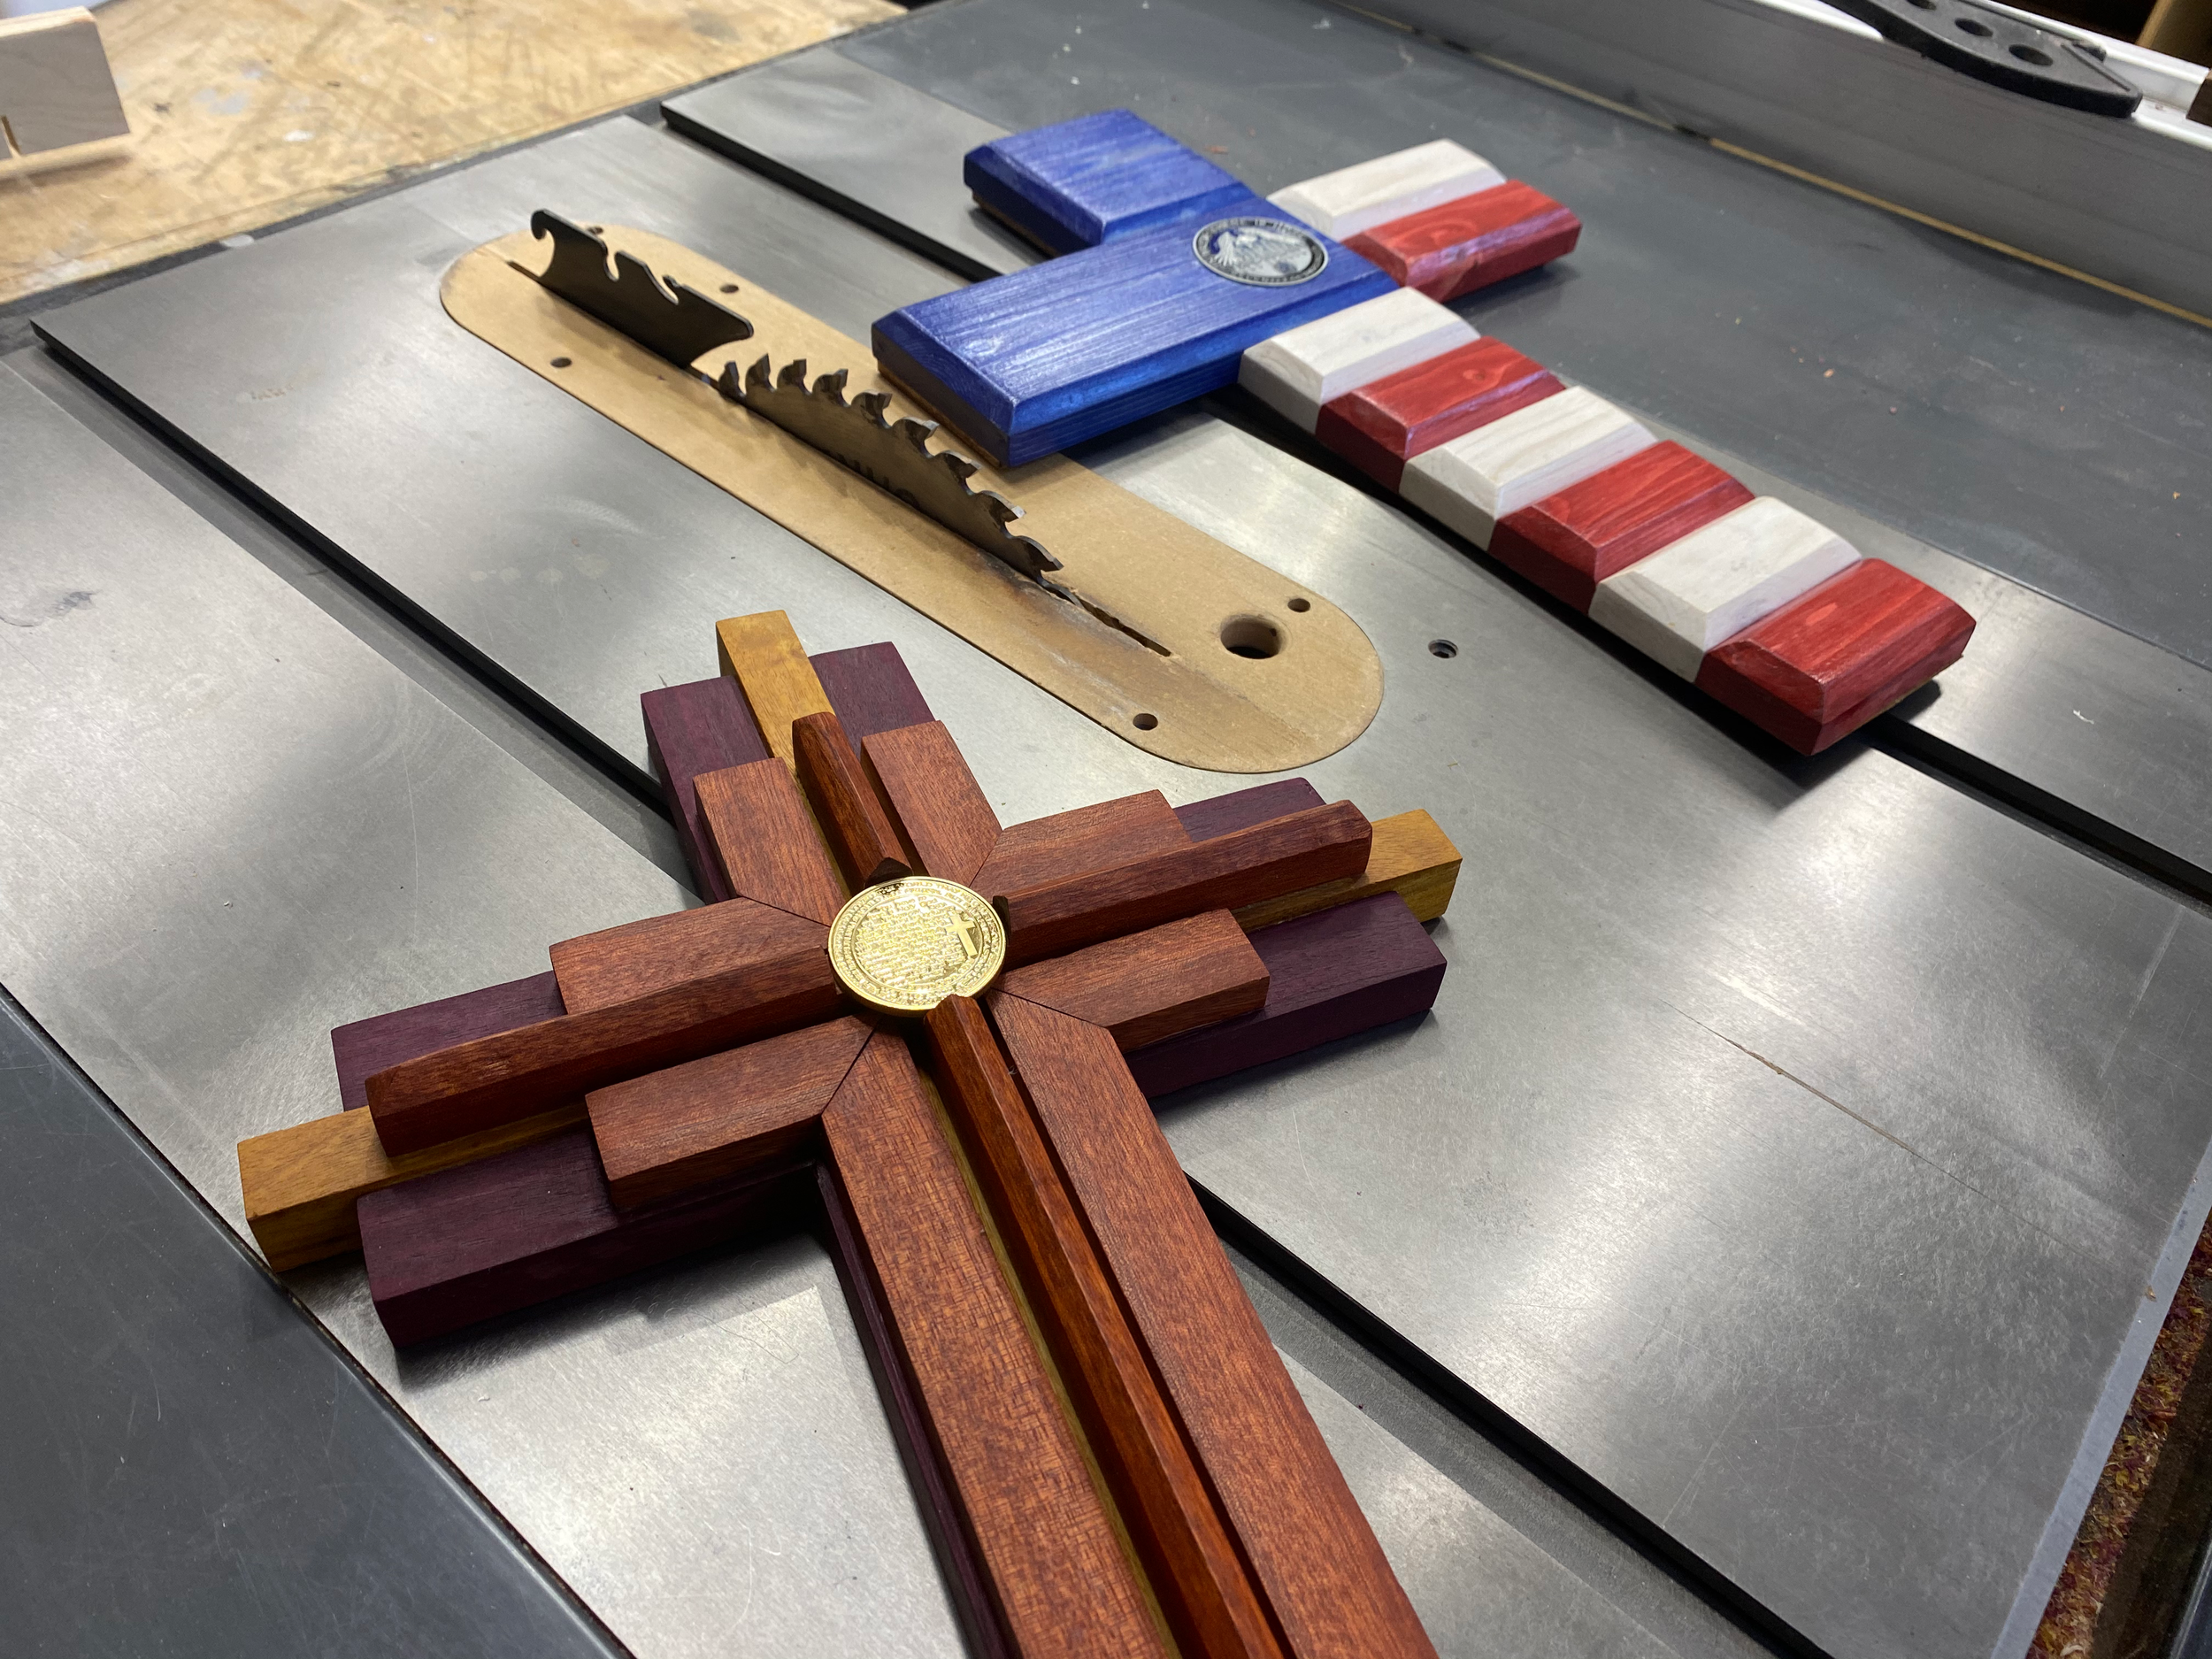
Now it’s time to personalize your wood cross with decorative elements. Using a drill with various-sized drill bits, create holes at desired locations on the cross. These holes can be used to add beads, small metal accents, or even colored rope to enhance the overall design.
If desired, you can also carve or burn designs onto the wood surface. This can be done using wood carving tools or a woodburning pen. Take your time and be precise to achieve the desired results.
Step 4: Finishing Touches
Once you are satisfied with the overall design and decorative elements, it’s time to apply a finish to the wood cross. This step will help protect the wood and enhance its natural beauty. Consider using a clear varnish, stain, or paint to achieve the desired look.
Apply the finish using a brush or cloth, following the manufacturer’s instructions. Allow the finish to dry completely before handling or displaying the wood cross.
Step 5: Display or Gift
Finally, decide how you want to display or use your wood cross. You can hang it on a wall, place it on a shelf, or gift it to a loved one. Regardless of its purpose, your handmade wood cross is sure to be a cherished item that brings beauty and meaning into any space.
Remember, practice makes perfect, so don’t be discouraged if your first attempt is not flawless. With time and experience, you will be able to create stunning wood crosses that reflect your personal style and craftsmanship.
Frequently Asked Questions
Welcome to our FAQ section on how to make a wood cross. Below, you will find answers to some common questions that may arise during the process. If you have any additional queries, feel free to reach out to us.
Q: What materials do I need to make a wood cross?
To make a wood cross, you will need the following materials:
1. Wood board or plank: You can choose any type of wood, such as oak, pine, or cedar, depending on your preference.
2. Saw: A handsaw or a power saw can be used to cut the wood to the desired size.
3. Sandpaper: This will help smooth the edges and surfaces of the wood.
4. Wood glue: To secure the different parts of the cross together.
5. Clamps: These will hold the pieces together while the glue dries.
Q: How do I cut the wood to make a cross shape?
To cut the wood into a cross shape, follow these steps:
1. Measure and mark the desired length and width of the cross on the wood board.
2. Use a saw to carefully cut along the marked lines, ensuring smooth and precise cuts.
3. Sand the edges and surfaces of the cut wood to remove any roughness or splinters.
4. Repeat the process for any additional pieces you may need to create a layered or more intricate cross design.
Q: How do I assemble the wood cross?
Assembling the wood cross involves the following steps:
1. Apply a thin layer of wood glue on the edges of the wood pieces that will be joined together.
2. Align the pieces according to the desired cross shape and press them firmly together.
3. Use clamps to hold the pieces in place while the glue dries. Ensure that the cross is level and straight.
4. Allow the glue to dry completely, following the recommended drying time mentioned on the glue packaging.
Q: Can I paint or stain the wood cross?
Yes, you can paint or stain the wood cross to enhance its appearance. Here are the steps to do so:
1. Sand the wood surface to make it smooth and remove any imperfections.
2. Apply a wood primer if you plan to paint the cross, or skip this step for staining.
3. Use a brush or cloth to apply the paint or stain evenly, following the manufacturer’s instructions.
4. Allow the paint or stain to dry completely before handling or displaying the wood cross.
Q: How can I hang or display the wood cross?
There are several options to hang or display a wood cross:
1. Use a picture hanger or hooks on the back of the cross to hang it on a wall.
2. Place the wood cross on a stand or easel for tabletop or shelf display.
3. Attach a ribbon or string to the top of the cross to hang it from a hook or nail.
4. You can also incorporate the wood cross into a larger decorative piece, such as a wreath or wall art.
We hope these answers help you in making a beautiful wood cross. If you have any more questions, please don’t hesitate to ask.
Moreover, the act of working with wood and creating something meaningful with our own hands is a skill that transcends time and brings us closer to our roots. In a world dominated by mass-produced products, taking the time to craft a wood cross reminds us of the beauty and value of handmade items. It allows us to slow down, appreciate the natural textures and grains of the wood, and infuse our own personal touch into the final product. So, whether you are a seasoned woodworker or a beginner looking to explore a new hobby, making a wood cross is an endeavor that not only yields a tangible outcome but also nourishes our souls.
- How to Dry Wood Fast - May 2, 2024
- How to Fix Sagging Hardwood Floors - May 2, 2024
- How to Fix Uneven Wood Floors - May 2, 2024