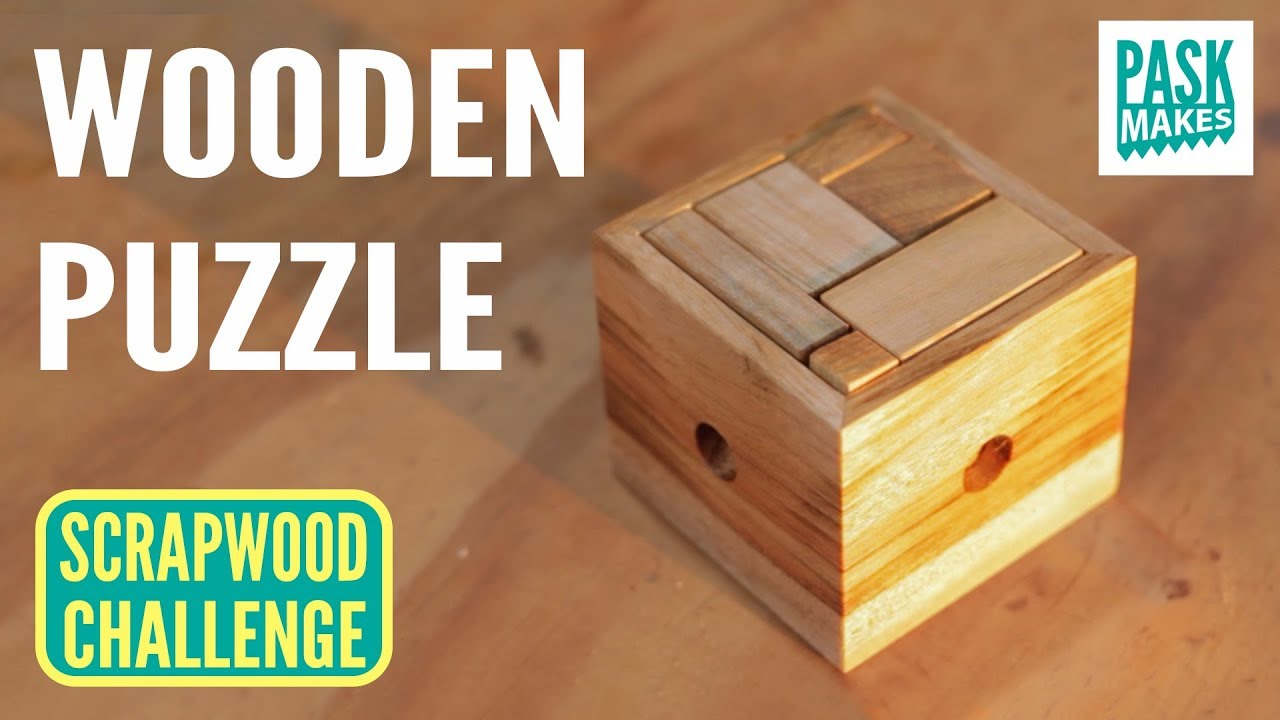
Are you looking for a creative and engaging way to challenge your mind and test your problem-solving skills? Look no further than the world of wooden puzzles! Making your own wooden puzzles is not only a rewarding and satisfying experience, but it also allows you to customize the difficulty level and design to suit your preferences. In this guide, we will explore the fascinating art of crafting wooden puzzles, step by step, providing you with the knowledge and techniques to create your very own brain teasers. Whether you are a seasoned woodworking enthusiast or a beginner looking to delve into a new hobby, this guide will equip you with the skills to create beautiful and mind-boggling puzzles that will captivate both yourself and others.
Imagine the joy and excitement of holding a meticulously crafted wooden puzzle in your hands, the anticipation building as you attempt to unlock its secrets. Wooden puzzles have been captivating people for centuries, offering a unique and tactile experience that challenges the mind and ignites a sense of accomplishment when solved. In this guide, we will walk you through the process of creating these enchanting puzzles from scratch. From selecting the right wood and tools to mastering cutting techniques and assembling the pieces, you will learn all the necessary steps to bring your puzzle ideas to life. So, whether you are seeking a new creative outlet, a memorable gift for a loved one, or simply a way to exercise your brain, join us on this journey of discovery and learn how to make wooden puzzles that will leave everyone puzzled and amazed.
How to Make Wooden Puzzles:
- Choose a suitable wooden material, such as plywood or hardwood.
- Design your puzzle pattern and transfer it onto the wood.
- Cut out the pieces using a scroll saw or jigsaw.
- Sand the edges and surfaces of the puzzle pieces.
- Apply a finish or paint to the puzzle pieces for added durability and aesthetics.
- Allow the puzzle pieces to dry before assembling.
- Test the puzzle for proper fit and adjust if necessary.
- Once satisfied, glue the puzzle pieces together and let it dry.
- Your wooden puzzle is now ready to be enjoyed!
How to Make Wooden Puzzles
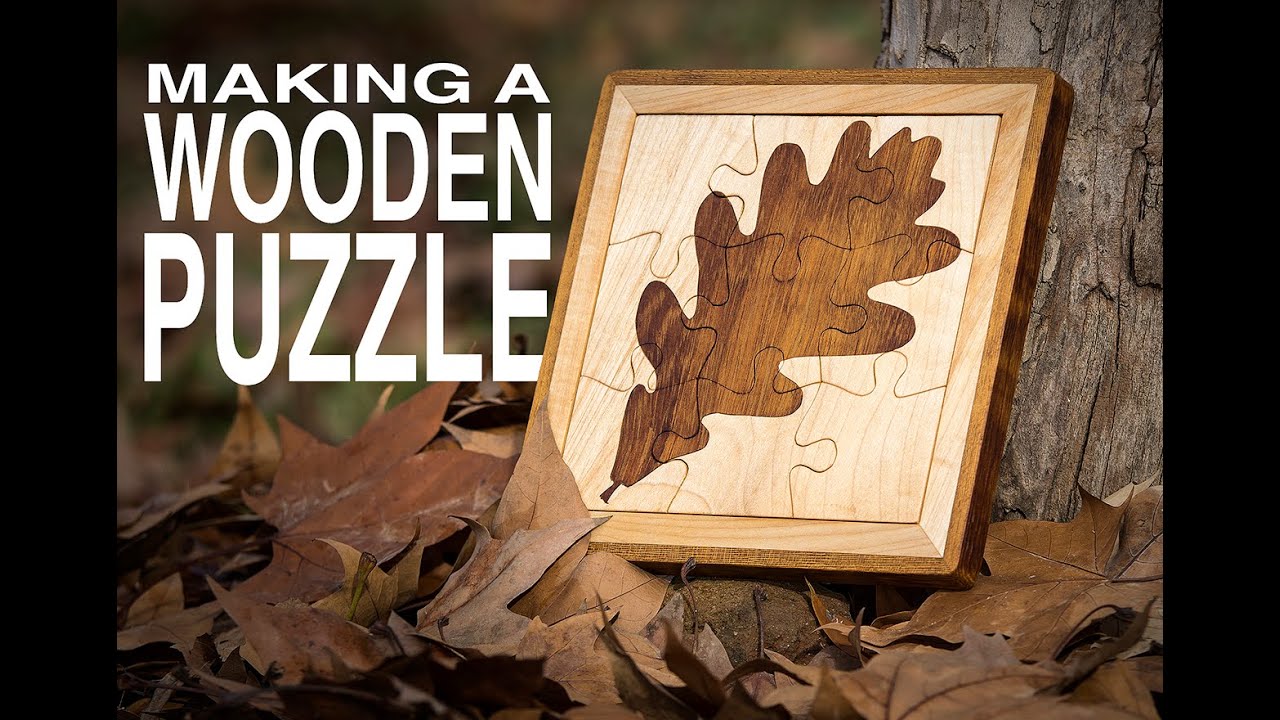
Wooden puzzles can be a fun and challenging way to pass the time, and they also make great gifts. Whether you’re a puzzle enthusiast or just looking for a new hobby, making your own wooden puzzles can be a rewarding and enjoyable experience. In this article, we’ll guide you through the process of creating your own wooden puzzles, step by step. So grab your tools and let’s get started!
Step 1: Choose Your Design
The first step in making a wooden puzzle is to choose a design. You can find inspiration from existing puzzles or create your own unique design. Keep in mind that simpler designs are easier to cut and assemble, especially if you’re a beginner. Once you have your design in mind, you’ll need to transfer it onto the wood. You can use a pencil to lightly sketch the design directly onto the wood, or use a stencil or template for more precise measurements.
Next, you’ll need to choose the type of wood for your puzzle. Hardwoods like birch, maple, or walnut are popular choices as they are durable and have a smooth finish. Softwoods like pine or cedar can also work, but they may be more prone to splintering. Make sure to choose a piece of wood that is large enough to fit your design.
Step 2: Cut the Wood
Once you have your design and wood ready, it’s time to start cutting. For this step, you’ll need a scroll saw or a jigsaw with a fine-tooth blade. Begin by securing the wood to a workbench or table to prevent it from moving while you cut. Carefully follow the lines of your design, making slow and steady cuts. Take your time and be patient, as precision is key in creating a high-quality puzzle. Remember to always wear safety goggles and keep your fingers away from the blade.

After you’ve finished cutting the main shape of the puzzle, you can also add additional details or patterns to make it more interesting. This can be done by using a router or a woodburning tool. Just make sure to plan out your design and take it slow to avoid any mistakes.
Step 3: Sand and Finish
Once you’ve cut out all the pieces of your puzzle, it’s time to sand and finish them. Start by using sandpaper with a medium grit to smooth out any rough edges or imperfections. Then, gradually move to a finer grit sandpaper to achieve a smooth and polished finish. Make sure to sand both the front and back of each puzzle piece.
After sanding, you can choose to apply a finish to protect the wood and enhance its appearance. There are various options for finishes, such as varnish, lacquer, or beeswax. Apply the finish according to the manufacturer’s instructions and allow it to dry completely before handling the puzzle pieces.
Step 4: Assemble the Puzzle
Finally, it’s time to assemble your wooden puzzle. Lay out all the puzzle pieces on a flat surface and start fitting them together. Depending on your design, some pieces may interlock, while others may have tabs or slots that connect them. Take your time and test each piece to ensure a snug fit. If needed, you can use a small amount of wood glue to secure the pieces together.
Once the puzzle is fully assembled, give it a final check to make sure everything fits correctly. Congratulations, you’ve successfully made your own wooden puzzle! Now you can enjoy the satisfaction of solving it yourself or share it with others to enjoy.
Frequently Asked Questions
Welcome to our FAQ section on how to make wooden puzzles. Here you will find answers to some common questions about this creative craft. If you have any further queries, please feel free to reach out to us.
Q: What tools do I need to make a wooden puzzle?
To make a wooden puzzle, you will need a few essential tools. Some of the basic tools include a saw, sandpaper, drill, wood glue, and a sander. These tools will help you cut, shape, and assemble the wooden pieces to create your puzzle. It’s also helpful to have a ruler and pencil for marking measurements and designs on the wood.
Remember to always prioritize safety when working with tools, wear appropriate protective gear, and follow the manufacturer’s instructions for each tool.
Q: What type of wood is best for making puzzles?
When it comes to choosing wood for making puzzles, it’s important to select a type of wood that is both durable and easy to work with. Plywood, hardwood, and Baltic birch plywood are commonly used for making puzzles due to their strength and stability. These types of wood are less likely to warp or split, ensuring the longevity of your puzzle.
It’s advisable to avoid using softwoods like pine, as they may not hold up well over time and can be more challenging to work with due to their tendency to splinter.
Q: How do I design the puzzle pieces?
Designing the puzzle pieces is an integral part of the puzzle-making process. You can start by sketching your desired puzzle shape on a piece of paper. Once you are satisfied with the design, transfer the pattern onto the wood using a pencil or carbon paper.
Next, use a saw to carefully cut along the lines of the design, ensuring smooth and precise cuts. Sand the edges of the puzzle pieces to remove any roughness or splinters, creating a smooth surface for a satisfying puzzle experience.
Q: How do I assemble the wooden puzzle pieces?
Assembling the wooden puzzle pieces requires precision and patience. Begin by dry-fitting the pieces together to ensure they interlock correctly. If any adjustments are needed, use sandpaper or a sander to fine-tune the edges until the pieces fit snugly.
Once you are satisfied with the fit, apply wood glue to the interlocking surfaces of the puzzle pieces. Press the pieces together firmly and wipe away any excess glue. Allow the puzzle to dry completely before testing it by disassembling and reassembling the pieces.
Q: How can I add a finishing touch to my wooden puzzle?
To add a finishing touch to your wooden puzzle, you can apply a protective coating or finish. This will not only enhance the appearance of the puzzle but also provide durability and longevity. Options for finishes include varnish, lacquer, or food-safe mineral oil, depending on your preferences and the intended use of the puzzle.
Before applying the finish, ensure the puzzle is clean and free of any dust or debris. Follow the instructions provided with the chosen finish, applying it evenly and allowing sufficient drying time between coats. Once the finish is dry, your wooden puzzle is ready to be enjoyed!
Woodworking: Making Wooden Puzzles
In conclusion, making wooden puzzles is not only a fun and creative activity, but it also provides numerous benefits for individuals of all ages. From enhancing problem-solving skills and hand-eye coordination to fostering patience and perseverance, this craft allows us to exercise our minds and tap into our artistic side. With the right tools, materials, and techniques, anyone can embark on this enjoyable journey of crafting unique and captivating wooden puzzles.
Whether you are a beginner or have some experience in woodworking, the process of making wooden puzzles can be a rewarding and fulfilling endeavor. By following the step-by-step instructions and incorporating your own personal touch, you can create beautiful and challenging puzzles that will captivate and entertain others. So gather your tools, unleash your imagination, and dive into the world of wooden puzzles – a world where creativity knows no bounds and the satisfaction of holding a finished masterpiece is unparalleled.
- How to Repair Split Wood Door - April 16, 2024
- How to Fix Gouges in Hardwood Floors - April 16, 2024
- How to Remove Wood Gorilla Glue - April 16, 2024