Are you looking to bring out your inner craftsman and create timeless toys that will inspire creativity and imagination in children? Look no further! In this guide, we will explore the wonderful world of making wooden toys from scratch. Whether you are a seasoned woodworker or a beginner eager to try your hand at a new hobby, this step-by-step tutorial will provide you with all the essential knowledge and techniques to bring your wooden toy dreams to life.
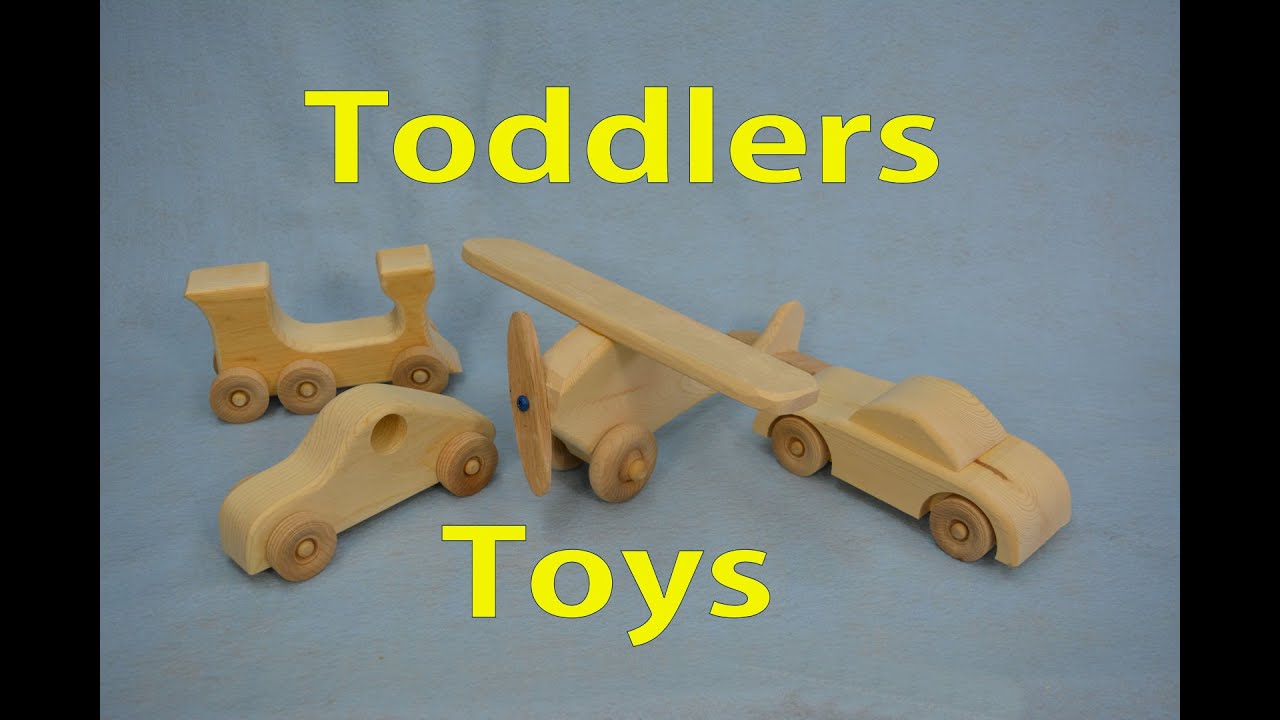
Wooden toys have a timeless charm that captivates both young and old. They not only offer endless hours of play but also serve as cherished heirlooms that can be passed down from generation to generation. From classic rocking horses to intricate puzzles and building blocks, the possibilities are truly endless when it comes to crafting wooden toys. So, grab your tools, unleash your creativity, and let’s embark on this exciting journey into the world of wooden toy-making, where imagination takes shape and dreams come true.
How to make wooden toys:
- Gather all necessary tools and materials.
- Choose a wooden toy design or create your own.
- Measure and cut the wood according to the design.
- Sand the wood to smooth out any rough edges.
- Assemble the toy using glue or screws.
- Add any desired finishing touches, such as paint or varnish.
- Let the toy dry and inspect for any flaws or loose parts.
- Enjoy your handmade wooden toy!
How to Make Wooden Toys
In this article, we will guide you through the step-by-step process of making wooden toys. Whether you are a beginner or an experienced woodworker, this informative guide will provide you with all the necessary information to create your own unique and beautiful wooden toys. From selecting the right wood to adding the finishing touches, we will cover every aspect of the toy-making process. So, let’s get started and unleash your creativity!
Step 1: Gather Your Materials and Tools
Before you begin making wooden toys, it is important to gather all the necessary materials and tools. Here’s a list of what you’ll need:
- Wood: Choose a durable and child-safe wood, such as maple, birch, or beech.
- Measuring tools: A ruler, tape measure, and a combination square will come in handy for precise measurements.
- Cutting tools: Depending on the complexity of the toy, you may need a coping saw, jigsaw, or scroll saw.
- Sanding tools: Sandpaper, sanding blocks, and a sanding machine will help you achieve smooth surfaces.
- Clamps: These will be useful for holding the wood in place while you work.
- Wood glue: Choose a high-quality wood glue that dries clear and bonds securely.
- Finishing materials: Beeswax, mineral oil, or non-toxic paint can be used to finish the toys.
Make sure you have all the necessary tools and materials before moving on to the next step.
Step 2: Design and Plan Your Toy
Before you start cutting the wood, it is important to design and plan your toy. Consider the age group you are making the toy for, as well as their interests and abilities. Sketch out the design on paper and make a list of the dimensions and parts required.

Once you have a clear plan, transfer the measurements to the wood and mark the areas where you will make cuts or drill holes. This will help you avoid mistakes and ensure that all the pieces fit together properly.
Step 3: Cut and Shape the Wood
Using the appropriate cutting tools, carefully cut out the different parts of your toy. Take your time and follow the marked lines precisely. If necessary, use clamps to secure the wood in place while cutting.
Once the pieces are cut, use sandpaper or a sanding machine to shape and smooth the edges. This will prevent any splinters and ensure a safe playtime experience for children.
Step 4: Assemble the Toy
Now that you have all the individual pieces, it’s time to assemble the toy. Apply wood glue to the joints and carefully fit the pieces together. Use clamps to hold the parts in place until the glue sets.
Allow the glue to dry completely before moving on to the next step. This will ensure a strong and durable bond between the pieces.
Step 5: Apply Finishing Touches
Once the toy is assembled, it’s time to add the finishing touches. Sand any rough areas and make sure all surfaces are smooth. Apply a child-safe finish, such as beeswax or mineral oil, to protect the wood and enhance its natural beauty.
If you prefer a more colorful look, you can also paint the toy using non-toxic paint. Let the paint dry completely before giving the toy to a child.
Step 6: Test and Enjoy
Before handing the toy over to a child, give it a thorough inspection. Ensure that all parts are securely attached and there are no sharp edges or loose pieces.
Once you are satisfied with the toy’s safety and quality, it’s time to let a child enjoy the fruits of your labor. Watch as their eyes light up with joy and imagination as they play with the wooden toy you have created.
Step 7: Maintenance and Care
Wooden toys, like any other toys, require proper maintenance and care. Regularly inspect the toy for any signs of wear or damage. If necessary, sand and refinish the toy to keep it in good condition.
Store the wooden toys in a dry place away from direct sunlight to prevent warping or discoloration. By following these simple steps, your wooden toys will provide years of enjoyment and playtime.
Frequently Asked Questions
Here are some commonly asked questions about how to make wooden toys:
Question 1: What tools do I need to make wooden toys?
Answer: To make wooden toys, you will need a few basic tools. These include a saw for cutting the wood into desired shapes and sizes, a drill for creating holes or adding details, sandpaper for smoothing the edges and surfaces, and wood glue for joining the pieces together. Additionally, depending on the complexity of your toy, you may need a chisel, a mallet, or a router for more intricate work.
It’s important to remember that safety is paramount when working with tools. Always wear protective gear such as goggles and gloves, and ensure you have a well-ventilated workspace.
Question 2: What type of wood is best for making toys?
Answer: When making wooden toys, it’s important to choose the right type of wood. Hardwoods such as oak, maple, and walnut are commonly used due to their durability and strength. These woods are less likely to splinter or break, making them safer for children to play with. Softwoods like pine and cedar can also be used, but they may require additional reinforcement to ensure the toy’s longevity.
Always make sure the wood you use is free from knots, cracks, or other defects that could compromise the toy’s structural integrity. It’s also a good idea to choose sustainably sourced wood to minimize the environmental impact of your project.
Question 3: How can I ensure the wooden toy is safe for children?
Answer: Safety should always be a top priority when making wooden toys for children. Here are a few important considerations:
First, ensure that all edges and corners are rounded and smooth to prevent any potential injuries. Sand the surfaces thoroughly to remove any rough spots or splinters. It’s also important to avoid using toxic materials such as lead-based paints or varnishes. Opt for child-safe, non-toxic finishes that are specifically designed for use on toys.
Question 4: Can I customize the design of my wooden toys?
Answer: Absolutely! One of the great things about making wooden toys is the ability to customize them according to your preferences. You can choose different shapes, sizes, and colors to make your toys unique. Feel free to add personal touches such as engraving or painting to enhance their appeal. Just remember to consider the age appropriateness of the toy and ensure any added elements are securely attached.
There are also numerous online resources and books that provide design ideas and patterns for wooden toys, making it easier for you to unleash your creativity.
Question 5: Are there any additional resources for learning how to make wooden toys?
Answer: Yes, there are plenty of resources available to help you learn how to make wooden toys. Online tutorials, video demonstrations, and woodworking forums can provide valuable guidance and inspiration. You can also consider joining local woodworking groups or workshops where you can learn from experienced craftsmen. Additionally, there are many books and magazines dedicated to the art of toy making that can provide in-depth instructions and project ideas.
Remember, practice makes perfect, so don’t be afraid to start small and gradually work your way up to more complex designs as you gain confidence and experience in woodworking.
Moreover, making wooden toys not only promotes sustainability and eco-consciousness but also encourages imaginative play and reduces our reliance on plastic and electronic gadgets. It is an opportunity to reconnect with the simplicity and beauty of natural materials, fostering a sense of craftsmanship and nostalgia in a world dominated by mass-produced goods. So, gather your tools, select your favorite wood, and let your imagination run wild as you embark on this timeless and rewarding craft. Embrace the art of making wooden toys, and you will discover a fulfilling hobby that brings joy, creativity, and a sense of accomplishment into your life.
- How to Rejuvenate Wood Veneer - April 20, 2024
- How to Fix Water Damage on Wood Coffee Table - April 20, 2024
- How to Fix Water Damaged Swollen Wood Furniture - April 20, 2024