Are you tired of staring at that old, worn-out wood flooring that has been glued down for what feels like forever? Well, you’re in luck! In this comprehensive guide, we will walk you through the step-by-step process of removing glued down wood flooring, allowing you to transform your space into a fresh, modern masterpiece. Whether you’re a seasoned DIY enthusiast or a first-time renovator, this article is packed with expert tips and tricks to make your flooring removal project a breeze.
As any homeowner knows, removing glued down wood flooring can be a daunting task. The adhesive used in the installation process can be incredibly strong, making the removal process seem like an impossible feat. However, fear not! With the right tools, techniques, and a little bit of patience, you can say goodbye to that stubborn flooring and hello to a brand new look in no time. So, roll up your sleeves, put on your work boots, and get ready to embark on a journey towards a beautifully transformed space. Let’s dive in and discover the secrets to successfully removing glued down wood flooring!
How to Remove Glued Down Wood Flooring:
- Start by heating the glued area with a heat gun to soften the adhesive.
- Use a putty knife or scraper to carefully lift the wood flooring from the subfloor.
- If the adhesive is stubborn, apply a commercial adhesive remover and let it sit for a few minutes.
- Gently scrape off the adhesive using a putty knife or scraper.
- Thoroughly clean the subfloor to remove any remaining residue.

How to Remove Glued Down Wood Flooring
Removing glued down wood flooring can be a challenging task, but with the right tools and techniques, you can accomplish it successfully. This step-by-step guide will walk you through the process of removing glued down wood flooring, ensuring a smooth and efficient removal without causing any damage to the subfloor or surrounding areas. Follow these instructions carefully to achieve the best results.
Step 1: Prepare the Work Area
Before you begin removing the glued down wood flooring, it’s important to prepare your work area. Start by removing any furniture or obstacles from the room, creating a clear and spacious area to work in. Cover any nearby surfaces or furniture with plastic sheets to protect them from dust and debris. Additionally, make sure to wear appropriate personal protective equipment, such as gloves and safety goggles, to ensure your safety throughout the process.
Next, inspect the floor for any loose or protruding nails, staples, or screws. Use a hammer or pliers to remove any such fasteners, as they can cause damage to your tools or pose a safety hazard during the removal process. Once the area is clear and all necessary precautions have been taken, you’re ready to move on to the next step.
Step 2: Soften the Adhesive
The next step in removing glued down wood flooring is to soften the adhesive that holds the planks in place. This can be done using a heat gun or a floor adhesive remover. If using a heat gun, set it to a low or medium heat setting and aim it at a small section of the flooring. Hold the heat gun a few inches away from the surface and move it back and forth to evenly distribute the heat. Be careful not to overheat the wood or subfloor, as excessive heat can cause damage.

If using a floor adhesive remover, carefully follow the manufacturer’s instructions for application. Apply the remover to a small section of the flooring and allow it to penetrate the adhesive for the recommended amount of time. This will help to soften the glue and make it easier to remove. Repeat this process in manageable sections until the entire floor has been treated.
Step 3: Remove the Wood Flooring
Once the adhesive has been softened, it’s time to start removing the wood flooring. Begin by inserting a pry bar or floor scraper underneath one of the planks, close to the edge. Gently apply pressure to lift the plank from the subfloor, using a hammer if necessary to tap the pry bar or scraper deeper into the joint. Slowly work your way along the length of the plank, lifting it up and away from the subfloor.
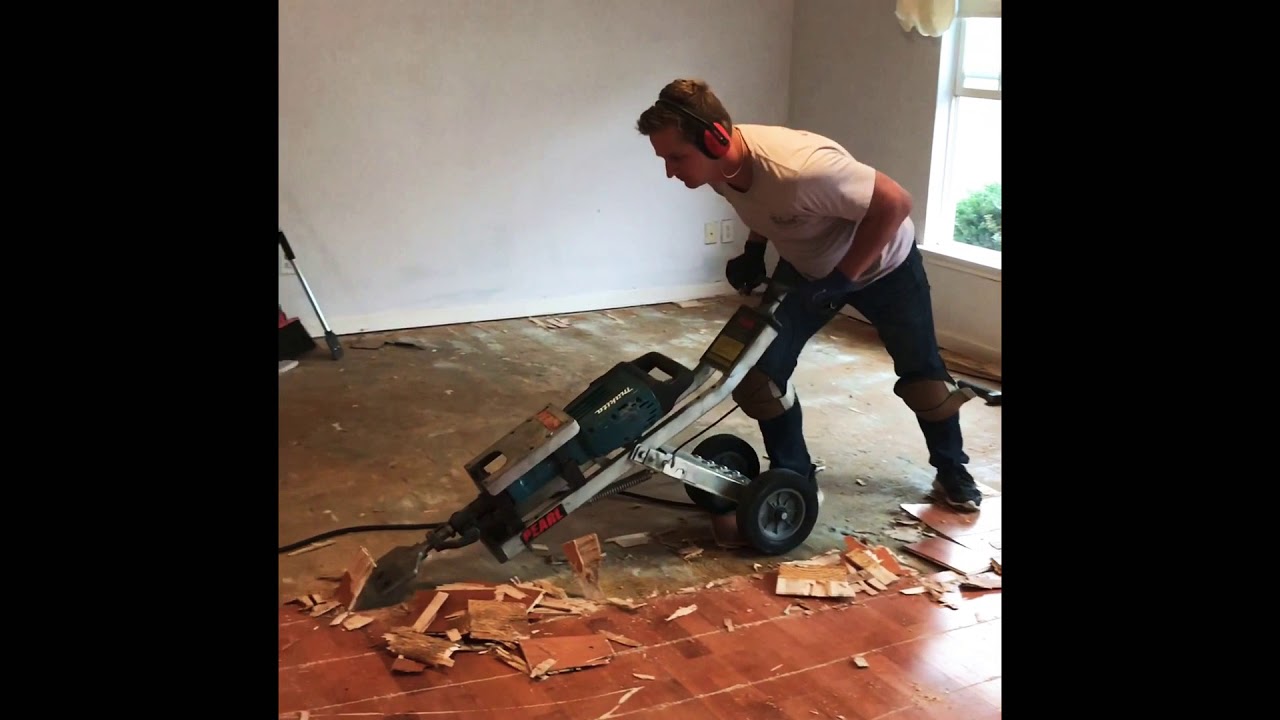
If the planks are particularly stubborn or difficult to remove, you may need to use a power scraper or floor sander to help loosen them. These tools can be rented from a home improvement store and can make the removal process faster and more efficient. However, exercise caution when using power tools and follow all safety guidelines to prevent accidents or damage.
Step 4: Clean and Prepare the Subfloor
Once all the wood flooring has been removed, it’s important to clean and prepare the subfloor before installing new flooring. Use a scraper or putty knife to remove any remaining adhesive or debris from the surface. If there are any uneven or damaged areas on the subfloor, make necessary repairs or adjustments to ensure a smooth and level surface for the new flooring.
Finally, vacuum or sweep the subfloor to remove any dust or particles, ensuring a clean and debris-free surface. At this point, you’re ready to install your new flooring, whether it be another type of wood flooring or a different material altogether.
Step 5: Dispose of the Flooring
Properly dispose of the removed wood flooring in accordance with local regulations and guidelines. Check with your local waste management facility or recycling center for the appropriate method of disposal. It’s important to handle and dispose of the materials responsibly to minimize any negative impact on the environment.
Remember, removing glued down wood flooring requires patience and careful execution. By following these steps and using the right tools, you can successfully remove the flooring and prepare the space for a fresh new look. Good luck with your project!
Frequently Asked Questions
Here are some common questions and answers about how to remove glued down wood flooring:
Q: What tools do I need to remove glued down wood flooring?
A: To remove glued down wood flooring, you will need a few essential tools. Firstly, you will need a floor scraper or a wide putty knife to pry up the wood planks. A heat gun can also be helpful to soften the glue and make it easier to remove. Additionally, a hammer, chisel, and pry bar will be useful for any stubborn or hard-to-reach areas. Make sure to wear protective gloves and safety goggles for your own safety.
It’s important to note that the specific tools required may vary depending on the type of glue used and the condition of the flooring. It’s always a good idea to assess the situation and consult with a professional if you are unsure about the tools you need.
Q: How do I prepare the area before removing glued down wood flooring?
A: Before you start removing glued down wood flooring, it’s important to prepare the area properly. Begin by removing any furniture or obstacles from the room to create a clear workspace. Next, cover any nearby vents or openings to prevent dust or debris from spreading throughout the house. You may also want to consider laying down protective sheets or tarps to catch any falling debris or protect the subfloor.
If there are any baseboards or trim along the perimeter of the flooring, carefully remove them to ensure a clean removal process. Taking the time to properly prepare the area will make the removal process more efficient and minimize potential damage to surrounding surfaces.
Q: How do I soften the glue for easier removal?
A: Softening the glue is an important step in removing glued down wood flooring. One effective method is to use a heat gun to warm up the glue. Hold the heat gun a few inches above the surface and move it back and forth to evenly distribute the heat. The heat will soften the glue, making it easier to scrape off with a floor scraper or putty knife.
Alternatively, you can also try using a steam iron or a boiling water solution to soften the glue. Simply place a damp towel or cloth over the glued area and apply heat using the iron or pour boiling water over the cloth. Allow the heat or steam to penetrate the glue for a few minutes before attempting to remove it. Be cautious with this method to avoid any burns or damage to the wood or yourself.
Q: What is the best way to remove glued down wood flooring?
A: The best way to remove glued down wood flooring is to start by scoring the surface of the wood with a utility knife. This will help to break the bond between the wood and the glue. Once the surface is scored, use a floor scraper or a wide putty knife to pry up the wood planks. Start at one edge and work your way across, applying even pressure to gradually lift the planks.
If the glue is particularly stubborn, you may need to use a hammer and chisel to carefully chip away at the glue. Be cautious not to damage the subfloor during this process. It’s important to work slowly and patiently, especially in older homes where the glue may be stronger or more difficult to remove.
Q: What should I do after removing glued down wood flooring?
A: After successfully removing glued down wood flooring, there are a few steps you should follow to ensure a clean and smooth surface for future flooring installation. Start by thoroughly cleaning the subfloor to remove any remaining glue residue or debris. Use a scraper or putty knife to scrape off any stubborn glue spots.
Next, inspect the subfloor for any damages or imperfections. Repair any cracks or uneven areas to create a level surface. Sanding the subfloor may also be necessary to remove any remaining traces of glue and to create a smooth surface. Finally, you can proceed with installing your new flooring material, whether it’s another layer of wood flooring or a different type of flooring altogether.
Remember, safety should always be a priority when working with tools and chemicals. Take the necessary precautions, such as wearing protective gear and working in a well-ventilated area. If you encounter any challenges or are unsure about certain steps, don’t hesitate to seek professional assistance. With determination and the right approach, you can transform your space by removing that stubborn glued down wood flooring and paving the way for a new and beautiful floor. Happy renovating!
- How to Rejuvenate Wood Veneer - April 20, 2024
- How to Fix Water Damage on Wood Coffee Table - April 20, 2024
- How to Fix Water Damaged Swollen Wood Furniture - April 20, 2024