Are you an aspiring artist looking to elevate your creative space? Perhaps you’re a parent searching for a fun DIY project to do with your children. Whatever the case may be, learning how to make a wooden easel is a rewarding endeavor that combines craftsmanship and practicality. In this guide, we will walk you through the step-by-step process of creating your very own easel, providing you with the knowledge and confidence to bring your artistic visions to life. So, grab your tools and let’s embark on this exciting journey of transforming ordinary materials into a functional and aesthetically pleasing wooden easel.
Building a wooden easel not only allows you to customize the dimensions and design to suit your specific needs, but it also offers a sense of accomplishment as you witness your creation take shape. With just a few basic woodworking skills and common tools, you’ll be amazed at how easily you can construct a sturdy and reliable easel that will support your canvases for years to come. So, whether you’re an experienced carpenter or a novice DIY enthusiast, this guide will provide you with all the information you need to get started on your wooden easel project. Get ready to unleash your creativity and enjoy the satisfaction of making something truly remarkable with your own two hands.
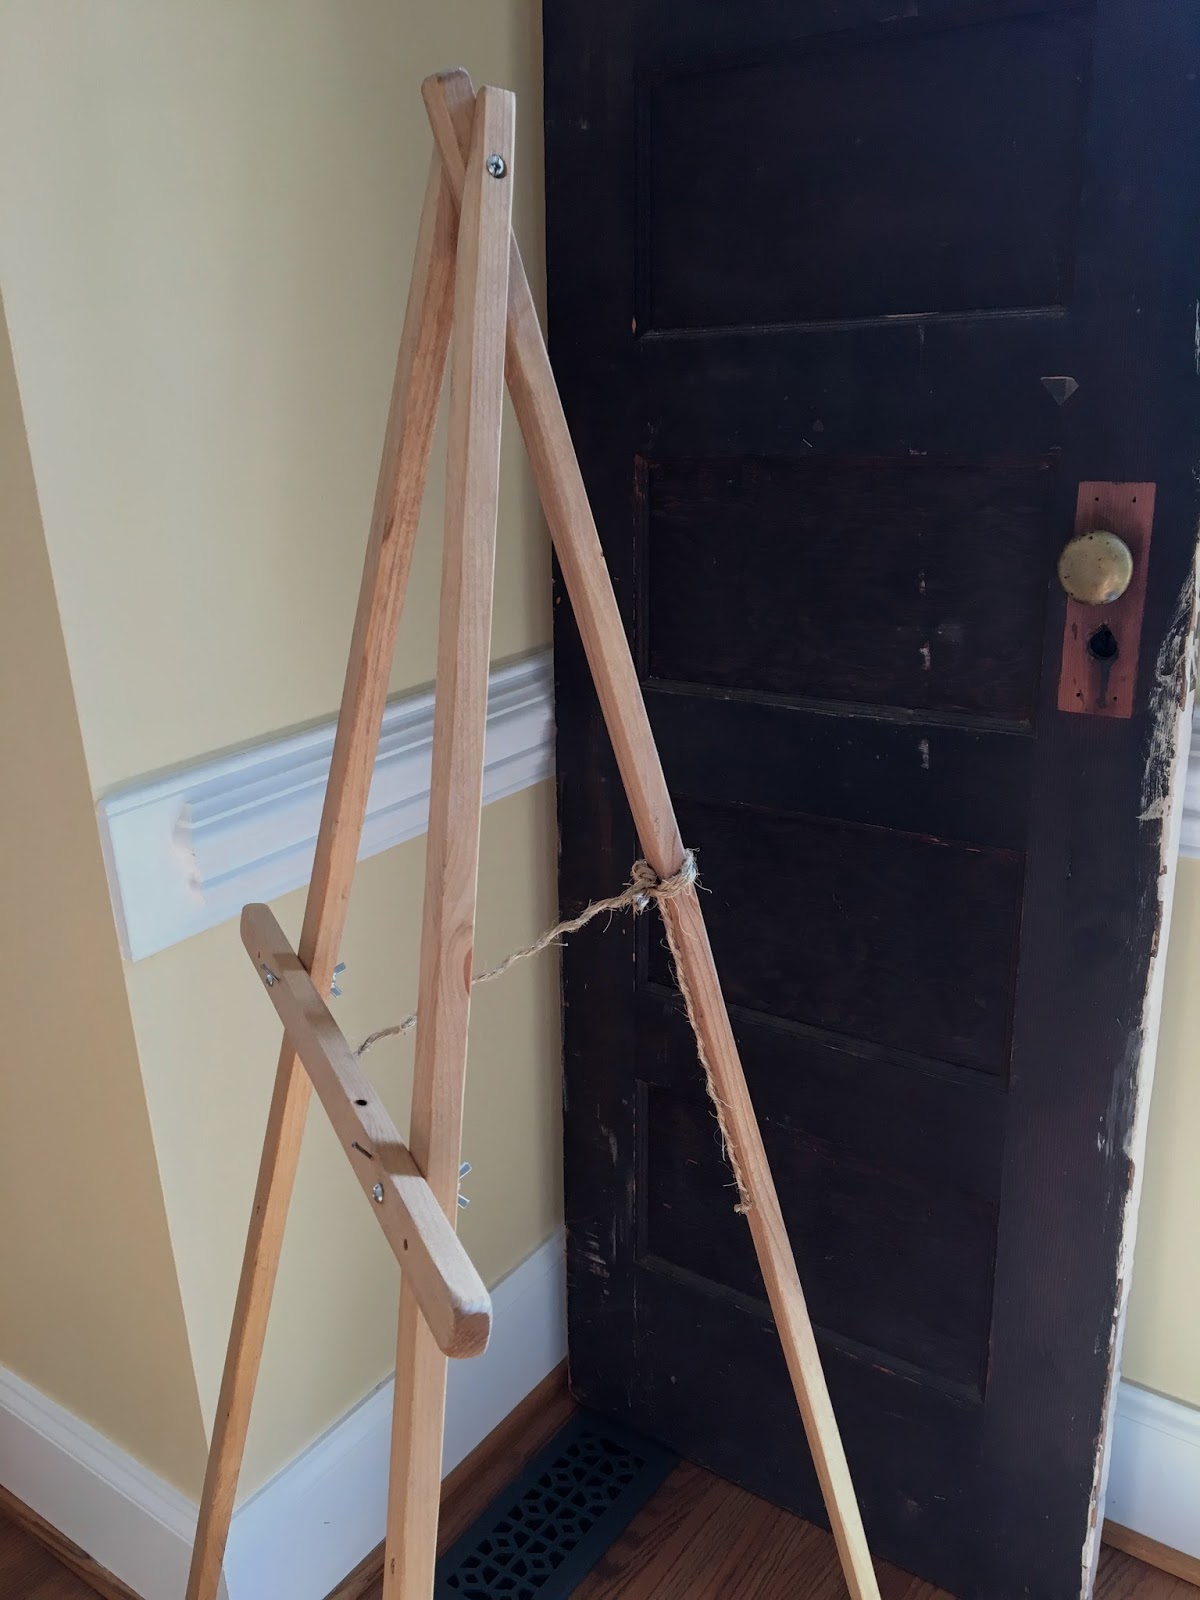
How to Make a Wooden Easel:
- Gather the necessary materials: wood boards, screws, drill, saw, sandpaper, and wood glue.
- Cut the boards into the desired lengths for the easel frame, legs, and support bars.
- Use the drill and screws to assemble the frame, attaching the legs and support bars.
- Sand the surface of the easel to ensure a smooth finish.
- Apply wood glue to reinforce the joints and let it dry completely.

How to Make a Wooden Easel
In this step-by-step guide, we will walk you through the process of making a wooden easel. Whether you are an aspiring artist or simply want to display artwork, a wooden easel can be a great addition to your home or studio. With some basic woodworking skills and the right tools, you can create a sturdy and functional easel that will last for years to come.
Gather the Materials
Before you begin, it’s important to gather all the necessary materials. Here’s a list of what you’ll need:
- 1-inch thick plywood sheet
- Four 2×2 wooden boards
- Wood screws
- Wood glue
- Measuring tape
- Saw
- Drill
- Screwdriver
- Sandpaper
- Paint or stain (optional)
Once you have all the materials ready, you can move on to the next step.

Construct the Frame
The first step in making a wooden easel is to construct the frame. Start by cutting the plywood sheet into two equal-sized pieces. These will be the main panels of the easel. Next, measure and cut the 2×2 wooden boards to create the top, bottom, and side supports for the frame.
Using wood glue and screws, attach the boards to the plywood panels to form a rectangular shape. Make sure the corners are square and the frame is sturdy. Once the glue is dry, sand the surface to remove any rough edges or splinters. You can also paint or stain the frame to give it a finished look.
With the frame complete, you can now move on to the next steps of making the wooden easel.
Attach the Back Leg
One of the important features of an easel is its adjustable back leg, which allows you to adjust the angle of the canvas. To create the back leg, cut a 2×2 wooden board to the desired length, ensuring that it is longer than the height of the frame. Attach the back leg to the back of the frame using screws, making sure it is securely fastened.
If you want to add additional stability to the easel, you can also attach a diagonal support brace from the top of the frame to the back leg. This will prevent the easel from wobbling and ensure that it can support the weight of the canvas.
Once the back leg and support brace are in place, your wooden easel is almost complete. All that’s left to do is add any final touches, such as sanding and painting, and your easel will be ready to use.
By following these steps, you can create a functional and attractive wooden easel that will enhance your artistic endeavors. Enjoy your new easel and let your creativity flow!
Frequently Asked Questions
Here are some common questions about how to make a wooden easel:
What materials do I need to make a wooden easel?
To make a wooden easel, you will need the following materials:
– 2 pieces of wood, approximately 6 feet long and 2 inches wide
– 1 piece of wood, approximately 3 feet long and 2 inches wide
– Screws
– Screwdriver
– Drill
– Sandpaper
These materials will allow you to create a sturdy and functional wooden easel.
How do I assemble the wooden easel?
To assemble the wooden easel, follow these steps:
1. Start by laying out the 6-foot-long pieces of wood parallel to each other, about 3 feet apart.
2. Place the 3-foot-long piece of wood perpendicular to the two longer pieces, about 1.5 feet from the top.
3. Attach the pieces of wood together using screws and a screwdriver or drill.
4. Make sure all the screws are tightened securely.
5. Use sandpaper to smooth out any rough edges or surfaces.
Once these steps are completed, your wooden easel should be ready for use.
What are the dimensions of a standard wooden easel?
A standard wooden easel typically has the following dimensions:
– Height: around 6 feet
– Width: around 2 feet
– Depth: around 2 feet
These dimensions provide stability and enough space to hold various sizes of canvas or paper.
Can I customize the size of my wooden easel?
Yes, you can customize the size of your wooden easel to fit your specific needs.
If you prefer a larger or smaller easel, simply adjust the length and width of the pieces of wood accordingly. However, keep in mind that the dimensions should still provide stability for your artwork.
How do I properly maintain a wooden easel?
To properly maintain a wooden easel, follow these tips:
– Regularly clean the surface of the easel with a soft cloth or brush to remove any dust or debris.
– Avoid placing the easel in direct sunlight or in areas of high humidity, as this can cause damage to the wood.
– If the wood becomes rough or shows signs of wear, lightly sand the surface and apply a thin layer of varnish or wood oil to protect and rejuvenate the wood.
– Store the easel in a dry and well-ventilated area when not in use.
By following these maintenance guidelines, you can extend the lifespan of your wooden easel.
Furthermore, the process of building a wooden easel encourages creativity and problem-solving skills. From selecting the right type of wood to constructing the different components, each step requires careful attention to detail and precision. This project also offers an opportunity to learn about woodworking techniques and tools, which can be applied to future projects. Whether it’s for personal use or as a thoughtful gift for a fellow artist, building a wooden easel is a valuable endeavor that allows for both practicality and artistic expression. So, why not take up the challenge and embark on this exciting journey of woodworking and creativity?
- How to Frame a Wooden Jigsaw Puzzle - May 12, 2024
- How to Glue a Wooden Jigsaw Puzzle - May 12, 2024
- How to Decoupage Wood - May 12, 2024