Are you tired of searching for the perfect picture frame to showcase your cherished memories? Look no further! In this guide, we will take you through the step-by-step process of creating your very own wooden picture frame. Whether you’re a seasoned DIY enthusiast or just starting out, this project is sure to ignite your creativity and leave you with a beautiful and personalized frame that will complement any room decor.
Making a wooden picture frame may seem like a daunting task, but fear not! With a little patience and a few basic tools, you’ll be amazed at what you can create. From selecting the right type of wood to cutting precise angles, we will provide you with all the necessary instructions and tips to ensure your frame turns out flawless. So, roll up your sleeves and get ready to embark on this exciting journey of craftsmanship. Get ready to transform a simple piece of wood into a stunning frame that will not only showcase your photographs but also serve as a testament to your creative skills. Let’s dive in and discover the art of making a wooden picture frame!
How to Make a Wooden Picture Frame
- Gather all the necessary materials: wood, saw, sandpaper, wood glue, clamps, nails, and a picture frame hanger.
- Measure and cut the wood into four equal lengths for the frame sides.
- Use sandpaper to smooth the edges and surfaces of the wood.
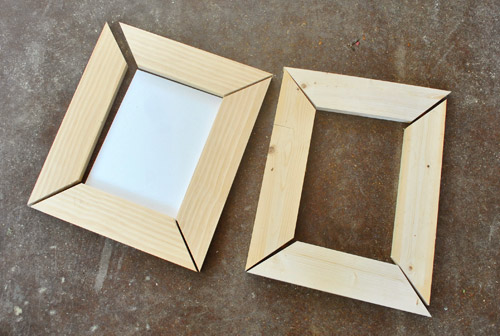
- Apply wood glue to the mitered ends of the wood pieces and join them together to form the frame.
- Use clamps to hold the frame in place while the glue dries.
- Secure the frame further by nailing it together from the back.
- Attach the picture frame hanger to the back of the frame.
- Sand any rough spots and apply a finish or paint as desired.
How to Make a Wooden Picture Frame
A wooden picture frame adds a touch of elegance and sophistication to any photograph or artwork. With just a few materials and some basic woodworking skills, you can create a custom wooden picture frame that perfectly complements your favorite images. Follow these step-by-step instructions to create a beautiful wooden picture frame.
Gather Materials and Tools
Before you begin, make sure you have all the necessary materials and tools. You will need:
- Wood boards (preferably hardwood)
- Measuring tape
- Miter saw or miter box and handsaw
- Sanding block or sandpaper
- Wood glue
- Clamps
- Finishing nails
- Hammer
- Wood stain or paint
- Small paintbrush
Once you have gathered all the necessary materials and tools, you are ready to start building your wooden picture frame.
Measure and Cut the Wood
Begin by measuring and cutting the wood boards to the desired length for each side of the picture frame. Use a miter saw or a miter box and handsaw to cut the boards at 45-degree angles, ensuring that the lengths are equal for opposite sides of the frame. This will create perfectly mitered corners.
After cutting the boards, use a sanding block or sandpaper to smooth any rough edges or surfaces. This will ensure a clean and professional-looking finish for your picture frame.
Assemble the Frame

Apply a thin layer of wood glue to the mitered edges of the boards and join them together to form the frame. Use clamps to hold the corners tightly together while the glue dries. Once the glue has dried, reinforce the joints by inserting finishing nails through the corners. Use a hammer to gently tap the nails in, making sure they are flush with the wood surface.
Allow the frame to fully dry before proceeding to the next step.
Apply Finish
Once the frame is dry, you can apply the desired finish. If you prefer a natural look, you can apply a clear wood stain to enhance the beauty of the wood grain. Alternatively, you can choose to paint the frame in a color that matches your decor. Use a small paintbrush to apply the stain or paint evenly, making sure to cover all surfaces of the frame. Allow the finish to dry completely.
Once the finish is dry, your wooden picture frame is ready to be used. Insert your desired photograph or artwork, and proudly display your custom-made frame.
Add Personal Touches
If desired, you can further personalize your wooden picture frame by adding decorative elements such as carvings, embellishments, or a protective glass cover. These additional touches can enhance the overall aesthetic of the frame and make it even more unique.
Remember to handle the frame with care and keep it away from excessive moisture or direct sunlight to ensure its longevity and preservation.
Frequently Asked Questions
Here are some commonly asked questions about how to make a wooden picture frame:
1. How do I choose the right wood for a picture frame?
When selecting wood for a picture frame, it’s important to consider both the aesthetic and functional aspects. Hardwoods like oak, cherry, or walnut are popular choices due to their durability and beautiful grain patterns. Softwoods like pine or cedar are more affordable options, but may not offer the same level of long-term durability.
It’s also important to consider the color and finish of the wood. If you want a natural look, you can opt for clear finishes that enhance the wood’s natural beauty. Alternatively, you can choose to stain or paint the wood to match your decor or achieve a desired look.
2. What tools do I need to make a wooden picture frame?
While the specific tools needed may vary depending on the complexity of the frame, here are some essential tools you’ll likely need:
– A miter saw or a miter box and a hand saw for cutting the wood at precise angles.
– A tape measure and a combination square for accurate measurements and marking.
– Clamps to hold the frame pieces together during assembly.
– A drill or a screwdriver for attaching the frame corners.
– Sandpaper and a sanding block for smoothing the wood surfaces.
3. How do I join the corners of a wooden picture frame?
There are several methods for joining the corners of a wooden picture frame, but two common techniques are miter joints and butt joints.
Miter joints involve cutting the ends of the frame pieces at a 45-degree angle, creating a clean and seamless corner when assembled. This method requires precise measurements and cuts, but results in a professional-looking frame.
Butt joints, on the other hand, involve simply butting the ends of the frame pieces together and securing them with screws or nails. This method is less complex but may not provide the same level of aesthetic appeal as miter joints.
4. How do I finish and protect a wooden picture frame?
Finishing and protecting a wooden picture frame is essential to enhance its appearance and ensure its longevity. Here are the steps to follow:
– Sand the frame surface to remove any imperfections or roughness.
– Apply a wood stain or paint of your choice, following the manufacturer’s instructions.
– Allow the stain or paint to dry completely before applying a clear protective finish.
– Use a brush or a cloth to apply the protective finish evenly, following the manufacturer’s recommendations.
– Let the protective finish dry according to the instructions before handling or displaying your frame.
5. Can I customize the size of a wooden picture frame?
Yes, you can customize the size of a wooden picture frame to fit your specific needs. To do this, you’ll need to adjust the measurements of the frame pieces accordingly.
Keep in mind that when resizing a frame, you may need to recalculate the angles for miter joints or modify the assembly method for butt joints. It’s also important to ensure that the frame remains structurally sound and can adequately support the weight of the picture or artwork.
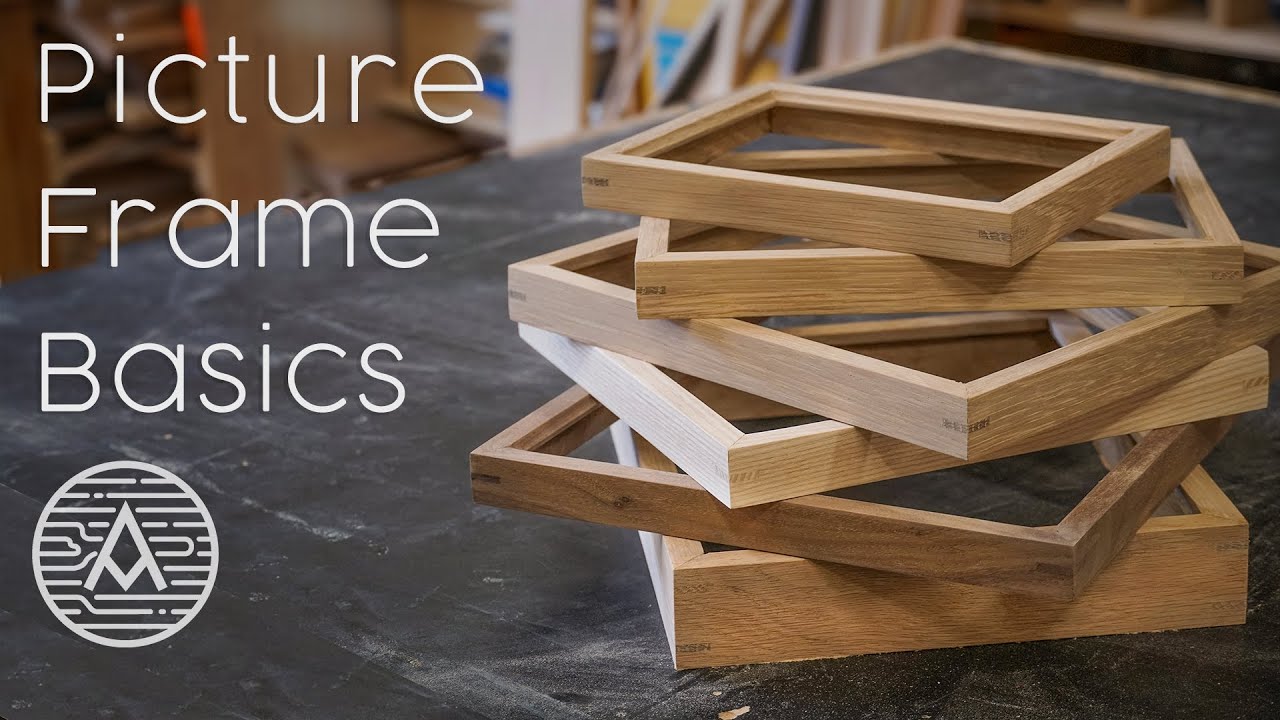
Picture frame BASICS. How to make a simple picture frame using a tablesaw.
In conclusion, learning how to make a wooden picture frame is a rewarding and fulfilling project for individuals of all skill levels. By following the step-by-step instructions provided in this guide, you can create a personalized and unique frame that showcases your cherished memories with style and grace. Whether you are a beginner or an experienced woodworker, this project allows you to exercise your creativity while honing your craftsmanship skills.
Not only does making a wooden picture frame provide you with a practical and beautiful way to display your photographs, but it also offers a sense of satisfaction and accomplishment. The process of measuring, cutting, and assembling the pieces of wood requires precision and attention to detail, allowing you to develop valuable woodworking skills. Additionally, customizing the frame with your choice of wood, stain, and finish allows you to create a piece that reflects your personal taste and enhances the aesthetic appeal of your home or office.
By embarking on this DIY project, you not only create a functional and visually appealing picture frame, but you also gain a sense of pride in your ability to create something by hand. So, why not gather your tools, select your favorite wood, and start making your very own wooden picture frame today? The possibilities are endless, and the end result will undoubtedly be a stunning testament to your skills and creativity.
- How to Clean Wood Furniture - April 24, 2024
- How to Craft Jungle Wood Minecraft Xbox One - April 24, 2024
- How to Wood Trim - April 24, 2024