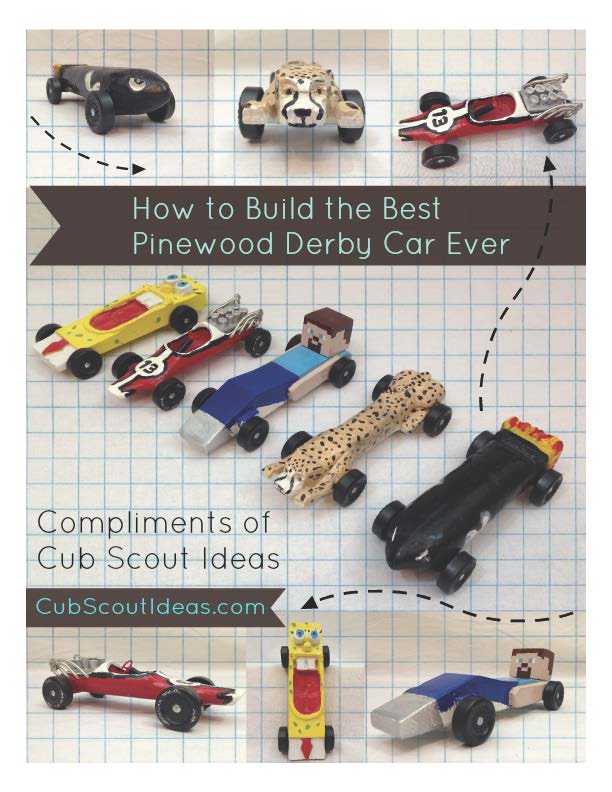
Are you ready to unleash your creativity and engineering skills? Look no further than the exhilarating world of pinewood derby car racing! Whether you’re a parent helping your child build their first car or an adult looking to relive the excitement of your youth, this guide will take you through the step-by-step process of creating a winning pinewood derby car. From selecting the perfect block of wood to fine-tuning your design, we’ll equip you with all the knowledge and tips you need to create a masterpiece on wheels.
Imagine the thrill of watching your handmade car zoom down the track, leaving your competitors in the dust. With a little bit of patience, some basic tools, and a dash of ingenuity, you can transform a simple block of pinewood into a sleek, aerodynamic racing machine. Throughout this journey, you’ll learn the secrets of weight placement, shaping techniques, and the importance of precision in order to maximize speed and performance. So, roll up your sleeves, grab your tools, and get ready for an unforgettable adventure in the world of pinewood derby car racing!
How to Make a Pinewood Derby Car:
- Start by selecting a pinewood derby car kit.
- Design your car using paper and pencil.
- Cut out the car shape from the block of pinewood using a saw.
- Sand the rough edges and shape the car with sandpaper.
- Add weights to achieve the desired weight limit.
- Participate in the pinewood derby race and enjoy!
Introduction
In this informative article, we will guide you through the step-by-step process of making a pinewood derby car. Pinewood derby is a popular racing event for Cub Scouts, where participants build small wooden cars and compete against each other. By following the instructions below, you can create your own pinewood derby car and join in on the fun!
Materials Needed
Before you start building your pinewood derby car, make sure you have all the necessary materials. Here’s a list of what you’ll need:
- A pinewood derby car kit
- Sandpaper (rough and fine-grit)
- A coping saw or a bandsaw
- A drill with various drill bits
- Weights (such as tungsten or lead)
- A hammer
- A paintbrush
- A small container of wood glue
- A ruler or tape measure
- A pencil
Step 1: Designing Your Car
The first step in making a pinewood derby car is to come up with a design. Use your creativity and sketch out your desired car shape on a piece of paper. Keep in mind the rules and regulations of your specific pinewood derby event, as there may be restrictions on dimensions and weight. Once you have a design you’re happy with, transfer it onto the block of wood provided in your kit using a pencil.
Next, use a coping saw or a bandsaw to cut out the rough shape of your car. Take your time and follow the lines as closely as possible. Once you have the basic shape, use sandpaper to smooth out any rough edges and refine the contours of your car. Start with a rough-grit sandpaper and gradually move to a finer grit for a polished finish.
Step 2: Drilling and Weight Placement

Now it’s time to make your car fast! Drill three holes in the bottom of your car using a drill with the appropriate drill bit sizes. The first hole should be towards the front of the car, the second in the middle, and the third towards the rear. These holes will allow you to add weights to optimize the weight distribution of your car.
Once the holes are drilled, insert weights into them. Experiment with different weights and positions to find the optimal setup for speed. Remember to follow the rules of your pinewood derby event regarding weight limits. Secure the weights in place using wood glue or screws, ensuring they are firmly attached to the car.
Step 3: Painting and Decorating
Now it’s time to give your pinewood derby car some personality! Use sandpaper to smooth the entire surface of your car, removing any imperfections or rough spots. Wipe away any dust or debris with a clean cloth.
Next, choose your desired colors and paint your car. Apply thin, even coats of paint, allowing each coat to dry before applying the next. You can use masking tape to create designs or patterns, and add decals or stickers for extra flair. Once the paint is dry, apply a clear coat to protect the finish.
Step 4: Wheels and Axles
The final step is to attach the wheels and axles to your pinewood derby car. Insert the axles into the pre-drilled holes provided in your kit. Make sure they are aligned straight and securely attached. Place the wheels onto the axles, ensuring they are centered and spin freely.
Test your car on a flat surface to ensure the wheels are rolling smoothly and without any wobbling. Make any necessary adjustments to achieve optimal performance.
Step 5: Ready to Race!
With your pinewood derby car complete, you’re now ready to join the race! Remember to follow the rules and regulations of your specific pinewood derby event, and have fun competing against other participants. Good luck!
Frequently Asked Questions
Here you will find answers to commonly asked questions about how to make a pinewood derby car.
Q: Where can I buy a pinewood derby car kit?
You can purchase pinewood derby car kits from various sources. Some popular options include hobby stores, online retailers, and scouting organizations. These kits typically come with a pre-cut block of wood, axles, and wheels. They may also include additional accessories and instructions for assembly.
Make sure to choose a kit that meets the rules and regulations of the pinewood derby event you are participating in. It’s also worth considering the quality and reputation of the kit, as this can impact the performance of your car.
Q: How do I shape the pinewood derby car block?
The first step in shaping your pinewood derby car block is to mark the desired shape on the block. You can use a pencil to outline the shape or create a template to trace. Once marked, use a coping saw or a band saw to cut the block along the outlines.
After cutting, use sandpaper to smooth the edges and shape the car. Start with rough-grit sandpaper and gradually move to finer-grit sandpaper for a smoother finish. Be sure to sand evenly and pay attention to details such as rounding the edges and creating aerodynamic contours.
Q: How can I make my pinewood derby car faster?
There are several ways to enhance the speed of your pinewood derby car. First, reduce the weight of the car by removing excess wood and using lightweight materials for accessories. This helps to increase the car’s acceleration.
Next, focus on minimizing friction. Polish the axles and wheels, ensuring they are smooth and free from any imperfections. Lubricate the axles with a suitable lubricant, such as graphite or a dry lubricant, to reduce friction and maximize speed.
Q: How do I attach the axles and wheels to the pinewood derby car?
Before attaching the axles and wheels, make sure they are aligned properly. Use a wheel alignment tool or a simple homemade jig to ensure the axles are parallel and perpendicular to the car body. This alignment is crucial for optimal performance.
To attach the axles, gently tap them into the pre-drilled holes using a hammer or a mallet. Make sure they are securely in place. The wheels can then be mounted onto the axles, ensuring they spin freely without wobbling. Some kits may include specific instructions or tools for axle and wheel installation.
Q: How can I decorate my pinewood derby car?
Decorating your pinewood derby car is a fun and creative process. You can use paint, decals, stickers, or other decorative materials to customize your car’s appearance. Before painting, make sure to sand the surface smooth and apply a primer to ensure better adhesion.
Consider adding details such as racing stripes, numbers, or logos to make your car stand out. Just keep in mind that any decorations should not interfere with the car’s weight or performance. It’s important to strike a balance between aesthetics and functionality.
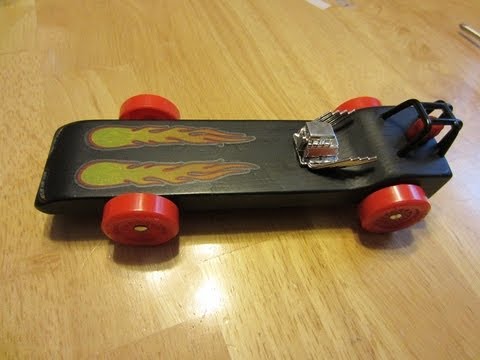
EASY Pinewood Derby Car WINS using Science!!!
In conclusion, building a pinewood derby car is not only a fun and engaging project, but also a valuable learning experience. By following the step-by-step instructions and incorporating creative design ideas, you can create a car that is not only visually appealing, but also performs exceptionally on the race track. Remember to take your time during each stage of the process, paying attention to details and ensuring that every component is securely attached. Additionally, don’t be afraid to experiment and try new techniques, as this will allow you to discover your own unique approach to building the ultimate pinewood derby car.
Furthermore, the pinewood derby car building process promotes important skills such as problem-solving, critical thinking, and teamwork. From conceptualizing the design to fine-tuning the car’s weight distribution, every aspect of the project requires careful consideration and planning. Working together with family members, friends, or fellow scouts can foster collaboration, communication, and a sense of camaraderie. Finally, participating in the pinewood derby race itself provides an opportunity for friendly competition and sportsmanship, as you showcase your hard work and dedication. So, roll up your sleeves, grab some tools, and embark on the exciting journey of crafting your very own pinewood derby car.
- How to Make Wooden Pyramid Puzzle - May 13, 2024
- How to Solve Wooden Pyramid Puzzle - May 13, 2024
- How to Wooden Puzzle - May 13, 2024