Wood burning, also known as pyrography, is an age-old art form that has captivated and inspired artists and craftsmen throughout history. From intricate designs on wooden furniture to stunning portraits on canvas, the art of wood burning allows individuals to express their creativity and create unique pieces that stand the test of time. Whether you’re a seasoned artist looking to explore a new medium or a beginner eager to delve into the world of pyrography, this guide will equip you with the essential knowledge and techniques needed to master the art of wood burning.
In this comprehensive tutorial, we will delve into the various tools and materials required for wood burning, as well as the fundamental techniques that will help you achieve precise and breathtaking results. From selecting the perfect wood surface to understanding the different types of burning tips, we will walk you through each step of the process, ensuring that you have a solid foundation to build upon. So, grab your wood burning pen, ignite your imagination, and join us as we embark on a journey of creativity and craftsmanship in the realm of wood burning.
How to Wood Burning:
- Choose the right wood and design for your project.
- Prepare the wood surface by sanding it smooth.
- Trace your design onto the wood using a pencil or stencil.
- Heat up your wood burning tool according to the manufacturer’s instructions.
- Slowly and carefully burn your design onto the wood, following the traced lines.
- Allow the wood to cool down before handling or adding any finishing touches.
Wood Burning: A Step-by-Step Guide
Wood burning, also known as pyrography, is a versatile art form that involves using heat to create designs on wood surfaces. Whether you’re a beginner or an experienced artist, this guide will walk you through the process of wood burning, providing you with the necessary steps and techniques to create stunning pieces of art. So, let’s dive in and explore the fascinating world of wood burning!
Step 1: Gather Your Materials
Before you start wood burning, it’s important to gather all the necessary materials. You will need a wood burning pen or tool, wood pieces, sandpaper, carbon paper, a pencil, and a design or pattern to transfer onto the wood. Additionally, make sure you have a well-ventilated workspace and safety equipment, such as gloves and safety goggles, to protect yourself during the process.
Once you have all your materials ready, it’s time to move on to the next step.
Step 2: Prepare the Wood Surface
Preparing the wood surface is crucial for achieving clean and precise wood burning results. Start by sanding the wood piece to make it smooth and free from any rough edges or imperfections. This will ensure that the wood burning pen glides smoothly across the surface.

After sanding, use a clean cloth to wipe away any dust or debris. Now, you’re ready to transfer your design onto the wood.
Step 3: Transfer Your Design
Using carbon paper, trace your chosen design onto the wood surface. Place the carbon paper with the ink-side down and position your design on top. Secure both sheets in place and use a pencil to trace over the design, applying firm pressure. This will transfer the design onto the wood, ready for wood burning.
Once the design is transferred, remove the carbon paper and pencil markings. You’re now ready to start wood burning!
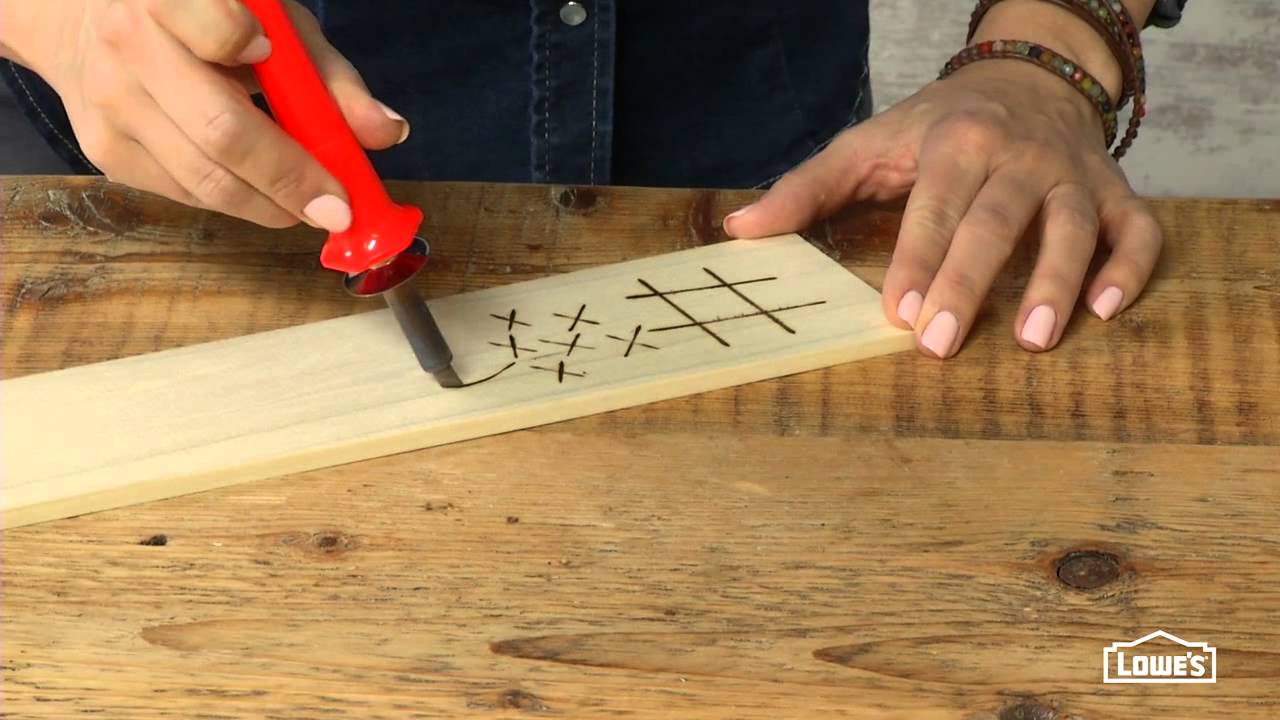
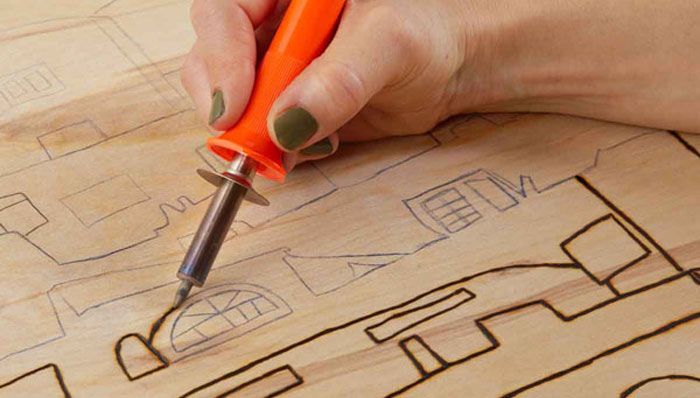
Step 4: Begin Wood Burning
Now comes the exciting part – wood burning! Before you begin, make sure to adjust the heat setting on your wood burning pen according to the type of wood you’re working with. Different types of wood require different heat settings to achieve optimal results.
Start by outlining the design with a fine tip attachment on your wood burning pen. Take your time and follow the traced lines precisely. Once the outline is complete, you can gradually fill in the design, using different tips and techniques to create shading and texture.
Remember to work slowly and steadily, allowing the wood burning pen to do the work. Rushing can lead to mistakes or uneven burning.
Step 5: Finishing Touches
After you’ve finished wood burning, let the wood piece cool down completely. Once cooled, you can apply a protective finish, such as varnish or wax, to preserve the artwork and enhance its appearance.
Before applying the finish, make sure to carefully clean the wood surface to remove any dust or debris. Follow the instructions on the chosen finish product for the best application method.
And there you have it! You’ve successfully completed a wood burning project. With practice and experimentation, you’ll be able to create intricate designs and master the art of wood burning.
Conclusion
Wood burning is a rewarding and creative art form that allows you to express your artistic vision on wood surfaces. By following the steps outlined in this guide, you’ll be well-equipped to embark on your wood burning journey. Remember to take your time, practice, and most importantly, enjoy the process of creating beautiful wood burned masterpieces!
Frequently Asked Questions
Wood burning, also known as pyrography, is a popular art form that involves burning designs onto wood surfaces using a heated tool. If you are new to wood burning or looking to improve your skills, here are some common questions and answers to help you get started:
1. What tools do I need to get started with wood burning?
To get started with wood burning, you will need a wood burning tool, also known as a pyrography pen. This tool is heated and used to burn designs onto the wood surface. Additionally, you will need different types of wood, such as basswood or birch plywood, as well as sandpaper for preparing the wood surface. Other useful tools include a pencil for sketching your design, graphite transfer paper for transferring your design onto the wood, and a set of pliers for changing the pen nibs.
It is important to choose a high-quality wood burning tool that allows you to control the temperature and has interchangeable nibs for different effects. Investing in good quality tools will make your wood burning experience more enjoyable and help you achieve better results.
2. How do I prepare the wood surface for wood burning?
Before you start wood burning, it is important to prepare the wood surface to ensure optimal results. Start by sanding the wood using fine-grit sandpaper to create a smooth surface. This will help the wood burning tool glide smoothly over the surface and prevent any rough or uneven areas in your design.
After sanding, you can apply a coat of sanding sealer or wood conditioner to the surface. This will help prevent the wood from absorbing too much heat from the wood burning tool, allowing you to have more control over the burn marks. Once the sealer is dry, you can lightly sand the surface again to remove any raised grain or imperfections.
3. How do I transfer a design onto the wood?
Transferring a design onto the wood is an important step in wood burning. One common method is to use graphite transfer paper. Start by printing or drawing your design on regular paper. Place the graphite transfer paper, graphite side down, on the wood surface. Then place your design on top of the transfer paper and secure everything in place with masking tape.
Using a pencil or pen, trace over your design with firm pressure. This will transfer the graphite from the transfer paper onto the wood, creating an outline of your design. Once the design is transferred, you can proceed with wood burning over the traced lines.
4. How do I control the temperature of the wood burning tool?
Controlling the temperature of your wood burning tool is crucial for achieving different shades and effects in your design. Most wood burning tools come with temperature control options. Start by setting the temperature to a low or medium setting and gradually increase it as needed. It is important to let the tool heat up for a few minutes before you start wood burning.
Practice on a scrap piece of wood before working on your actual project to get a feel for how the tool heats up and how different temperatures affect the burn marks. Remember, lighter shades require less heat and shorter contact with the wood, while darker shades require more heat and longer contact.
5. How can I prevent mistakes or fix them if they occur?
Wood burning is a precise art form, but mistakes can happen. One way to prevent mistakes is to plan your design and practice it on paper before starting on the wood surface. This will help you familiarize yourself with the movements and techniques required for each part of your design.
If a mistake does occur, there are several ways to fix it. If the mistake is minor, you can try sanding the area gently to remove the burnt marks and then re-burn the design. For larger mistakes, you may need to sand down the entire area and start over. It’s important to remember that mistakes are part of the learning process, so don’t be discouraged and keep practicing.
Learn How to Wood Burn in 5 Minutes
In conclusion, mastering the art of wood burning can be both a rewarding and fulfilling experience. By following the steps outlined in this guide and honing your skills through practice, you can unlock your creativity and create stunning works of art. Remember to start with the right tools and materials, familiarize yourself with the techniques, and practice patience and precision. With time and dedication, you will develop your own unique style and find joy in the process of transforming a simple piece of wood into a masterpiece.
Not only does wood burning offer a creative outlet, but it also allows you to connect with nature and appreciate the beauty of wood as a medium. The versatility of wood burning opens up a world of possibilities, from personalized gifts to home decor pieces. Whether you are a beginner or have some experience, there is always more to learn and explore in the realm of wood burning. So, gather your supplies, unleash your imagination, and let the transformative power of fire guide your artistic journey.
- How to Refinish a Table That Is Not Real Wood - May 9, 2024
- How to Fake Wood Paneling - May 9, 2024
- How to Cover Ugly Wood Paneling - May 9, 2024