Have you ever wanted to create a meaningful and symbolic piece of art for your home or a loved one? Making a wooden cross can be a rewarding and fulfilling project that allows you to tap into your creativity and craftsmanship. Whether you are a seasoned woodworker or a beginner looking to embark on a new DIY adventure, this guide will provide you with step-by-step instructions on how to make a wooden cross that exudes beauty and elegance.
Wooden crosses have long served as powerful symbols of faith, hope, and remembrance. They can be personalized and customized to reflect your own unique style and purpose. From choosing the right type of wood to shaping and finishing the cross, you will learn valuable techniques and tips that will ensure your creation stands out as a testament to your skills and dedication. So, grab your tools and let’s dive into the world of woodworking as we explore the art of making a wooden cross that will inspire and captivate all who lay eyes upon it.
How to Make a Wooden Cross
- Measure and cut a wooden board to the desired cross size.
- Sand the edges and surfaces of the wooden pieces.
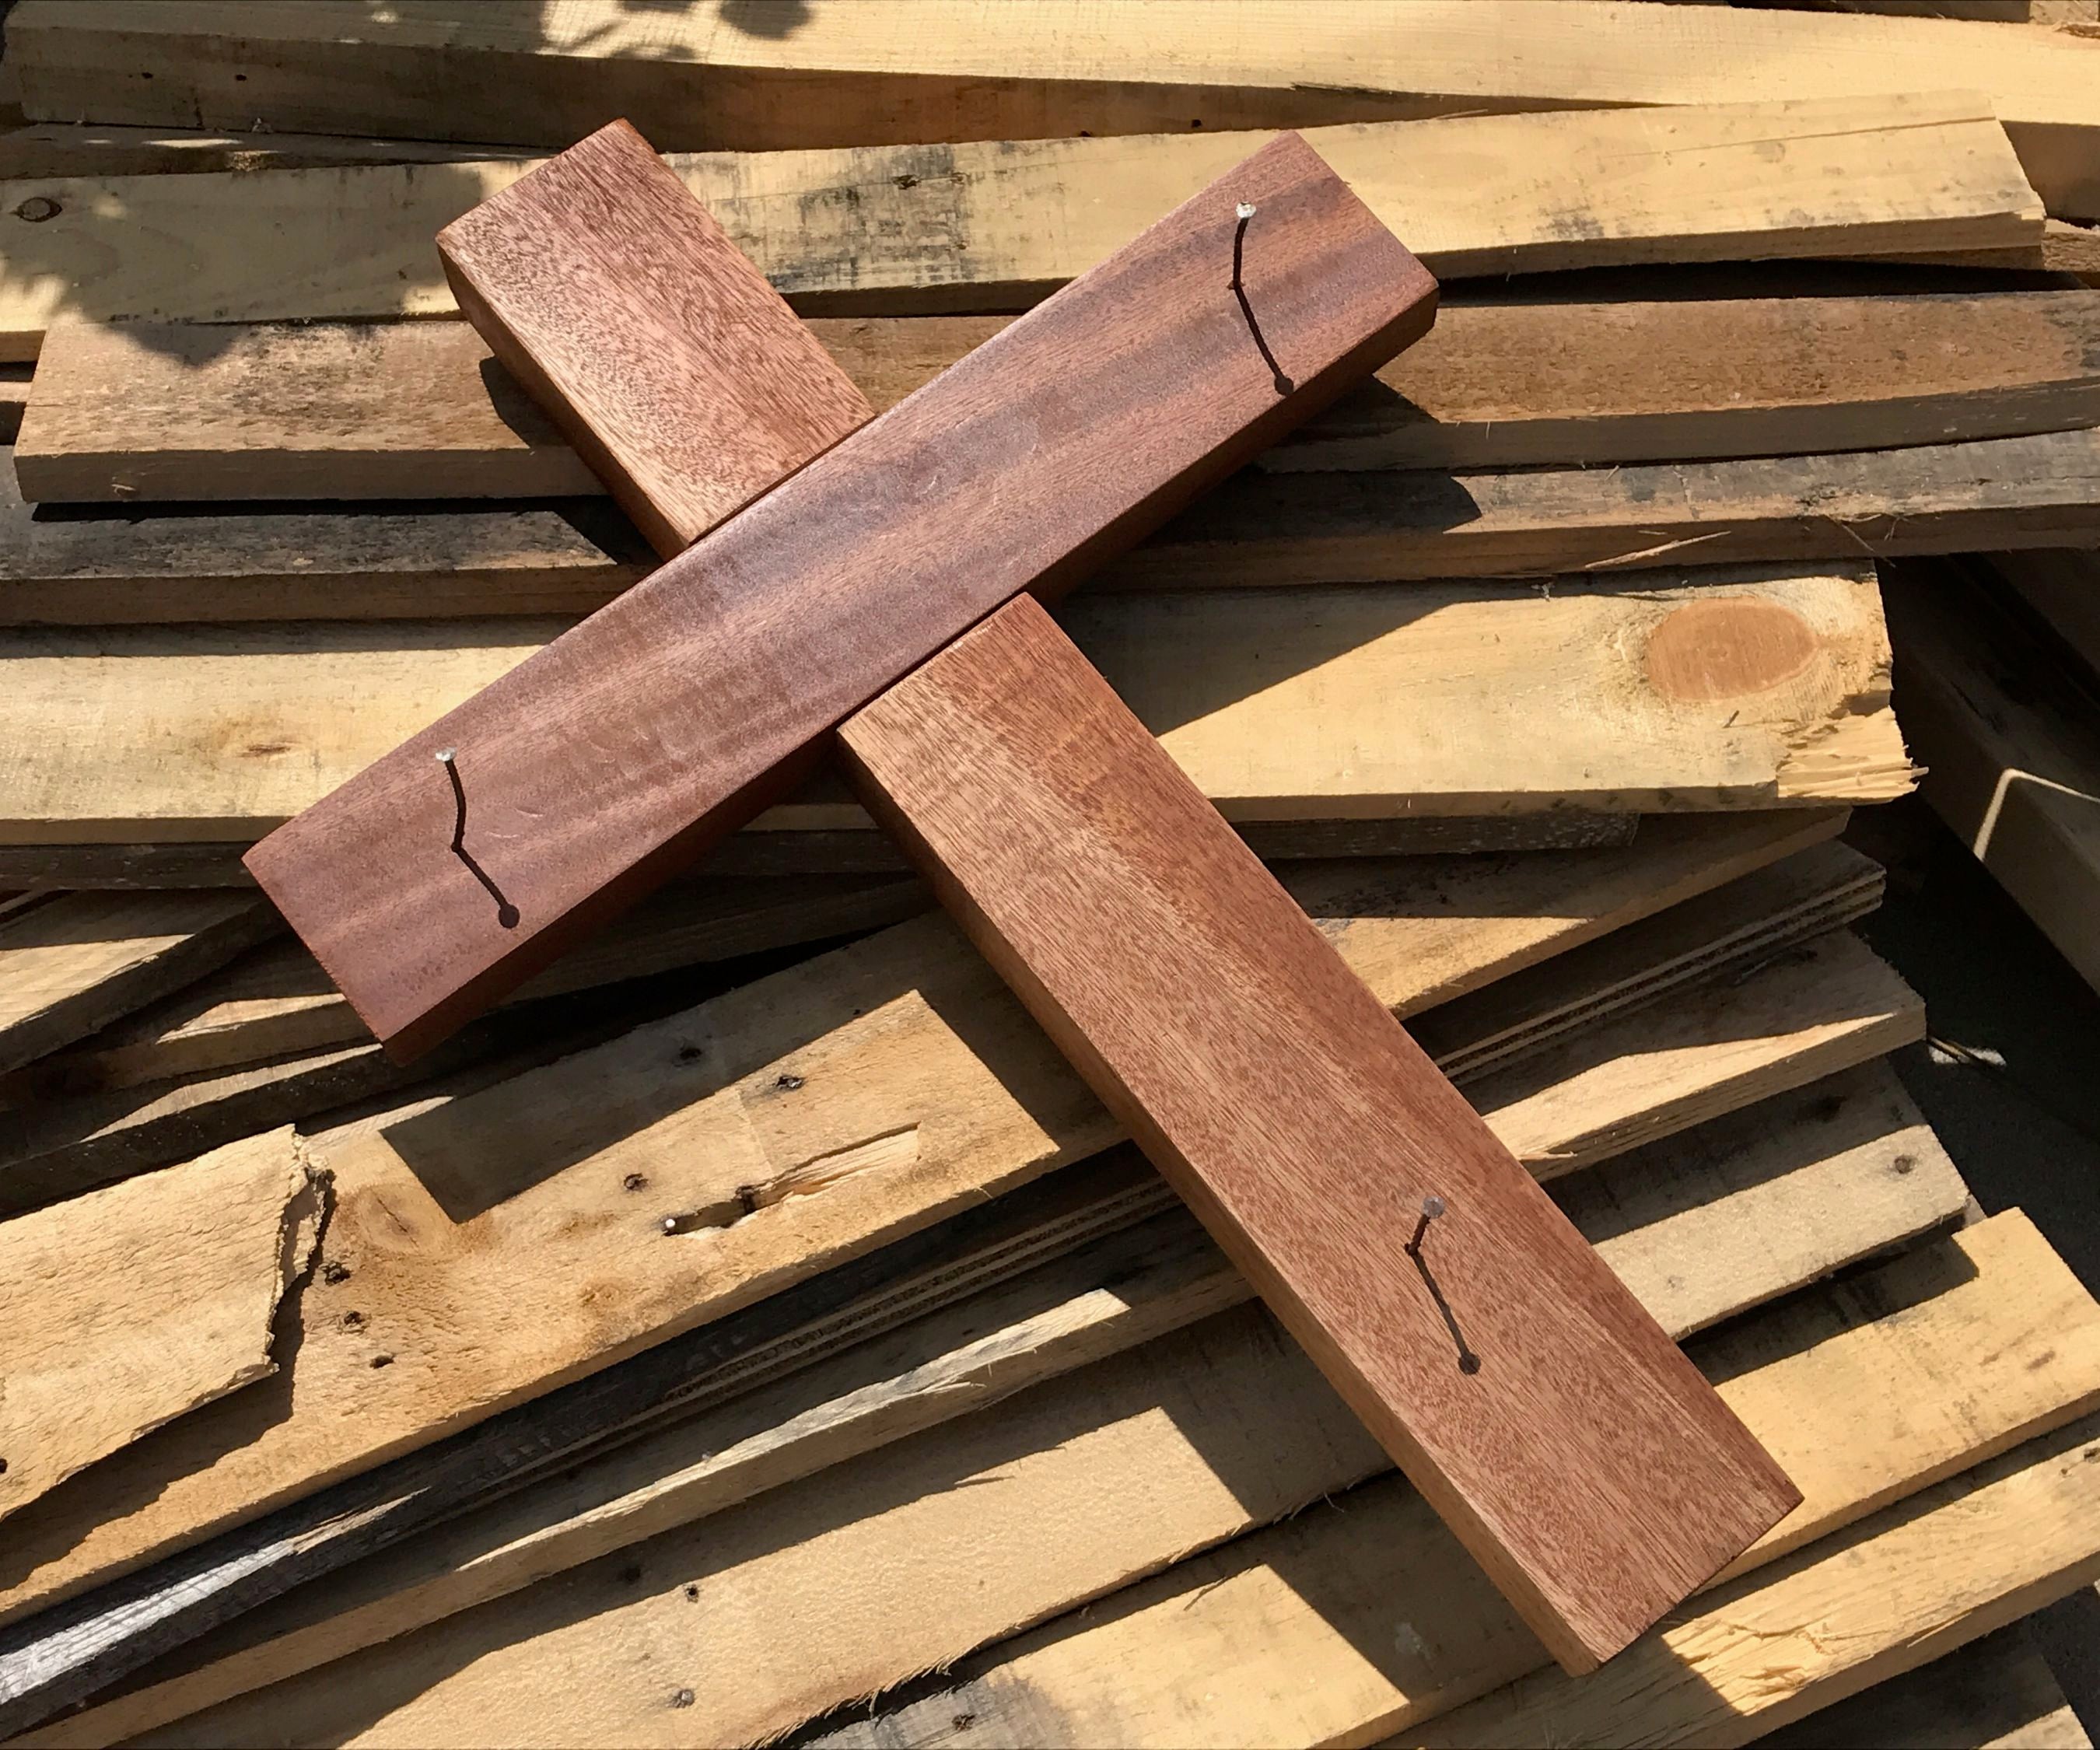
- Use wood glue to join the pieces together in a cross shape.
- Secure the joints with screws for added stability.
- Apply wood stain or paint to enhance the appearance.
- Let it dry completely before displaying or using.
Introduction
In this step-by-step guide, we will walk you through the process of making a beautiful wooden cross. Whether you are looking to create a meaningful piece of decor for your home or a thoughtful gift for a loved one, this project is sure to impress. With a few basic tools and some patience, you can create a stunning wooden cross that showcases your craftsmanship.
Materials Needed
Before getting started, gather the following materials:
- Wood board (preferably hardwood)
- Saw
- Sandpaper (various grits)
- Wood glue
- Clamps
- Wood stain or paint
- Paintbrushes
- Clear coat or varnish
- Drill
- Screws
Step 1: Design and Measurements
The first step in making a wooden cross is to decide on the design and measurements. Consider the size and shape you want the cross to be, and sketch out your design on a piece of paper. Once you are satisfied with the design, measure and mark the dimensions on your wood board.
Use a saw to carefully cut out the cross shape, following your measurements. Take your time and make precise cuts to ensure a clean and professional-looking result.
Step 2: Sanding

After cutting out the cross shape, it’s important to sand the edges and surfaces of the wood. Start with a coarse grit sandpaper to remove any roughness or imperfections. Gradually work your way up to finer grits, ensuring a smooth and polished finish.
Pay extra attention to the edges of the cross, as they should be rounded and smooth to prevent any splintering. Sanding also helps prepare the wood for staining or painting later on.
Step 3: Assembly
Now that your wooden cross is cut and sanded, it’s time to assemble the pieces. Apply wood glue to the joints where the pieces of the cross meet, ensuring a strong bond. Use clamps to hold the pieces together firmly while the glue dries.
For added stability, you can also drill pilot holes and secure the pieces with screws. This step is optional but recommended, especially if you plan to hang the cross on a wall.
Step 4: Finishing Touches
Once the glue has dried and the cross is assembled, it’s time to add the finishing touches. If you prefer a natural look, you can apply a clear coat or varnish to protect the wood and enhance its natural beauty.
If you want to add some color, consider using wood stain or paint. Apply multiple coats, allowing each coat to dry before applying the next. This will ensure a smooth and even finish.
Step 5: Final Steps
After the stain or paint has dried, your wooden cross is almost complete. Take a moment to inspect the cross for any imperfections or rough edges. Use sandpaper to smooth out any areas that need touch-ups.
Finally, attach a hanging mechanism to the back of the cross if desired. This can be a simple hook or wire, depending on how you plan to display your creation.
Step 6: Enjoy Your Wooden Cross
Congratulations! You have successfully made a wooden cross. Find the perfect spot to display your creation and enjoy the beauty and craftsmanship that went into making it.
Remember, practice makes perfect, so don’t be discouraged if your first attempt isn’t flawless. With time and experience, you’ll refine your skills and create even more stunning wooden crosses.
Frequently Asked Questions
In this section, you will find answers to commonly asked questions about how to make a wooden cross.
Question 1: What materials do I need to make a wooden cross?
To make a wooden cross, you will need the following materials:
– A piece of wood, preferably hardwood, in the desired size and shape for the cross.
– Sandpaper of various grits for smoothing the wood surface.
– Wood glue to join the pieces of wood together.
– Clamps to hold the wood pieces in place while the glue dries.
– Saw or a wood cutting tool to shape the wood into the desired cross design.
Question 2: How do I prepare the wood for making a wooden cross?
Before starting to make a wooden cross, it is important to prepare the wood properly. Follow these steps:
1. Measure and mark the desired dimensions of the cross on the wood.
2. Use a saw or wood cutting tool to cut the wood into the desired cross shape.
3. Use sandpaper of different grits to smooth the surface of the wood and remove any rough edges.
4. Wipe off any sawdust or debris from the wood surface.
Question 3: How do I assemble the wooden cross?
To assemble the wooden cross, follow these steps:
1. Apply wood glue to the edges of the wood pieces that need to be joined.
2. Align the pieces together and hold them in place firmly.
3. Use clamps to secure the pieces together while the glue sets. Ensure that the cross is properly aligned and straight.
4. Allow the glue to dry completely, following the manufacturer’s instructions.
Question 4: How do I finish the wooden cross?
Finishing the wooden cross adds durability and enhances its appearance. Here’s how:
1. Sand the entire surface of the cross using fine-grit sandpaper to achieve a smooth finish.
2. Wipe off any sawdust or debris from the wood surface.
3. Apply a wood finish, such as varnish or stain, using a brush or cloth. Follow the instructions on the product for the best results.
4. Allow the finish to dry completely before handling or displaying the wooden cross.
Question 5: How can I personalize the wooden cross?
Personalizing the wooden cross can make it more meaningful and unique. Consider these options:
– Engrave or carve initials, names, or meaningful symbols onto the wood surface.
– Paint or decorate the cross with colors, patterns, or designs that hold significance to you or the intended recipient.
– Attach small decorative items, such as beads, ribbons, or religious symbols, to the cross using glue or nails.
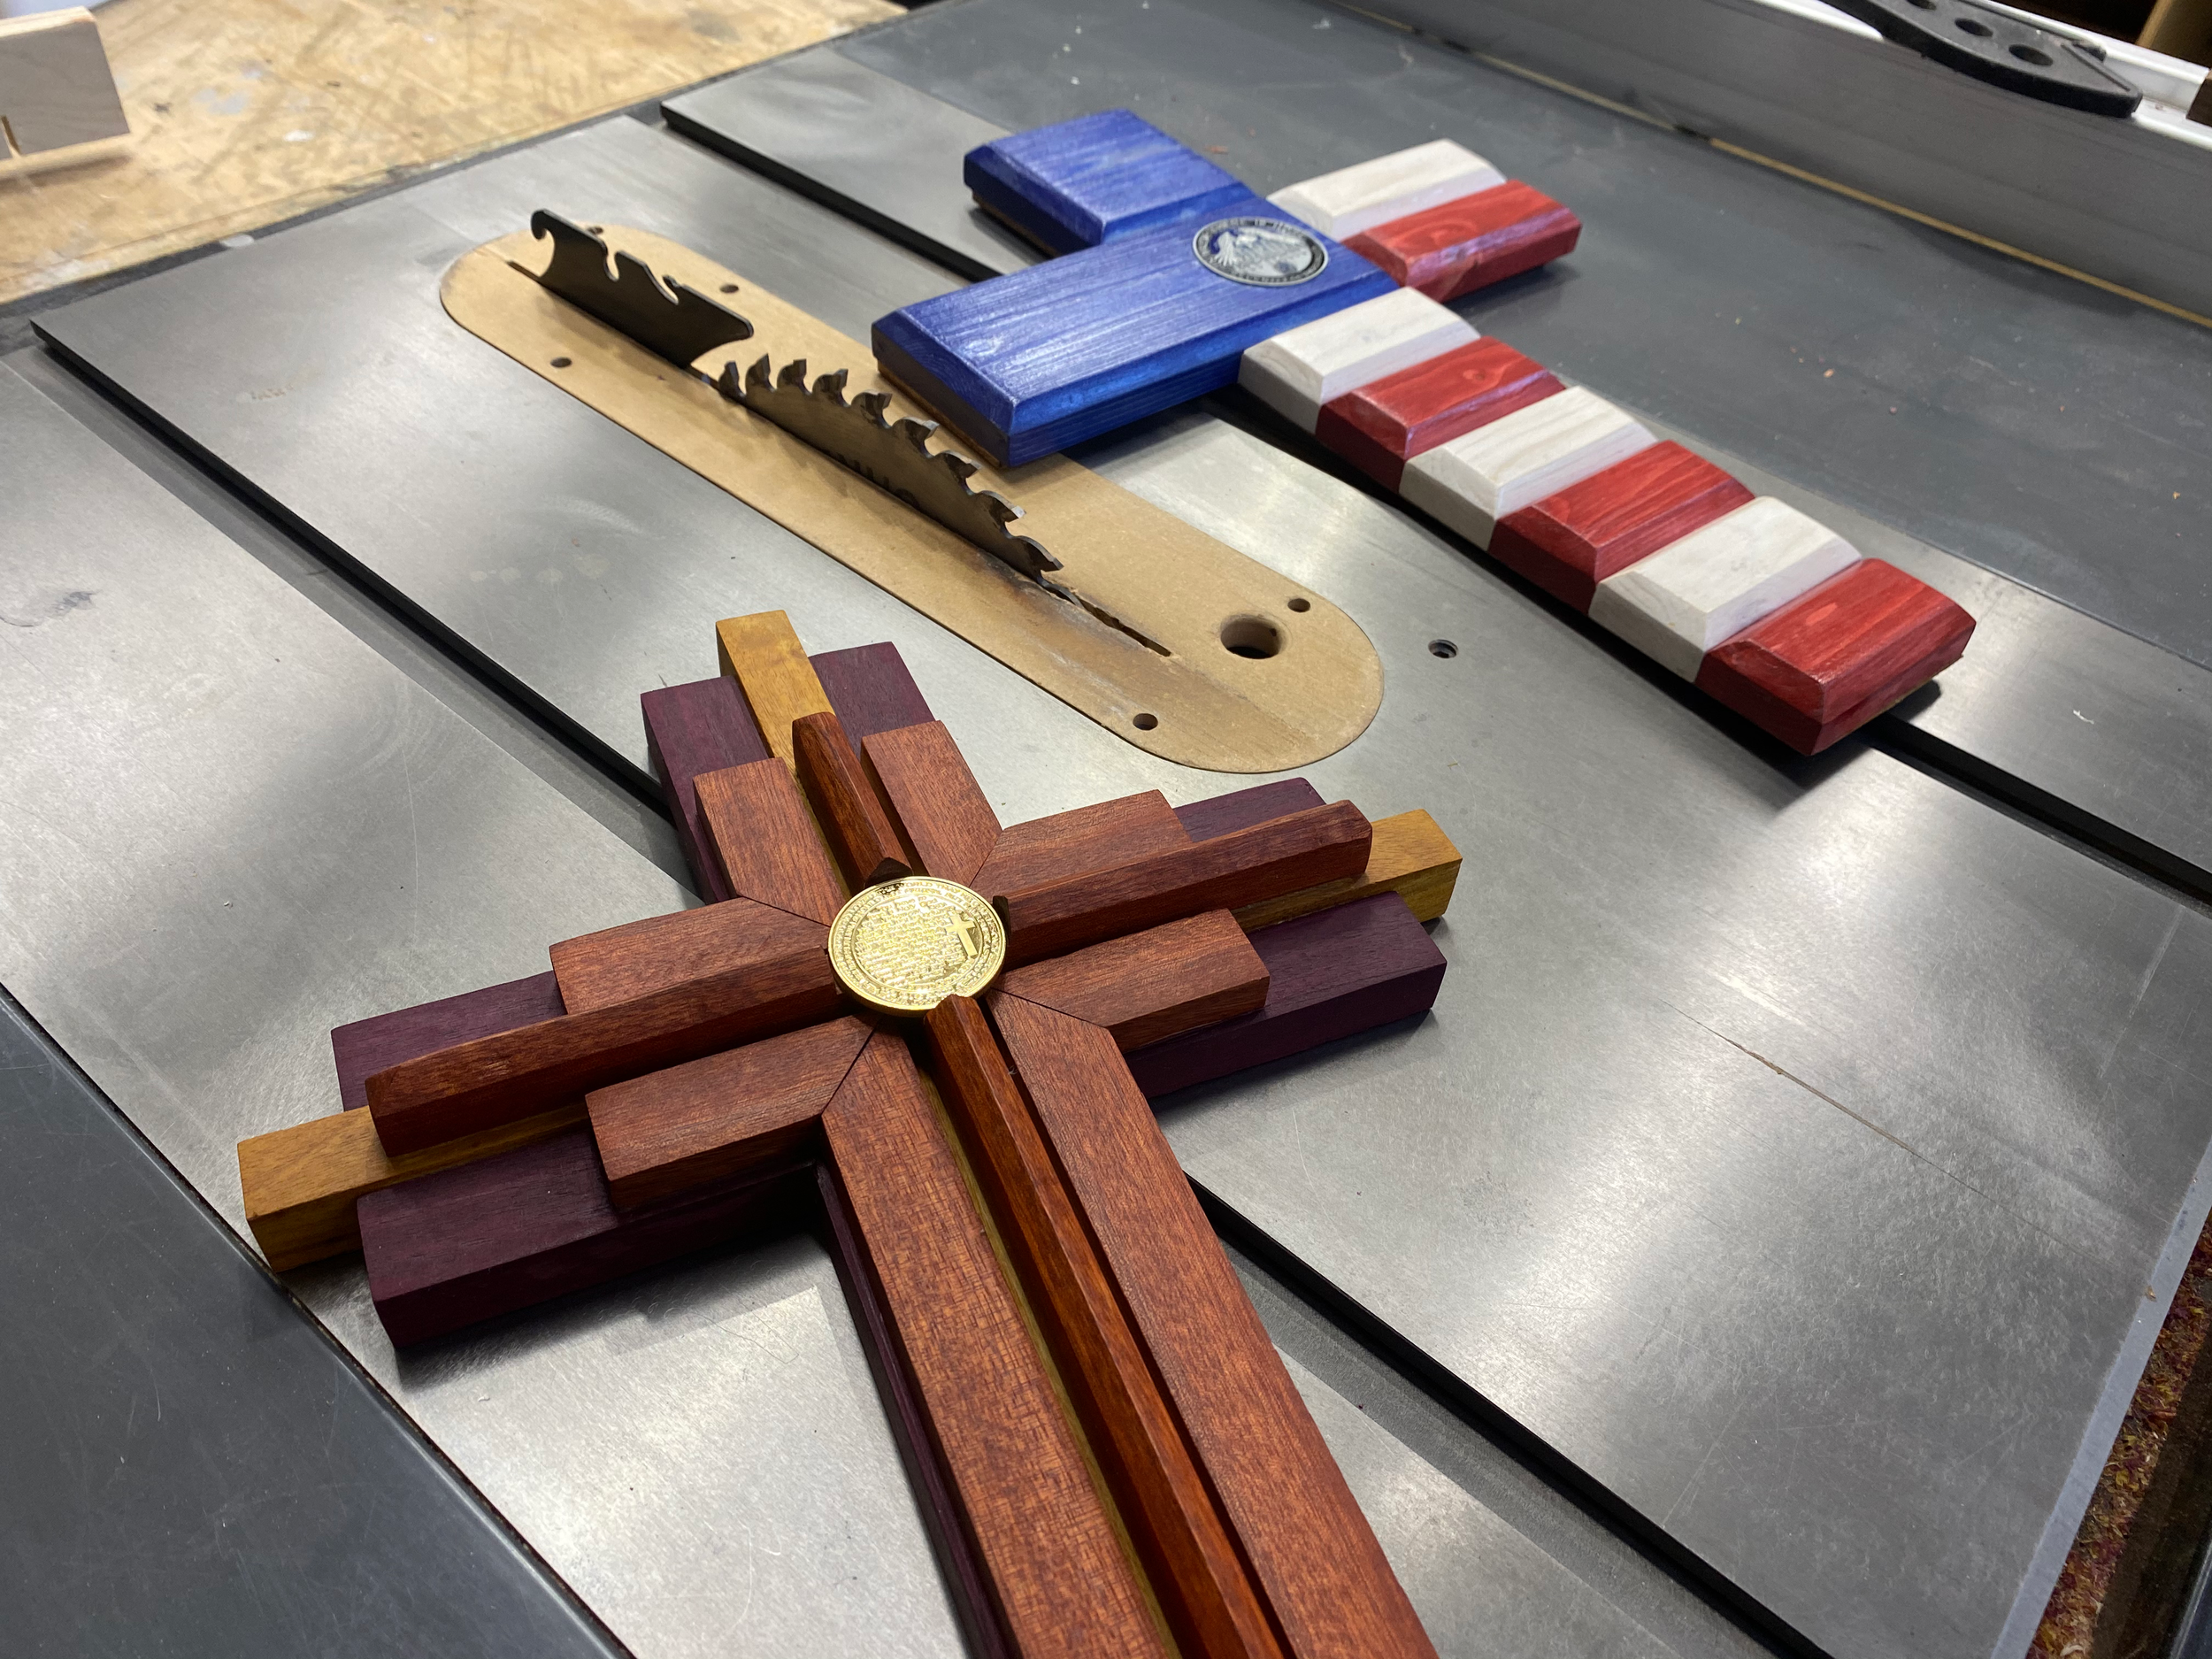
– Use different types of wood with varying colors and grains to create an eye-catching contrast.
How to Build a Wooden Cross
In conclusion, making a wooden cross is a fulfilling and meaningful project that allows individuals to express their creativity while paying homage to their faith. By following the step-by-step instructions outlined in this guide, anyone can embark on this journey and create a beautiful and personalized wooden cross. Whether it is for personal use, as a gift, or for religious purposes, the process of making a wooden cross can be a deeply satisfying and spiritually enriching experience.
Furthermore, crafting a wooden cross not only serves as a creative outlet but also allows individuals to connect with the rich history and symbolism associated with this iconic religious symbol. From selecting the right type of wood to the careful carving and finishing, each step of the process requires attention to detail and a genuine appreciation for the craft. The final result is not just a physical object, but a tangible representation of one’s faith and devotion. So, whether you are a seasoned woodworker or a beginner looking to explore a new hobby, making a wooden cross is a rewarding endeavor that combines craftsmanship, spirituality, and personal expression.
- How to Remove Glue From Wood Floor - April 14, 2024
- How to Dissolve Wood Glue - April 14, 2024
- How to Remove Wood Glue - April 14, 2024