Are you ready to elevate your hosting game and impress your guests with a stunning, handcrafted wood charcuterie board? Look no further, as we delve into the art of creating a one-of-a-kind serving piece that will not only showcase your culinary delights but also add a touch of rustic elegance to your table. In this guide, we will explore the step-by-step process of making a wood charcuterie board, from selecting the perfect wood to finishing it with a food-safe sealant. Whether you are a seasoned woodworker or a beginner looking to unleash your creativity, this tutorial will equip you with the knowledge and skills to craft a charcuterie board that is both functional and visually appealing.
Imagine the satisfaction of slicing through a succulent piece of cured meat or spreading creamy cheese onto a perfectly textured surface, all displayed on a charcuterie board that you have meticulously crafted with your own hands. With the right tools, materials, and guidance, you can bring this vision to life. In this comprehensive tutorial, we will cover everything from choosing the right wood species to understanding the proper techniques for shaping and finishing your board. Whether you prefer a sleek and modern design or a more rustic and natural look, we will explore various styles and finishes to suit your personal taste. Get ready to embark on a rewarding woodworking journey as we unlock the secrets to creating an eye-catching wood charcuterie board that will leave your guests in awe.
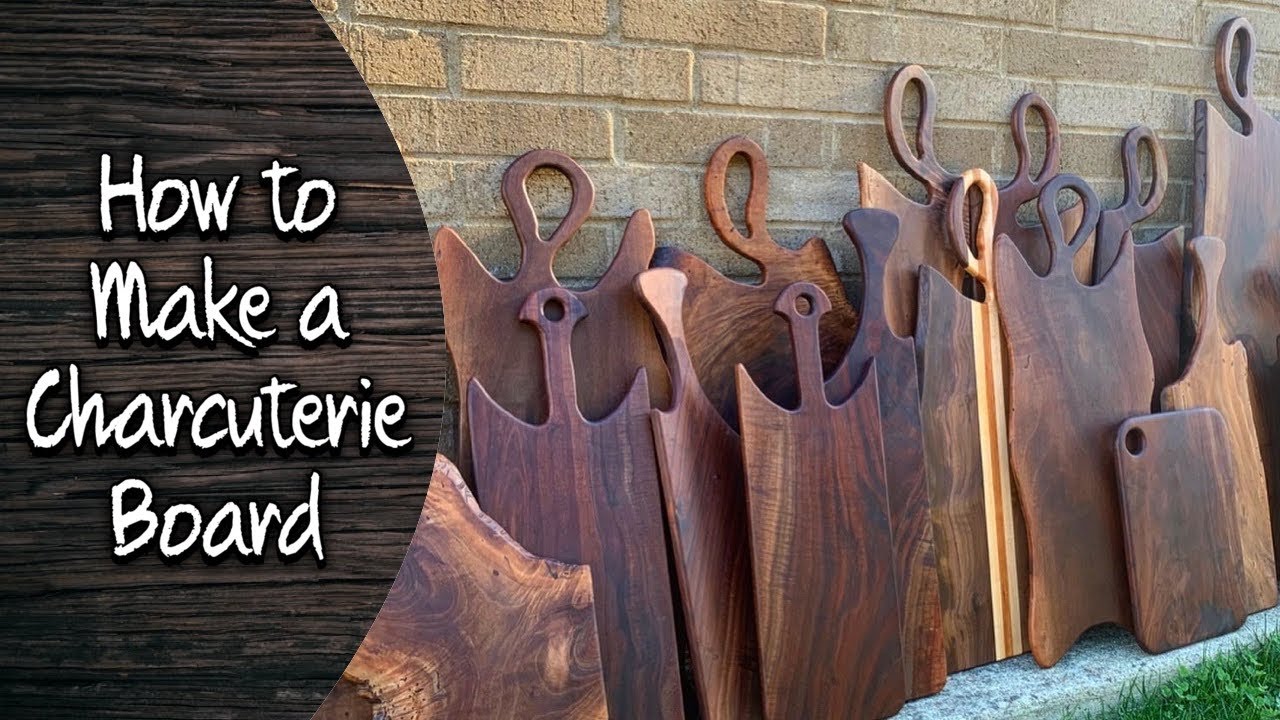
How to Make a Wood Charcuterie Board:
- Start by selecting a quality piece of hardwood, such as maple or walnut.
- Measure and cut the wood to your desired dimensions for the board.
- Sand the wood to create a smooth surface.
- Apply food-safe mineral oil or beeswax to protect and enhance the wood.
- Optional: Add decorative elements like handles or a juice groove.
- Allow the board to dry completely before use.
How to Make a Wood Charcuterie Board
In this step-by-step guide, we will walk you through the process of creating a stunning wood charcuterie board. Whether you’re a seasoned woodworker or a beginner looking to try your hand at woodworking, this project is perfect for showcasing your skills and creating a functional piece for entertaining. Follow these instructions carefully, and you’ll have a beautiful charcuterie board to impress your guests in no time.
Materials and Tools
Before you begin, gather all the necessary materials and tools for this project. Here’s what you’ll need:
Materials:
- A hardwood board (such as maple, walnut, or cherry) – approximately 18 inches long and 12 inches wide
- Sandpaper (coarse and fine grit)
- Food-safe finish or oil (such as mineral oil or beeswax)
Tools:
- Table saw or circular saw
- Miter saw or a coping saw
- Router with a straight bit
- Random orbital sander or sanding block
- Clamps
- Paintbrush or cloth for applying finish
Now that you have all the necessary materials and tools, let’s move on to the next step.
Step 1: Cutting the Board
The first step in making a wood charcuterie board is cutting the board to size. Using a table saw or circular saw, carefully cut the hardwood board to the desired dimensions of approximately 18 inches long and 12 inches wide. Take your time to ensure a clean and straight cut.

Once you have cut the board to size, use a miter saw or coping saw to trim the corners and create a rounded or beveled edge. This step will give your charcuterie board a polished and professional look.
Step 2: Routing the Edges
After cutting the board, it’s time to add some decorative edges using a router with a straight bit. This step is optional but can elevate the aesthetic appeal of your charcuterie board.
Set up the router with the desired bit and carefully run it along the edges of the board. Take light passes and make sure to move in the same direction to avoid any tear-out. Experiment with different router bits and profiles to achieve the desired look.
Step 3: Sanding and Finishing
Once you have routed the edges, it’s essential to sand the board to achieve a smooth and polished finish. Start with coarse grit sandpaper and gradually move to finer grits for a flawless result.
After sanding, wipe away any dust and apply a food-safe finish or oil to protect the wood and enhance its natural beauty. Use a paintbrush or cloth to evenly apply the finish, following the manufacturer’s instructions. Allow the finish to dry completely before moving on to the next step.
Step 4: Final Touches
With the sanding and finishing complete, your wood charcuterie board is almost ready. Inspect the board for any rough edges or imperfections and sand them down if necessary.
Once you’re satisfied with the smoothness and appearance of the board, give it a final wipe to remove any remaining dust or debris. Your wood charcuterie board is now ready to be used and showcased during your next gathering or as a thoughtful gift for a loved one.
Follow these steps carefully, and you’ll create a stunning wood charcuterie board that will impress both your guests and yourself with your woodworking skills.
Frequently Asked Questions
Here are some commonly asked questions about making a wood charcuterie board:
1. How do I select the right type of wood for my charcuterie board?
When choosing wood for a charcuterie board, it’s important to consider both aesthetics and functionality. Hardwoods like walnut, maple, and cherry are popular choices due to their durability and beautiful grain patterns. It’s also essential to select wood that is food-safe and doesn’t contain any toxic substances or finishes.
Additionally, make sure the wood is properly seasoned and dried to prevent warping or cracking. Research different wood species and consider their hardness, porosity, and resistance to moisture before making your final selection.
2. What tools do I need to make a wood charcuterie board?
Creating a wood charcuterie board requires a few essential tools. You will need a table saw or a circular saw to cut the wood into the desired shape and size. A planer or a thicknesser can help you achieve a smooth and even surface.
Other necessary tools include a sander to remove any rough edges, a router to create decorative edges, and clamps to hold the wood pieces together during the gluing process. Lastly, you’ll need food-safe finishes like mineral oil or beeswax to protect and enhance the wood’s natural beauty.
3. How do I prepare the wood before assembling the charcuterie board?
Before assembling the charcuterie board, it’s crucial to properly prepare the wood. Start by cutting the wood to the desired dimensions using a saw. Next, use a planer or a thicknesser to ensure the surface is smooth and even.
After that, sand the wood with progressively finer grit sandpaper to remove any imperfections or rough areas. Make sure to sand in the direction of the wood grain to avoid scratches. Finally, clean the surface thoroughly to remove any dust or debris before proceeding with the assembly.
4. How do I assemble the wood charcuterie board?
To assemble a wood charcuterie board, first, arrange the wood pieces in the desired pattern and orientation. Apply a food-safe wood glue to the edges of each piece and press them firmly together. Use clamps to hold the wood in place while the glue dries.
After the glue has cured, remove the clamps and sand any excess glue using fine grit sandpaper. If desired, use a router to add decorative edges to the board. Finally, apply a food-safe finish like mineral oil or beeswax to protect the wood and bring out its natural beauty.
5. How do I maintain and care for my wood charcuterie board?
To ensure the longevity of your wood charcuterie board, it’s important to take proper care of it. Avoid submerging the board in water or placing it in the dishwasher, as this can cause warping or splitting.
Instead, hand wash the board with warm soapy water, using a soft sponge or cloth. Rinse thoroughly and dry it immediately with a towel. Regularly apply a food-safe finish like mineral oil or beeswax to keep the wood moisturized and protected. Store the board in a cool, dry place away from direct sunlight to prevent fading or drying out.

Remember, the process of making a wood charcuterie board requires patience and attention to detail, so take your time and enjoy the journey. Whether you’re a seasoned woodworker or a beginner, this project is a great opportunity to expand your skills and create a functional piece of art that will be cherished for years to come. So gather your tools, select a beautiful wood species, and let your creativity flow as you embark on this delightful woodworking adventure. Happy crafting!
- How to Waterproof Mdf Wood - May 10, 2024
- How to Seal Mdf Wood - May 10, 2024
- How to Waterproof a Plywood Roof - May 10, 2024