Are you looking to add a touch of rustic charm to your photographs or create a stunning backdrop for your next event? Look no further than the timeless beauty of a wood backdrop. Whether you’re a professional photographer or a DIY enthusiast, learning how to make a wood backdrop can be a rewarding and creative project that will elevate your photography or event to the next level.
Wood backdrops have become increasingly popular due to their versatility and ability to add warmth and texture to any setting. From weddings and parties to product photography and social media content, a wood backdrop can set the perfect stage for your subject. In this guide, we will explore the step-by-step process of creating your own wood backdrop, from choosing the right type of wood to applying a beautiful finish. Get ready to unleash your inner craftsman and bring your creative vision to life with a stunning wood backdrop that will leave everyone in awe. So let’s dive in and discover the art of making a wood backdrop that will transform your photographs or events into memorable experiences.
How to Make a Wood Backdrop:
- Gather the necessary materials, including wood panels, sandpaper, wood stain, and a paintbrush.
- Sand the wood panels to smooth out any rough edges.
- Apply wood stain using a paintbrush, following the manufacturer’s instructions.
- Allow the stain to dry completely before handling the wood panels.
- Arrange the wood panels to create your desired backdrop design.
- Secure the wood panels together using nails or screws.
- Your wood backdrop is now ready to use for photography, events, or home decor!

How to Make a Wood Backdrop
In this article, we will guide you through the step-by-step process of creating a wood backdrop for your photography or event needs. A wood backdrop can add a touch of natural beauty and warmth to your photos or create a rustic atmosphere for your event. With the right materials and techniques, you can easily create a stunning wood backdrop that will impress your audience.
Step 1: Gather the Materials
The first step in making a wood backdrop is to gather all the necessary materials. You will need:
- Wooden planks or panels
- Saw
- Nails
- Hammer
- Sandpaper
- Wood stain or paint (optional)
Make sure you choose wood that is sturdy and free from any defects. The size and quantity of the wood will depend on the dimensions of the backdrop you want to create.

Step 2: Measure and Cut the Wood
Measure the dimensions of the area where you want to install the wood backdrop. Using a saw, carefully cut the wooden planks or panels to the desired length. If you want a more varied look, you can cut the planks in different lengths to create an uneven pattern.
Remember to wear protective goggles and gloves when handling the saw and wood to ensure safety.
Step 3: Sand and Finish the Wood
After cutting the wood, use sandpaper to smooth out any rough edges or surfaces. This will give your wood backdrop a polished and professional look. You can also use sandpaper to distress the wood and create a more rustic appearance if desired.
If you prefer a different color or finish for your wood backdrop, now is the time to apply wood stain or paint. Follow the instructions on the product and allow sufficient drying time before proceeding to the next step.
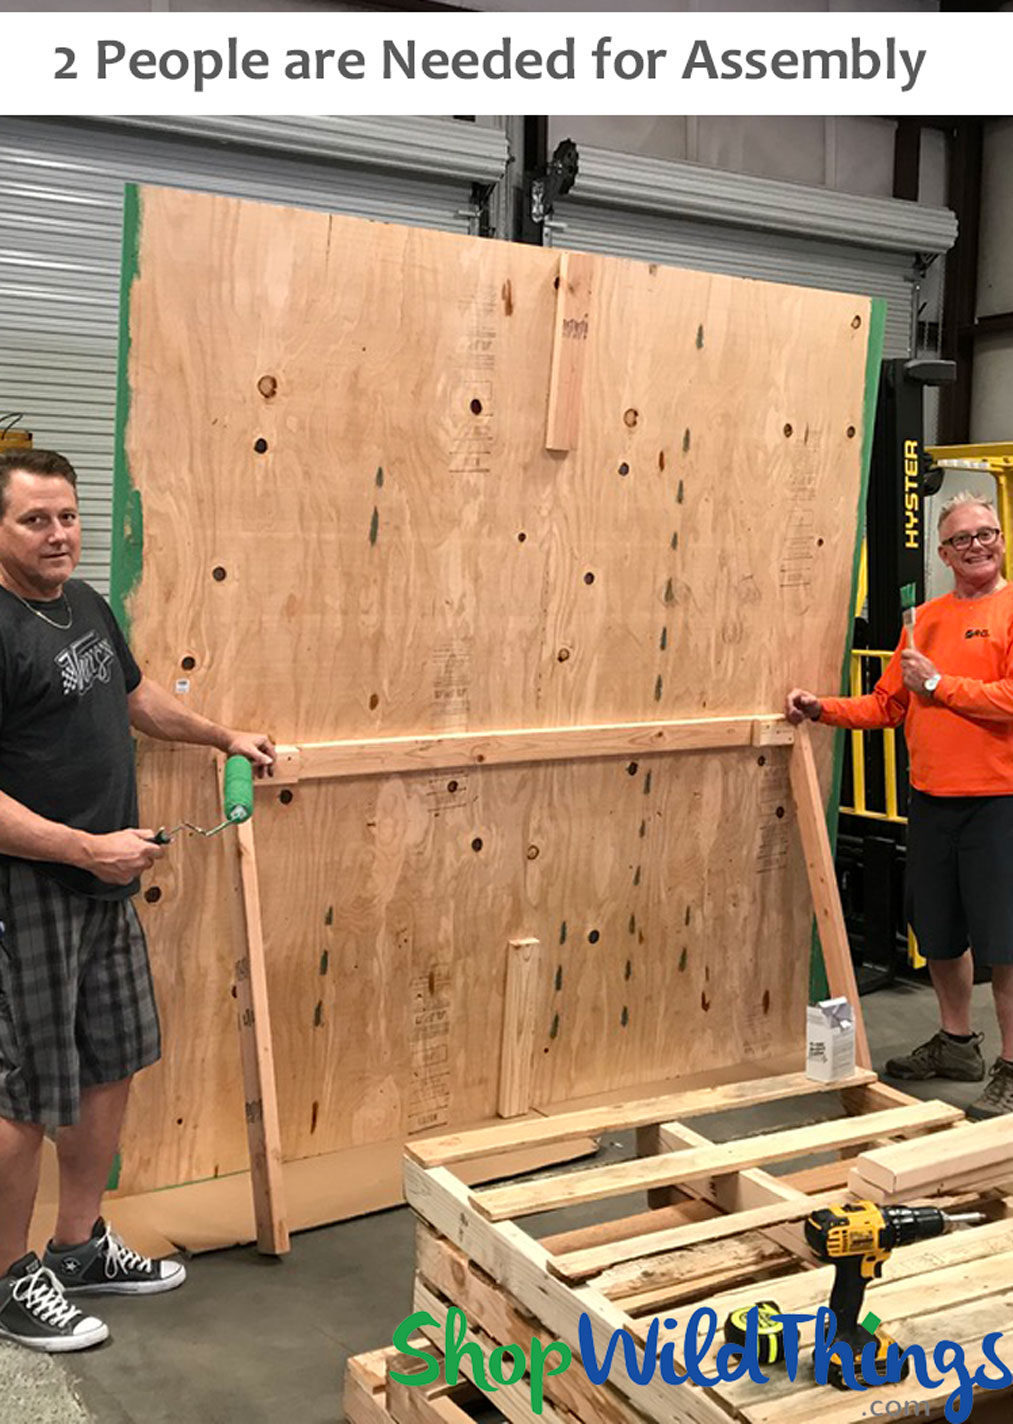
Step 4: Assemble the Wood Panels
Using nails and a hammer, start assembling the wood panels together. Place the first panel on a flat surface and align the next panel next to it. Hammer nails through the edges to secure the panels together. Repeat this process until all the panels are connected.
Make sure the panels are straight and aligned properly to create a seamless backdrop. You may need the help of an assistant to hold the panels in place while you nail them together.
Step 5: Install the Wood Backdrop
Once the wood panels are securely connected, it’s time to install the backdrop. Depending on your needs, you can attach the wood backdrop to a wall, frame it for easy setup and storage, or use it as a freestanding backdrop.
If you choose to attach it to a wall, use screws or brackets to secure the wood panels in place. Make sure to drill into studs or use wall anchors for added stability.
For a freestanding backdrop, you can attach legs or braces to the bottom of the wood panels to keep them upright.
Step 6: Finishing Touches
Once the wood backdrop is installed, step back and admire your creation. You can further enhance the look by adding decorations, such as fairy lights, flowers, or other props that complement your desired theme or style.
Remember to clean and maintain your wood backdrop regularly to keep it in good condition and prolong its lifespan.
Step 7: Enjoy Your Wood Backdrop
Now that your wood backdrop is complete, you can start using it for your photography sessions or events. Experiment with different lighting setups and angles to capture the perfect shot or create a memorable atmosphere for your guests.
With a little creativity and effort, your wood backdrop will become a versatile and eye-catching element in your photography or event setup.
Frequently Asked Questions
Here are some commonly asked questions about how to make a wood backdrop:
Q: What materials do I need to make a wood backdrop?
To make a wood backdrop, you will need the following materials:
– Wood planks or panels
– Nails or screws
– Hammer or drill
– Sandpaper
– Wood stain or paint (optional)
– Measuring tape
– Level
Q: How do I prepare the wood for the backdrop?
Before starting the installation of the wood backdrop, it is important to prepare the wood properly. Here’s how:
1. Measure and cut the wood planks or panels to the desired size. Make sure they are all the same length.
2. Sand the surface of the wood to remove any rough edges or imperfections. This will ensure a smooth and even finish.
3. If you prefer a different color or finish, you can apply wood stain or paint to the surface. Allow it to dry completely before proceeding.
Q: How do I install the wood backdrop?
To install the wood backdrop, follow these steps:
1. Start by marking the area where the backdrop will be installed. Use a level to ensure a straight line.
2. Secure the wood planks or panels to the wall using nails or screws. Make sure they are evenly spaced and aligned.
3. Continue installing the wood until you have covered the entire area. Trim any excess wood if necessary.
4. Check for any loose or uneven pieces and secure them properly.
Q: How do I maintain a wood backdrop?
To maintain a wood backdrop and keep it looking its best, follow these tips:
1. Regularly dust the surface of the wood with a soft cloth or duster to remove any dirt or debris.
2. Avoid using harsh cleaning chemicals or abrasive materials that can damage the wood. Instead, use a mild cleaner specifically designed for wood surfaces.
3. If the wood backdrop starts to show signs of wear or damage, you can sand and refinish the surface to restore its original appearance.
Q: Can I remove the wood backdrop easily?
Yes, the wood backdrop can be removed if needed. To remove it, carefully detach each wood plank or panel from the wall using a hammer or drill. Fill any holes left behind with putty or wall filler, and then sand and repaint the area if necessary.
Please note that removing the wood backdrop may cause damage to the wall, so it’s important to proceed with caution and take necessary precautions.
Furthermore, the versatility of a wood backdrop is worth mentioning. Whether you’re looking to spruce up your living room, bedroom, or even a photography studio, a wood backdrop can effortlessly enhance the ambiance of any space. Its natural warmth and texture bring a sense of coziness and authenticity, making it a popular choice for interior designers and DIY enthusiasts alike. Moreover, the beauty of a wood backdrop lies in its ability to blend seamlessly with various design styles, from modern to rustic or even eclectic. So why not embark on this exciting DIY project and enjoy the rewards of a stunning wood backdrop that will undoubtedly elevate the aesthetic appeal of your space?
- How to Design Wood Carving - May 7, 2024
- How to Carve Wood - May 7, 2024
- How to Remove Cat Urine From Wood Furniture - May 7, 2024