Are you a DIY enthusiast looking to fix a hole in your wooden furniture or flooring? While it may seem like a daunting task, fear not! In this guide, we will delve into the art of filling holes in wood, equipping you with the knowledge and techniques needed to tackle this common household problem like a pro. Whether you’re dealing with a small nail hole or a larger, more noticeable gouge, this step-by-step process will empower you to restore the beauty and integrity of your wooden surfaces.
Wood is a timeless and versatile material, renowned for its durability and natural charm. However, accidents happen, and over time, even the most carefully crafted wooden pieces can develop imperfections. Whether it’s a mishap during a home improvement project or the wear and tear of daily life, knowing how to fill a hole in wood is an invaluable skill that can save you time, money, and frustration. So, grab your tools and let’s embark on this journey together, as we explore the art of filling holes in wood and uncover the secrets to achieving seamless, professional-looking repairs.
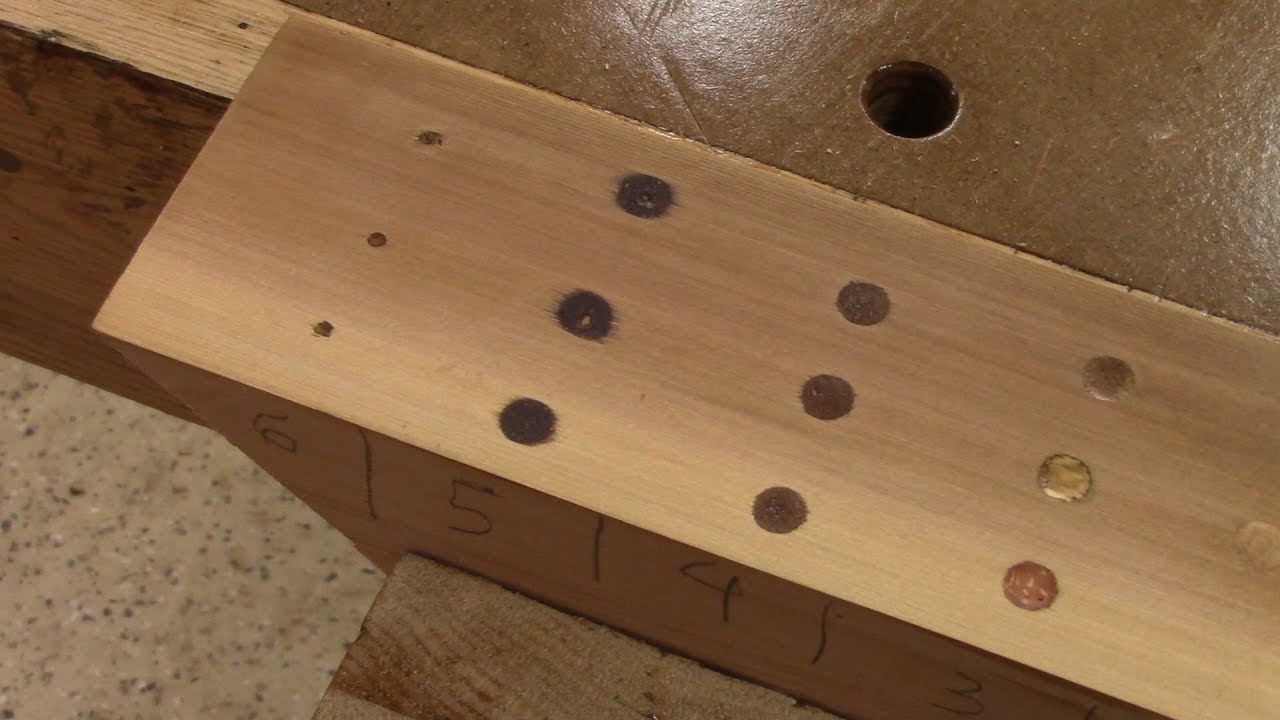
- Clean the hole and surrounding area with a brush or cloth.
- Apply wood filler or putty to the hole, using a putty knife.
- Smooth the surface with the putty knife and remove any excess filler.
- Leave the filler to dry according to the manufacturer’s instructions.
- Sand the filled area until it is level with the surrounding wood.
- Finish by staining or painting the wood to match the rest of the surface.
How to Fill a Hole in Wood
Wooden surfaces are prone to damage, and sometimes holes can appear, whether from accidental impacts or wear and tear. Fortunately, filling a hole in wood is a straightforward process that can restore the surface to its original condition. By following these step-by-step instructions, you can easily repair small to medium-sized holes in wood and make it look as good as new.
Step 1: Prepare the area
The first step in filling a hole in wood is to prepare the area around the hole. Start by cleaning the surface with a mild detergent and water to remove any dirt or debris. Next, use sandpaper to smooth out the edges of the hole and create a clean surface for the filler material to adhere to. Be sure to remove any loose wood particles or splinters, as they can affect the final result.
Once the area is clean and smooth, use a damp cloth to remove any dust or residue left from the sanding process. This will help the filler adhere better and ensure a seamless repair. Allow the wood to dry completely before proceeding to the next step.
Step 2: Choose the right filler
Choosing the right filler is crucial for achieving a successful repair. There are various types of fillers available, such as wood putty, epoxy, or wood filler. The choice of filler depends on the size and depth of the hole, as well as the type of wood you are working with.
If you have a small, shallow hole, wood putty or wood filler can be an excellent choice. These fillers come in different colors to match the wood’s tone and can be easily shaped and sanded once dry. For larger or deeper holes, epoxy fillers are more durable and can provide a strong, long-lasting repair. Read the instructions on the filler packaging carefully to ensure you choose the most suitable option.
Step 3: Apply the filler

Now it’s time to apply the filler to the hole. Using a putty knife or a spatula, scoop a small amount of filler onto the knife and press it into the hole. Make sure to overfill the hole slightly to allow for shrinkage during the drying process. Use the knife to smooth out the surface of the filler, ensuring it is level with the surrounding wood. Remove any excess filler before it dries by wiping it away with a damp cloth.
Once the filler is applied, leave it to dry according to the manufacturer’s instructions. This can take anywhere from a few hours to overnight, depending on the type of filler used. Avoid touching or putting any pressure on the filled area until it is completely dry.
Step 4: Sand and finish
After the filler has dried, use fine-grit sandpaper to sand the repaired area gently. Start with a coarser grit and gradually move to a finer grit to achieve a smooth finish. Sand in the direction of the wood grain to blend the repaired area with the surrounding surface seamlessly. Take your time and periodically check the smoothness of the repair with your fingers.
Once the repair is sanded to your satisfaction, wipe away any dust with a clean cloth. Depending on the finish of the surrounding wood, you may need to apply a matching stain or paint to ensure a consistent look. Apply the appropriate finish to the repaired area, following the manufacturer’s instructions, and allow it to dry completely before using or applying any additional coatings.
Step 5: Final touches
Inspect the repaired area and make any necessary touch-ups or adjustments. If you notice any imperfections, such as unevenness or gaps, repeat the filling and sanding process until you achieve a flawless result. Remember to match the color and finish of the surrounding wood to ensure a seamless repair.
Once you are satisfied with the repair, you can enjoy your restored wood surface. Regular maintenance and care will help prevent future holes and keep your wood looking beautiful for years to come.
Frequently Asked Questions
Here are some commonly asked questions about how to fill a hole in wood:
Question 1: What materials do I need to fill a hole in wood?
To fill a hole in wood, you will need the following materials:
– Wood filler or epoxy
– A putty knife or scraper
– Sandpaper
– Paint or stain (optional)
– A clean cloth or brush for applying paint or stain (optional)
– Safety goggles and gloves
Question 2: How do I prepare the hole before filling it?
Before filling the hole, you need to prepare it properly. Here are the steps:
1. Clean the area around the hole using a brush or cloth to remove any dust or debris.
2. Use sandpaper to smooth the edges of the hole and the surrounding wood.
3. If the hole is deep, you can use a drill to create shallow holes or grooves inside the hole. This will help the filler adhere better to the wood.
4. Wipe away any dust or particles from the hole with a clean cloth or brush.
Question 3: How do I fill a small hole in wood?
To fill a small hole in wood, follow these steps:
1. Apply a small amount of wood filler or epoxy to the hole using a putty knife or scraper.
2. Press the filler into the hole and smooth it out using the putty knife or scraper.
3. Allow the filler to dry according to the manufacturer’s instructions.
4. Once the filler is dry, use sandpaper to gently smooth the surface until it is flush with the surrounding wood.
5. If desired, you can paint or stain the filled area to match the rest of the wood.
Question 4: How do I fill a large hole in wood?
Filling a large hole in wood requires a slightly different approach. Here’s what you need to do:
1. Clean the hole and prepare it as mentioned in the previous steps.
2. Cut a piece of wood slightly larger than the hole to serve as a patch.
3. Apply wood glue to the edges of the patch and press it into the hole, making sure it fits snugly.
4. Use clamps or weights to hold the patch in place until the glue dries.
5. Once the glue is dry, use a saw or chisel to trim off any excess wood from the patch.
6. Apply wood filler or epoxy to fill any gaps or seams between the patch and the surrounding wood.
7. Allow the filler to dry, and then sand it down until it is smooth and level with the rest of the wood surface.
Question 5: How long does it take for the filler to dry?
The drying time for wood filler can vary depending on the product and environmental conditions. Generally, it takes about 24 hours for the filler to fully dry and harden. However, it’s always a good idea to check the manufacturer’s instructions for specific drying times. Keep in mind that colder temperatures and high humidity can prolong the drying process, so it’s important to allow enough time for the filler to completely dry before sanding or painting over it.

Not only does knowing how to fill holes in wood enhance the aesthetics of your wooden surfaces, but it also improves their durability and lifespan. By addressing holes promptly, you prevent further damage, such as rot or decay, from spreading and compromising the structural integrity of the wood. Whether it’s a small nail hole or a larger gap, filling it properly ensures that your wood remains strong and stable. Moreover, with the right techniques and materials, you can achieve a professional-looking finish that seamlessly blends with the surrounding wood. So, don’t hesitate to tackle those pesky holes and take pride in your ability to maintain and restore the beauty of your wooden belongings.
- How to Make Wooden Pyramid Puzzle - May 13, 2024
- How to Solve Wooden Pyramid Puzzle - May 13, 2024
- How to Wooden Puzzle - May 13, 2024