Do you have a knack for craftsmanship and a desire to create something beautiful and functional? If so, learning how to make a wood box is a skill that will not only fulfill your creative aspirations but also provide you with a practical item for storage or gifting. Whether you are a seasoned woodworker or a beginner looking to embark on a new hobby, this guide will take you step by step through the process of creating a wood box that is both sturdy and aesthetically pleasing.
Crafting a wood box is a timeless art form that allows you to showcase your woodworking skills while expressing your personal style. From selecting the perfect wood to mastering the techniques of joinery and finishing, this project offers a world of possibilities for customization and creativity. Whether you prefer a rustic, natural look or a sleek, modern design, the versatility of wood allows you to create a box that perfectly suits your taste and serves its intended purpose flawlessly. So, grab your tools and let’s dive into the world of woodworking as we explore the art of making a wood box from scratch.
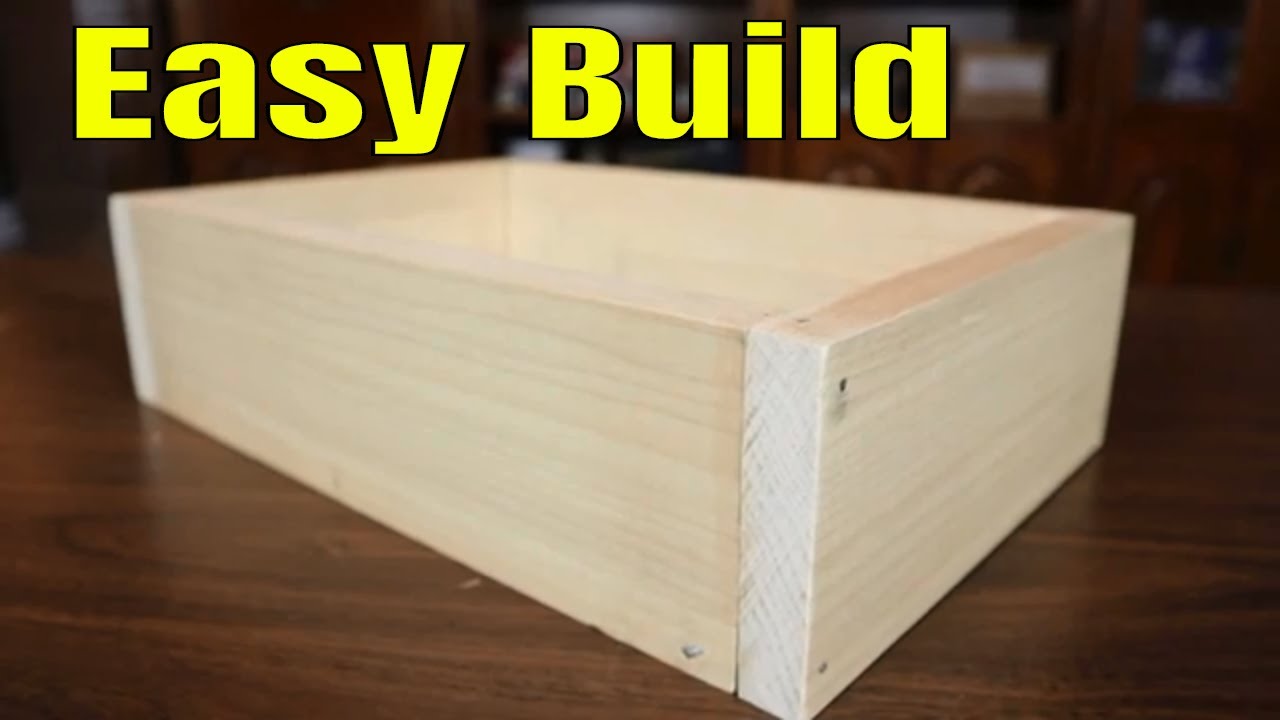
How to Make a Wood Box:
- Measure and cut the wood pieces to the desired dimensions.
- Use wood glue to join the pieces together.
- Secure the corners with nails or screws.
- Add a bottom piece and secure it to the sides.
- Sand the box to smooth any rough edges.
- Apply a wood finish or paint for a polished look.
How to Make a Wood Box: A Step-by-Step Guide
In today’s DIY culture, making your own wooden box can be a rewarding and fulfilling project. Whether you need a storage solution or simply want to showcase your craftsmanship, a wood box can be a practical and aesthetically pleasing addition to your home. In this guide, we will walk you through the process of making a wood box, from selecting the right materials to applying the finishing touches. So, let’s get started on this woodworking journey!
Step 1: Gathering Materials and Tools
Before you begin, it’s important to gather all the necessary materials and tools for this project. Here’s a list of what you’ll need:
- Wood boards: Choose a type of wood that suits your taste and project requirements. Common options include pine, oak, or birch.
- Measuring tape and ruler: Accurate measurements are crucial for a well-built box.
- Saw: Whether you prefer a hand saw or a power saw, make sure it’s appropriate for cutting wood.
- Sandpaper: Smooth out any rough edges and surfaces using different grits of sandpaper.
- Wood glue: A strong adhesive to join the wooden pieces together.
- Clamps: These will help you hold the pieces in place while the glue dries.
- Nails or screws: Depending on your preference, choose the appropriate fasteners to secure the box.
- Hammer or screwdriver: Use these tools to insert the nails or screws.
- Wood stain or paint: Enhance the appearance of your box with a finish of your choice.
- Brushes or rags: Apply the stain or paint evenly onto the wood surfaces.
Once you have gathered all the necessary materials and tools, you are ready to move on to the next step.
Step 2: Planning and Measuring
Before cutting any wood, it’s important to plan out your box’s dimensions and design. Consider the purpose of the box and where you intend to place it. Measure the space and determine the ideal size and shape accordingly. Sketch a rough diagram or create a blueprint to visualize your box.

Once you have a clear plan in mind, measure and mark the dimensions on the wood boards. Remember to account for the thickness of the wood when calculating the dimensions of the sides, top, and bottom. Use a measuring tape and ruler to ensure accuracy.
With your measurements in place, you can now proceed to the next step of cutting the wood pieces.
Step 3: Cutting the Wood
Using the measurements and markings as your guide, carefully cut the wood boards with a saw. Take your time and double-check the dimensions before making any cuts. If you have access to a table saw or miter saw, they can provide more precise cuts.
Once you have cut all the necessary pieces, sand the edges and surfaces to remove any roughness or splinters. You can start with a coarse grit sandpaper and gradually move to finer grits for a smooth finish.
Now that your wood pieces are cut and sanded, you are ready to assemble the box. Stay tuned for the next steps!
Frequently Asked Questions
Here are some common questions and answers about how to make a wood box:
Q: What materials do I need to make a wood box?
To make a wood box, you will need the following materials:
– A piece of wood, such as plywood or hardwood
– Measuring tape and a ruler
– Saw
– Sandpaper
– Wood glue
– Clamps
– Nails or screws
– Hammer or screwdriver
Q: How do I measure and cut the wood for the box?
Start by measuring the dimensions of the box you want to create. Use a measuring tape and a ruler to ensure accurate measurements. Once you have the measurements, mark them on the piece of wood. Use a saw to cut the wood along the marked lines. Take your time and make sure the cuts are straight.
After cutting the pieces, use sandpaper to smooth any rough edges or surfaces. This will give your box a professional finish and prevent any splinters.
Q: How do I assemble the wood box?
Before assembling the box, it’s a good idea to dry fit the pieces together to ensure they fit properly. Apply a thin layer of wood glue to the edges of the pieces that will be joined together. Use clamps to hold the pieces in place while the glue dries. If necessary, you can also reinforce the joints with nails or screws for added stability.
Once the glue has dried and the joints are secure, remove the clamps and sand any excess glue. Your wood box is now ready for finishing touches or decorations.
Q: How do I finish the wood box?
There are several options for finishing your wood box. You can apply a stain or paint to enhance the natural beauty of the wood or match it to your desired color scheme. Make sure to apply the stain or paint evenly and let it dry completely before handling the box.
If you prefer a more natural look, you can apply a clear varnish or sealant to protect the wood and give it a glossy finish. Apply multiple coats if necessary, following the instructions on the product label.
Q: Can I customize the wood box?
Absolutely! One of the great things about making a wood box is the ability to customize it to your personal style and preferences. You can add decorative elements such as handles, hinges, or even carvings. You can also experiment with different wood types, colors, or finishes to create a unique and personalized wood box.
Let your creativity shine and have fun with the process of making your very own wood box!

How to make a basic box. And why you need to know how. | Woodworking BASICS.
In conclusion, learning how to make a wood box is a rewarding and fulfilling experience that anyone can embark upon. By following the step-by-step instructions and using the necessary tools and materials, individuals can create a beautiful and functional wood box that can be cherished for years to come. Not only does this project allow for the development of valuable woodworking skills, but it also provides an opportunity for personal creativity and self-expression.
Furthermore, the process of making a wood box can be a transformative journey. As one immerses themselves in the craft of woodworking, they may discover a newfound passion and appreciation for the art form. The satisfaction of seeing a finished wood box, crafted with one’s own hands, is unparalleled and can instill a sense of pride and accomplishment. Whether it’s for personal use or as a thoughtful handmade gift, the wood box created through this process is sure to be a cherished item that holds sentimental value and serves a practical purpose. So, gather your tools, embrace the art of woodworking, and embark on the rewarding adventure of making your very own wood box.
- How to Design Wood Carving - May 7, 2024
- How to Carve Wood - May 7, 2024
- How to Remove Cat Urine From Wood Furniture - May 7, 2024