Are you a DIY enthusiast looking to enhance your woodworking skills? Or perhaps you’re a beginner searching for a rewarding project to embark on? Well, look no further! In this comprehensive guide, we will take you through the step-by-step process of crafting your very own wooden mallet. Not only will this project allow you to showcase your creativity, but it will also provide you with a versatile tool that can be used in various woodworking endeavors. So, grab your tools and let’s dive into the wonderful world of woodworking as we learn how to make a wooden mallet.
Woodworking is an art form that has been cherished for centuries, offering both beauty and functionality. As you delve into this project, you will not only gain a newfound appreciation for the craftsmanship involved but also develop valuable skills along the way. With our detailed instructions and helpful tips, you’ll be able to create a sturdy and reliable wooden mallet that will assist you in your future woodworking projects. So, whether you’re a seasoned woodworker or just starting out, join us on this exciting journey as we unlock the secrets to creating a wooden mallet that is as aesthetically pleasing as it is functional.
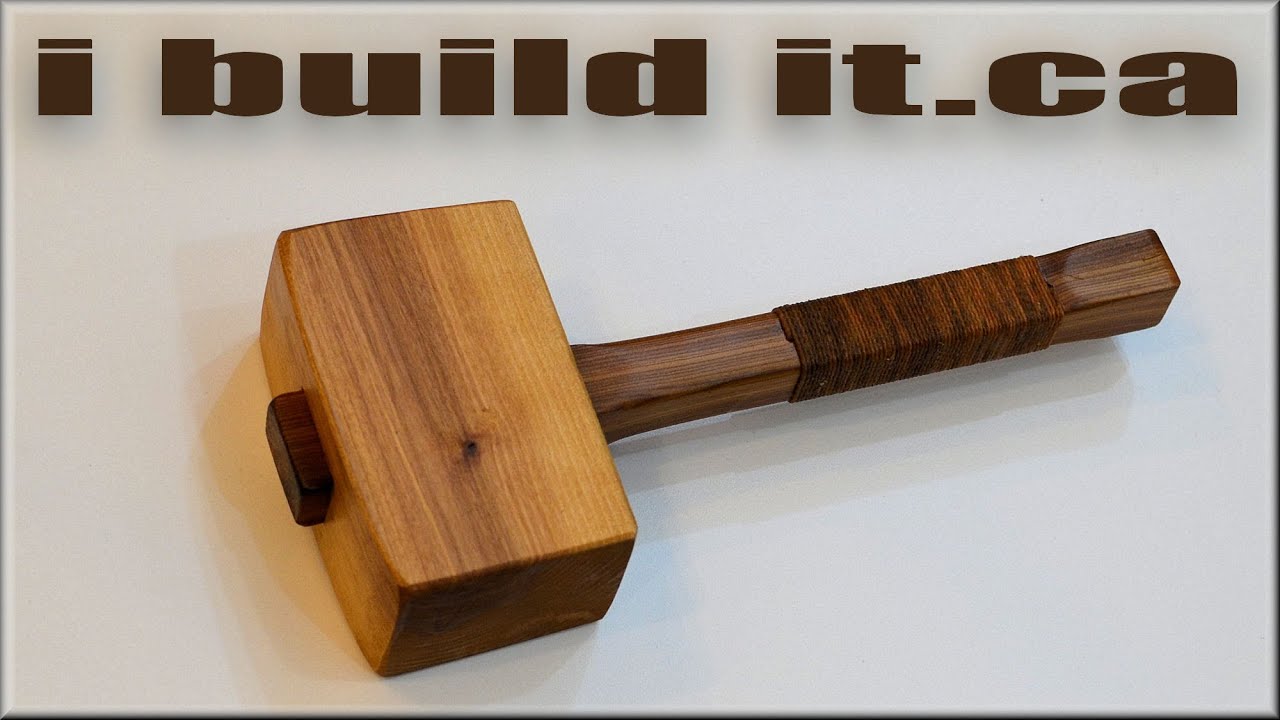
How to make a wooden mallet:
- Choose a hardwood such as oak, maple, or beech for durability.
- Cut a piece of wood to the desired length for the handle.
- Shape the handle using a saw and chisel, creating a comfortable grip.
- For the head, cut a larger piece of wood and shape it into a rectangular block.
- Secure the handle into the head by drilling a hole and inserting the handle.
- Use wood glue and screws for extra stability.
- Sand the mallet to smooth any rough edges.
- Apply a protective finish, such as oil or varnish, to enhance the mallet’s longevity.
How to Make a Wooden Mallet
Wooden mallets are essential tools for any woodworking enthusiast. They are versatile and can be used for a variety of tasks, from driving chisels and dowels to tapping joints together. In this step-by-step guide, we will walk you through the process of making your own wooden mallet. With a few basic tools and materials, you can create a durable and functional mallet that will serve you well in your woodworking projects.
Gather the Necessary Materials
Before you begin, it’s important to gather all the materials you will need for this project. Here’s a list of what you’ll need:
- Hardwood block: Choose a dense and durable hardwood, such as oak or maple, for the head of your mallet. The dimensions of the block will depend on your personal preference, but a typical size is around 4 inches long, 2 inches wide, and 3 inches tall.
- Handle: Look for a straight and sturdy piece of hardwood for the handle. Hickory or ash are popular choices. The length of the handle should be around 10 to 12 inches.
- Saw: You’ll need a saw to cut the hardwood block to size and shape the handle.
- Chisel: A chisel will be used to shape the head of the mallet.
- Drill: You’ll need a drill to create a hole in the head for the handle.
- Sandpaper: Sandpaper of various grits will be used to smooth and finish the mallet.
- Wood glue: Wood glue will be used to secure the handle in the head.
- Clamps: Clamps will be needed to hold the mallet together while the glue dries.
- Finishing oil or wax: To protect and enhance the appearance of the mallet, you can apply a finishing oil or wax.
Once you have gathered all the necessary materials, you can move on to the next step of making your wooden mallet.
Cut and Shape the Head and Handle
Start by cutting the hardwood block to the desired size for the head of the mallet. Use a saw and take your time to ensure clean and precise cuts. Once the block is cut, use a chisel to shape the head into a rounded or square shape, depending on your preference. Smooth out any rough edges or imperfections with sandpaper.

Next, move on to shaping the handle. Cut a piece of hardwood to the desired length and shape it into a comfortable grip. You can use a saw and sandpaper to shape the handle to your liking. Remember to smooth out any rough surfaces to ensure a comfortable grip.
Once you are satisfied with the shape of the head and handle, you can proceed to the next step of assembling the mallet.
Assemble the Mallet
Using a drill, create a hole in the center of the mallet head that is slightly smaller than the diameter of the handle. Apply wood glue to the end of the handle and insert it into the hole in the head. Make sure the handle is fully inserted and centered in the head.
Once the handle is in place, use clamps to secure the head and handle together. Wipe off any excess glue that may squeeze out. Leave the mallet clamped for the recommended drying time specified on the wood glue packaging.
After the glue has fully cured, remove the clamps and sand the entire mallet to smooth out any rough surfaces. Start with a coarse grit sandpaper and gradually work your way up to a finer grit for a polished finish.
Finally, you can apply a finishing oil or wax to protect and enhance the appearance of your wooden mallet. Follow the instructions on the product packaging for the best results.
And there you have it! You have successfully made your own wooden mallet. With proper care and maintenance, your mallet will last for years and become a valuable tool in your woodworking arsenal.
Frequently Asked Questions
Here are some common questions about how to make a wooden mallet:
Q: What materials do I need to make a wooden mallet?
To make a wooden mallet, you will need the following materials:
– A hardwood block, such as maple or oak
– A saw for cutting the block to size
– Sandpaper for smoothing the surfaces
– Wood glue for joining the pieces together
– Clamps to hold the pieces in place while the glue dries
– A drill and drill bits for creating holes, if desired
Q: How do I shape the head of the wooden mallet?
To shape the head of the wooden mallet, follow these steps:
1. Mark the desired shape of the head on the hardwood block.
2. Use a saw to cut away the excess wood, gradually shaping it closer to the marked lines.
3. Use sandpaper to smooth the surfaces and refine the shape of the head.
4. Repeat the sanding process, gradually using finer grits of sandpaper for a smoother finish.
Q: How do I attach the handle to the wooden mallet?
To attach the handle to the wooden mallet, you can follow these steps:
1. Measure and mark the desired length for the handle on the hardwood block.
2. Use a saw to cut a slot or mortise into the head of the mallet, where the handle will fit.
3. Apply wood glue to the slot or mortise.
4. Insert the handle into the slot or mortise, ensuring it is aligned properly.
5. Use clamps to hold the handle in place while the glue dries.
Q: Can I customize the design of my wooden mallet?
Yes, you can customize the design of your wooden mallet to suit your preferences. You can try different shapes for the head, add decorative elements, or even carve patterns into the handle. However, keep in mind that functionality should be the primary consideration. The mallet should have a comfortable grip and a head that is suitable for the intended use.
Remember to prioritize safety and ensure the mallet remains balanced and sturdy after any modifications.
Q: How do I maintain and care for my wooden mallet?
To maintain and care for your wooden mallet, follow these tips:
– Keep the mallet clean by wiping it with a soft cloth after use.
– Avoid exposing the mallet to excessive moisture or extreme temperatures.
– Periodically check the handle and head for any signs of damage or loosening.
– If the mallet becomes dull or worn, you can sand and refinish it to restore its appearance.
– Store the mallet in a dry place, away from direct sunlight and other potential sources of damage.

Beginner Woodwork Project – Making a Scrap Wood Mallet
In conclusion, crafting your own wooden mallet can be a rewarding and enjoyable project for woodworkers of all skill levels. By following the step-by-step instructions outlined in this guide, you can create a tool that is not only functional but also unique to your personal style and preferences. The process of selecting the wood, shaping and carving it, and assembling the mallet brings a sense of accomplishment and satisfaction that cannot be replicated by simply purchasing a pre-made tool.
Moreover, making your own wooden mallet allows you to customize its size, weight, and handle shape to suit your specific needs. Whether you are a professional woodworker looking for a reliable tool or a hobbyist seeking to expand your collection, a homemade wooden mallet can become an indispensable part of your workshop. So, why not embrace this opportunity to express your creativity and enhance your woodworking experience by embarking on the journey of creating your very own wooden mallet? Start now and discover the joy of working with a tool that you have made with your own hands.
- How to Laser Engrave Wood - May 5, 2024
- How to Use Ryobi Wood Splitter - May 5, 2024
- How to Split Wood Youtube - May 5, 2024