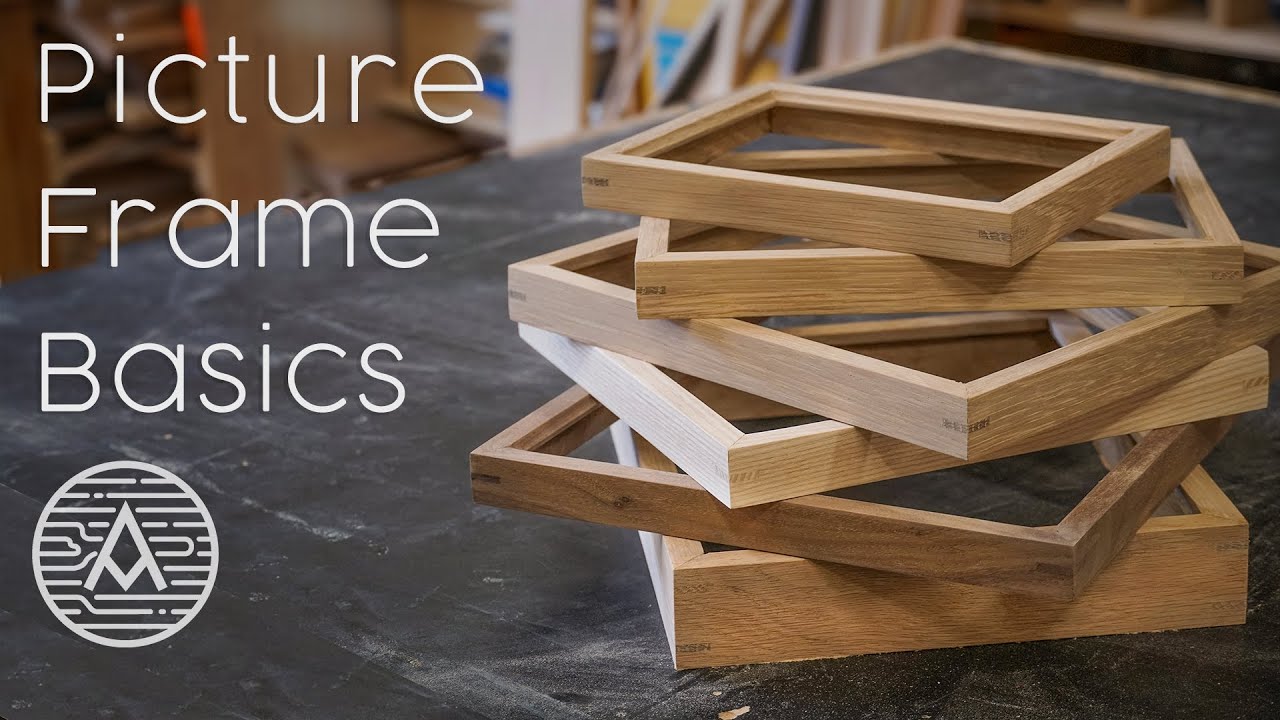
Are you looking to add a touch of elegance and craftsmanship to your home decor? Look no further! In this guide, we will take you through the step-by-step process of creating a beautiful wooden frame. Whether you’re a seasoned DIY enthusiast or a beginner looking to embark on your first woodworking project, this tutorial is designed to help you master the art of frame making.
Frames not only enhance the beauty of artwork and photographs but also serve as a focal point in any room. With our easy-to-follow instructions, you’ll learn the essential techniques required to build a sturdy and aesthetically pleasing frame. From selecting the right type of wood to cutting and assembling the pieces, we will guide you through each stage, ensuring that you achieve professional-level results. So, let’s roll up our sleeves, grab our tools, and dive into the wonderful world of wooden framing!
How to Make a Frame with Wood:
- Measure and cut the wood pieces according to your desired frame size.
- Sand the edges and surfaces of the wood for a smooth finish.
- Apply wood glue to the edges and join the pieces together at right angles.
- Secure the joints with screws or nails for added stability.
- Allow the glue to dry completely before sanding any rough spots.
- Stain or paint the frame to your preferred color and let it dry.
- Attach a picture hanger or hooks to the back of the frame for hanging.
Introduction
In this informative article, we will guide you through the step-by-step process of making a frame with wood. Whether you are a DIY enthusiast or simply looking to add a personal touch to your home decor, learning how to make a frame with wood is a valuable skill to have. With the right tools and materials, you can create custom frames for your artwork, photographs, or any other items you wish to display. Follow along with us as we provide detailed instructions and tips to help you successfully complete this project.
Gathering the Materials
Before you can start making a frame with wood, it is essential to gather all the necessary materials. Here’s a list of what you will need:
- Wood planks: Choose a type of wood that suits your preferences and budget. Popular options include oak, pine, and maple.
- Saw: A saw will be needed to cut the wood planks to the desired size.
- Sandpaper: This will help you smooth out any rough edges or surfaces.
- Wood glue: Use wood glue to join the pieces of wood together securely.
- Clamps: Clamps are essential for holding the wood pieces in place while the glue dries.
- Measuring tape: Accurate measurements are crucial for a well-constructed frame, so make sure to have a measuring tape on hand.
- Pencil: Use a pencil to mark the measurements and cuts on the wood.
- Screws or nails: Depending on your preference, you can use screws or nails to reinforce the frame joints.
- Screwdriver or hammer: You will need either a screwdriver or a hammer to insert the screws or nails.
- Stain or paint: Finally, choose a stain or paint color to finish the frame. This step is optional but can add a beautiful touch to your creation.
Once you have gathered all the necessary materials, you are ready to begin constructing your wooden frame.
Measuring and Cutting the Wood
The first step in making a frame with wood is to measure and cut the wood planks to the desired size. Start by determining the dimensions of the frame. Consider the size of the item you want to frame and add a few inches to account for the frame’s width.

Using a measuring tape, mark the measurements on the wood planks using a pencil. Double-check your measurements to ensure accuracy. Once marked, use a saw to carefully cut the wood along the pencil lines. Take your time and use smooth, steady strokes to achieve clean cuts.
Remember to cut two pieces for the vertical sides and two pieces for the horizontal top and bottom of the frame. Make sure the lengths of the vertical sides match and the lengths of the horizontal pieces match as well, ensuring a square frame.
Once all the pieces are cut, use sandpaper to smooth out any rough edges or surfaces. This will give your frame a polished look and prevent any splinters.
In the next section, we will move onto assembling the frame using wood glue and clamps. Stay tuned!
Assembling the Frame
Now that you have all your wood pieces cut and smoothed, it’s time to assemble the frame. Start by applying wood glue to the ends of one of the vertical side pieces. Align it with one of the horizontal pieces and join them together. Use clamps to hold the pieces in place firmly.
Repeat this process with the remaining vertical and horizontal pieces, making sure the corners are aligned perfectly. Adjust the clamps as needed to ensure a tight fit. Allow the wood glue to dry completely as per the manufacturer’s instructions.
Once the glue has dried, reinforce the joints by inserting screws or nails through the sides of the frame. Pre-drill holes to prevent the wood from splitting. Use a screwdriver or hammer to insert the screws or nails, securing the joints further.
After the frame is assembled, carefully remove the clamps and inspect the frame for any imperfections. Sand down any rough areas if needed.
In the final step, we will discuss finishing touches such as staining or painting the frame to achieve the desired look. Keep reading!
Finishing Touches
Now that your wooden frame is assembled, it’s time to add the finishing touches. If you prefer the natural beauty of the wood, you can skip this step. However, staining or painting the frame can elevate its visual appeal.
If you choose to stain the frame, select a stain color that complements your decor. Apply the stain using a brush or cloth, following the manufacturer’s instructions. Allow the stain to dry completely before handling the frame.
Alternatively, if you prefer a painted finish, choose a paint color that suits your style. Apply a coat of paint using a brush or roller, ensuring even coverage. Allow the paint to dry completely, and if necessary, apply a second coat for a more vibrant finish.
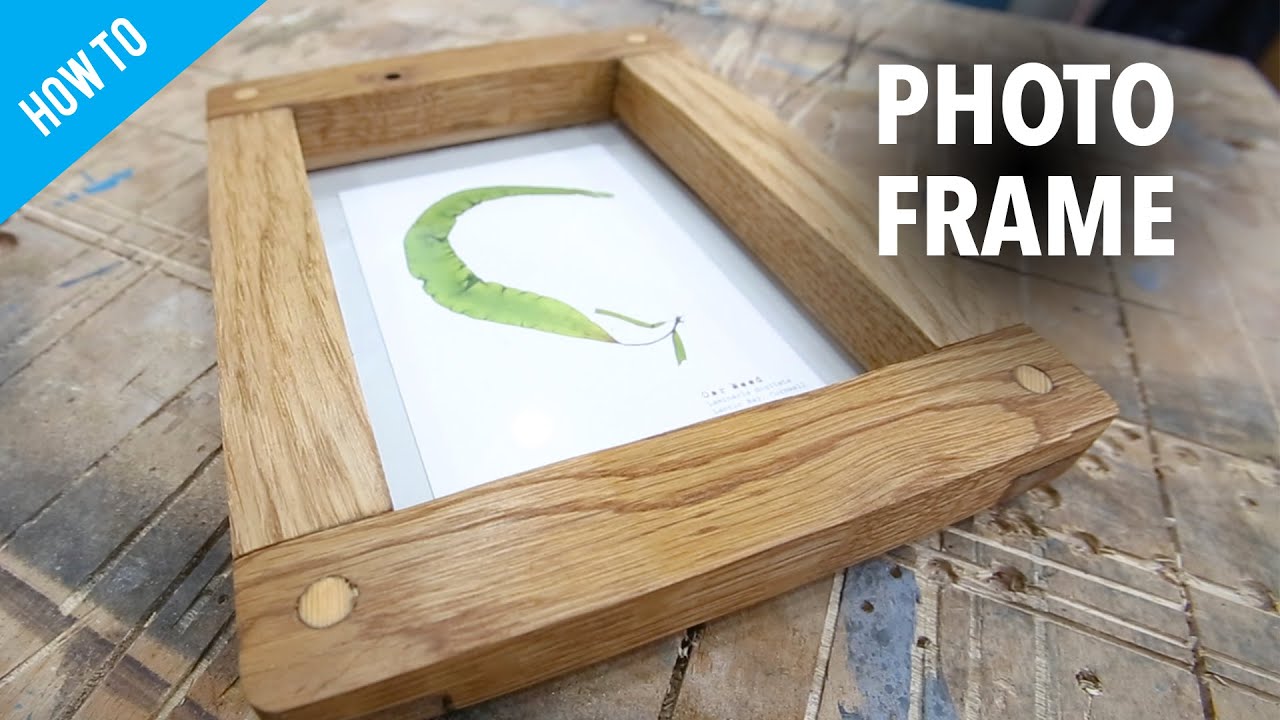
Once the stain or paint is dry, your wooden frame is ready to be used. Insert your artwork, photograph, or any other desired item into the frame, and proudly display it in your home or give it as a thoughtful gift.
That concludes our step-by-step guide on how to make a frame with wood. We hope you found this article informative and helpful. Remember, practice makes perfect, so don’t be discouraged if your first attempt isn’t flawless. With time and experience, you’ll become more skilled at creating beautiful wooden frames.
Happy framing!
Frequently Asked Questions
Here are some commonly asked questions about how to make a frame with wood:
Question 1: What materials do I need to make a frame with wood?
To make a frame with wood, you will need the following materials:
1. Wood boards or planks
2. Measuring tape
3. Saw
4. Sandpaper
5. Wood glue
6. Clamps
7. Screws or nails
8. Screwdriver or hammer
9. Paint or stain (optional)
These materials will help you get started with making a frame using wood.
Question 2: How do I measure and cut the wood for the frame?
To measure and cut the wood for the frame, follow these steps:
1. Measure the desired dimensions of the frame using a measuring tape.
2. Mark the measurements on the wood boards or planks.
3. Use a saw to carefully cut the wood along the marked lines.
4. Double-check the measurements and make any necessary adjustments.
By following these steps, you will be able to accurately measure and cut the wood for your frame.
Question 3: How do I assemble the frame with wood?
To assemble the frame with wood, you can follow these assembly steps:
1. Apply wood glue to the ends of the wood boards or planks that will be joined together.
2. Place the glued ends together and use clamps to hold them securely in place.
3. Allow the wood glue to dry according to the manufacturer’s instructions.
4. Once the glue is dried, reinforce the joints by using screws or nails.
5. Use a screwdriver or hammer to carefully insert the screws or nails into the wood.
By following these assembly steps, you will be able to successfully put together the frame with wood.
Question 4: How do I sand and finish the wood frame?
To sand and finish the wood frame, you can follow these steps:
1. Use sandpaper to smooth out any rough edges or surfaces of the wood frame.
2. Start with a coarse-grit sandpaper and gradually move to a finer-grit sandpaper for a smoother finish.
3. Remove any dust or debris from the sanded wood using a clean cloth or brush.
4. If desired, you can apply paint or stain to the wood frame to enhance its appearance.
5. Allow the paint or stain to dry according to the manufacturer’s instructions.
By following these steps, you will be able to effectively sand and finish the wood frame.
Question 5: How do I hang the wood frame on a wall?
To hang the wood frame on a wall, you can follow these steps:
1. Determine the desired location for the frame on the wall.
2. Use a measuring tape and pencil to mark the exact position where the frame will be hung.
3. Install appropriate hanging hardware, such as D-ring hangers or sawtooth hangers, onto the back of the wood frame.
4. Use screws or nails to securely attach the hanging hardware to the frame.
5. Carefully align the frame with the marked position on the wall and hang it using screws or nails.
By following these steps, you will be able to successfully hang the wood frame on a wall.
How to Make a Picture Frame 3 Ways | DIY Woodworking
In conclusion, learning how to make a frame with wood opens up a world of possibilities for both practical and creative endeavors. Whether you are looking to build a sturdy structure for a piece of artwork, or simply want to add a touch of rustic charm to your home, the process of constructing a wooden frame is accessible and rewarding. By following the steps outlined in this guide, you can confidently embark on your woodworking journey and create beautiful frames that showcase your personal style and craftsmanship.
Remember, practice makes perfect, so don’t be discouraged if your first attempt doesn’t turn out exactly as planned. With each project, you will gain valuable skills and insights that will only enhance your future woodworking endeavors. So, grab your tools, select the perfect piece of wood, and let your imagination run wild as you bring your vision to life with your own custom-made wooden frame. Happy building!
- How to Remove Glue From Wood Floor - April 14, 2024
- How to Dissolve Wood Glue - April 14, 2024
- How to Remove Wood Glue - April 14, 2024